ブログblog
スタイリッシュなカラーに! 外壁塗装、雨樋交換、コーキング/銚子市 S様邸 ⑤
-
2022.05.03
今回の作業報告です。
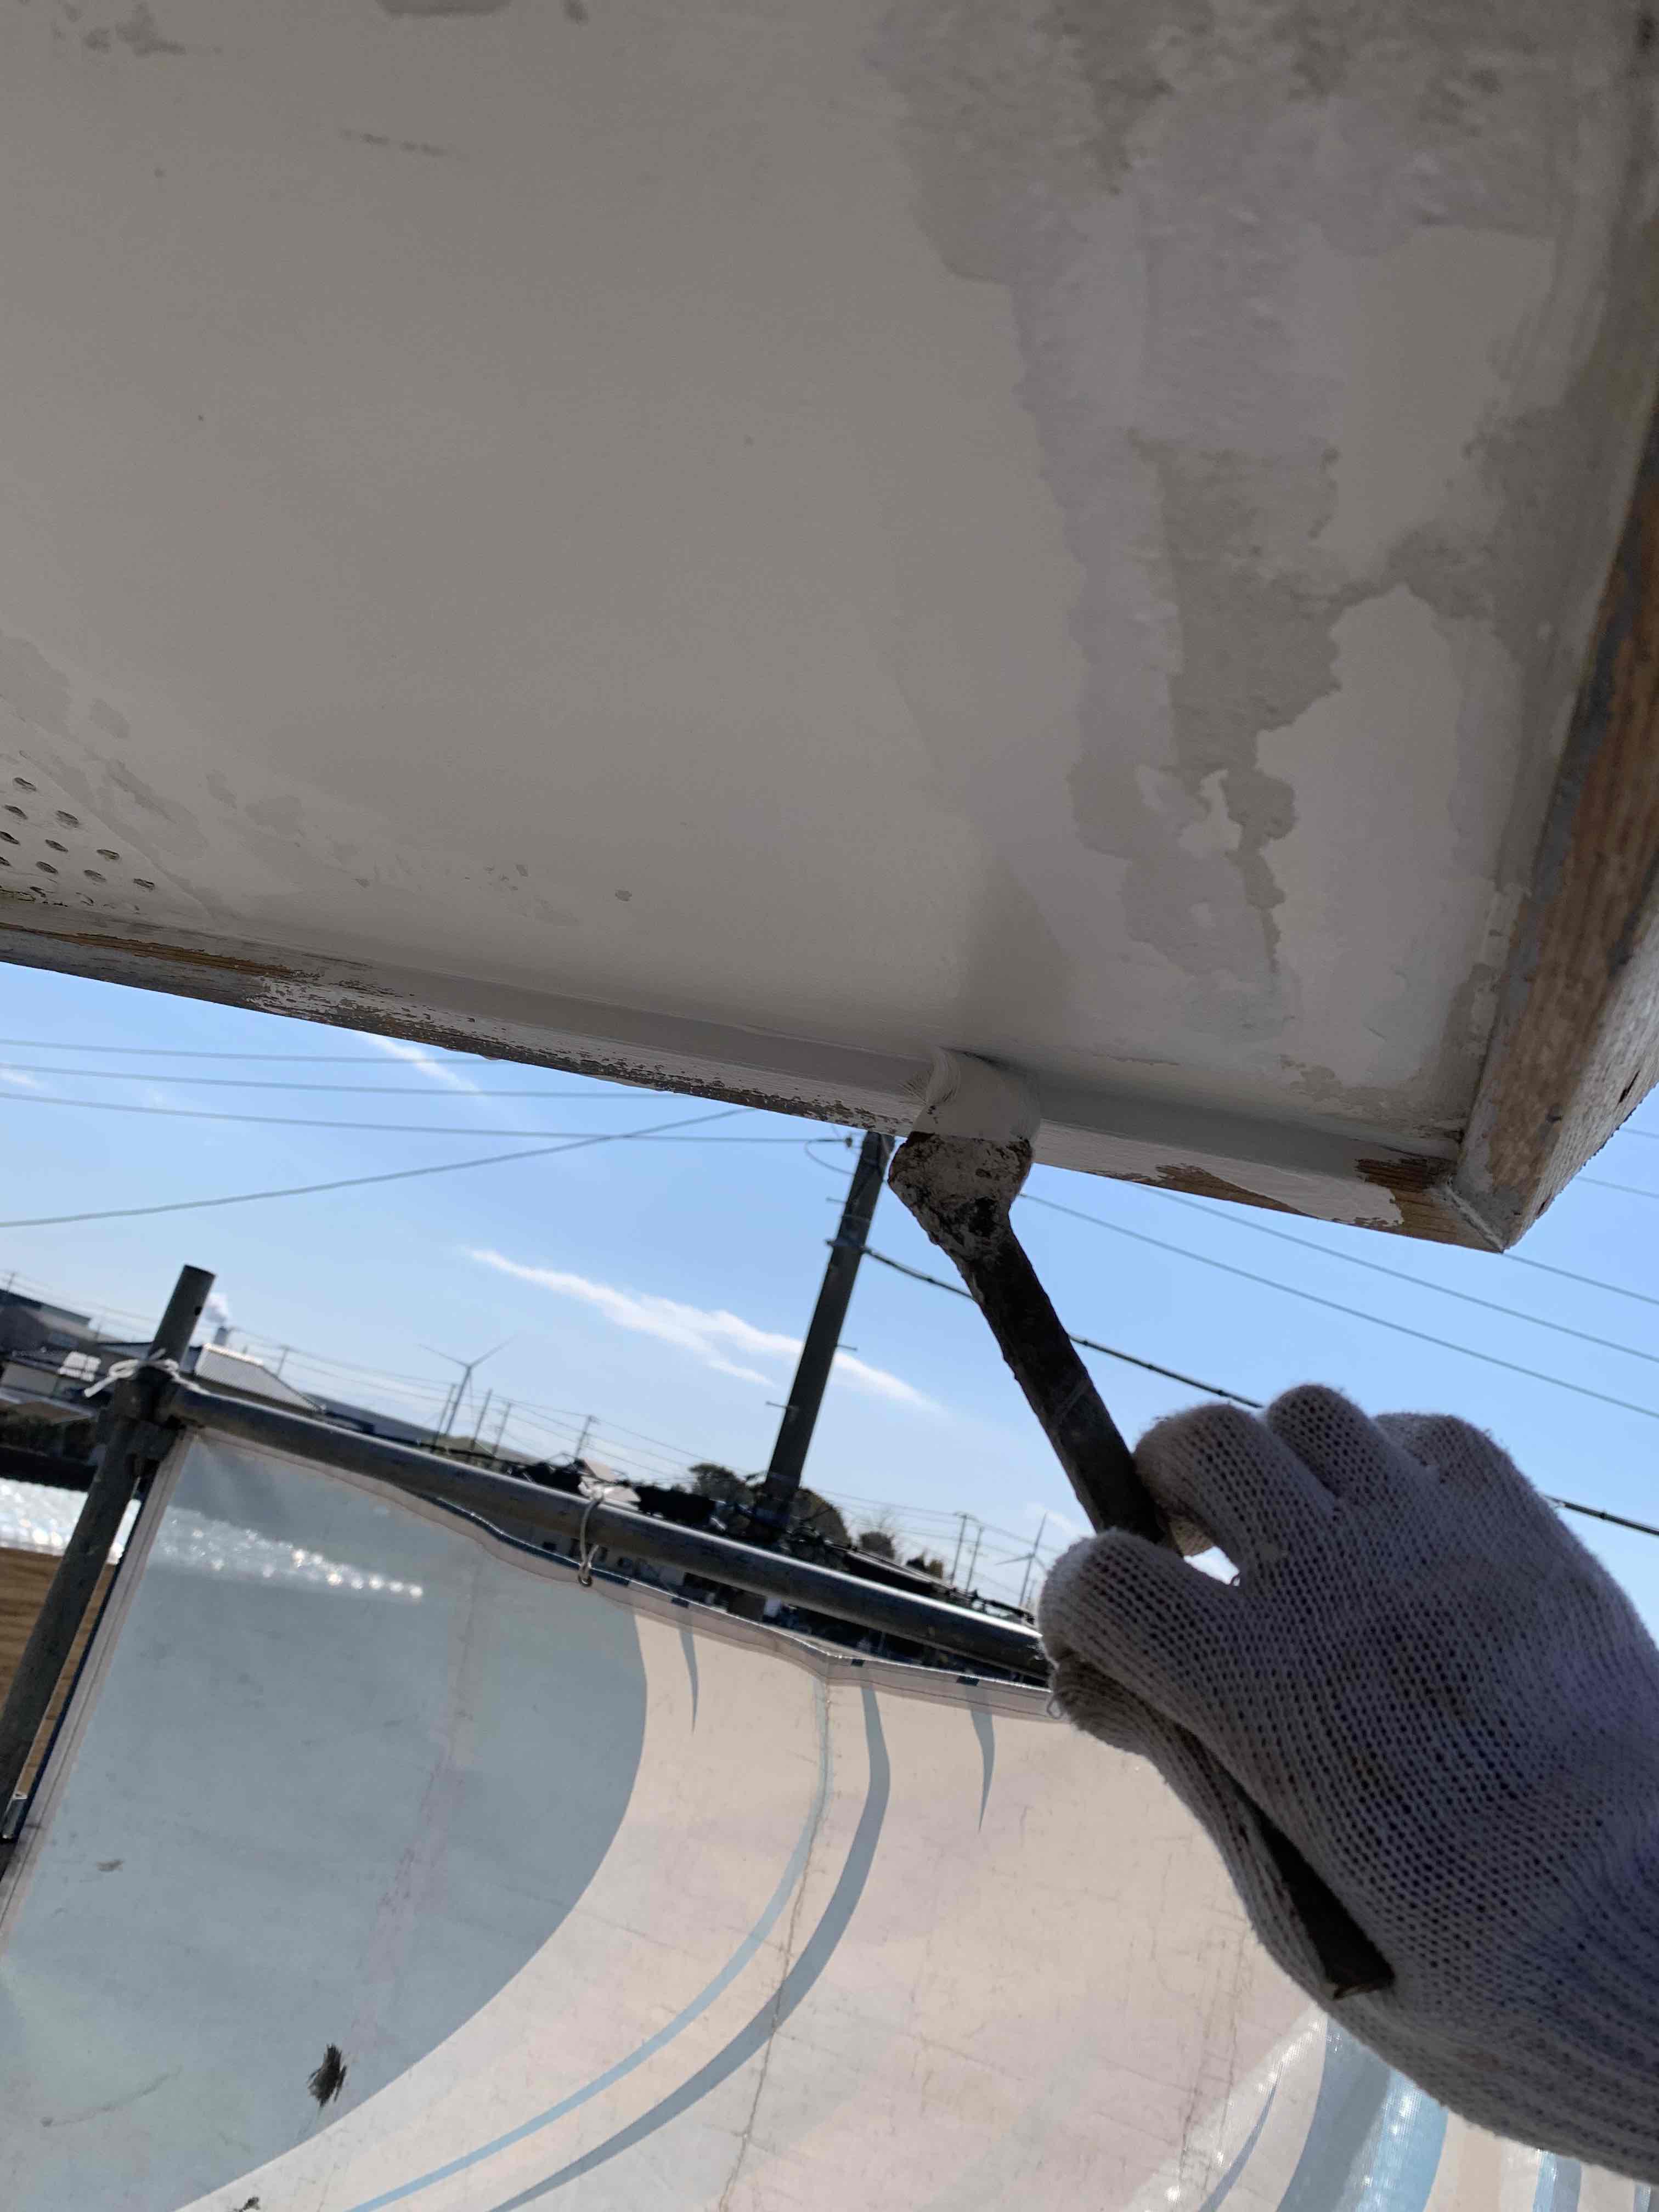
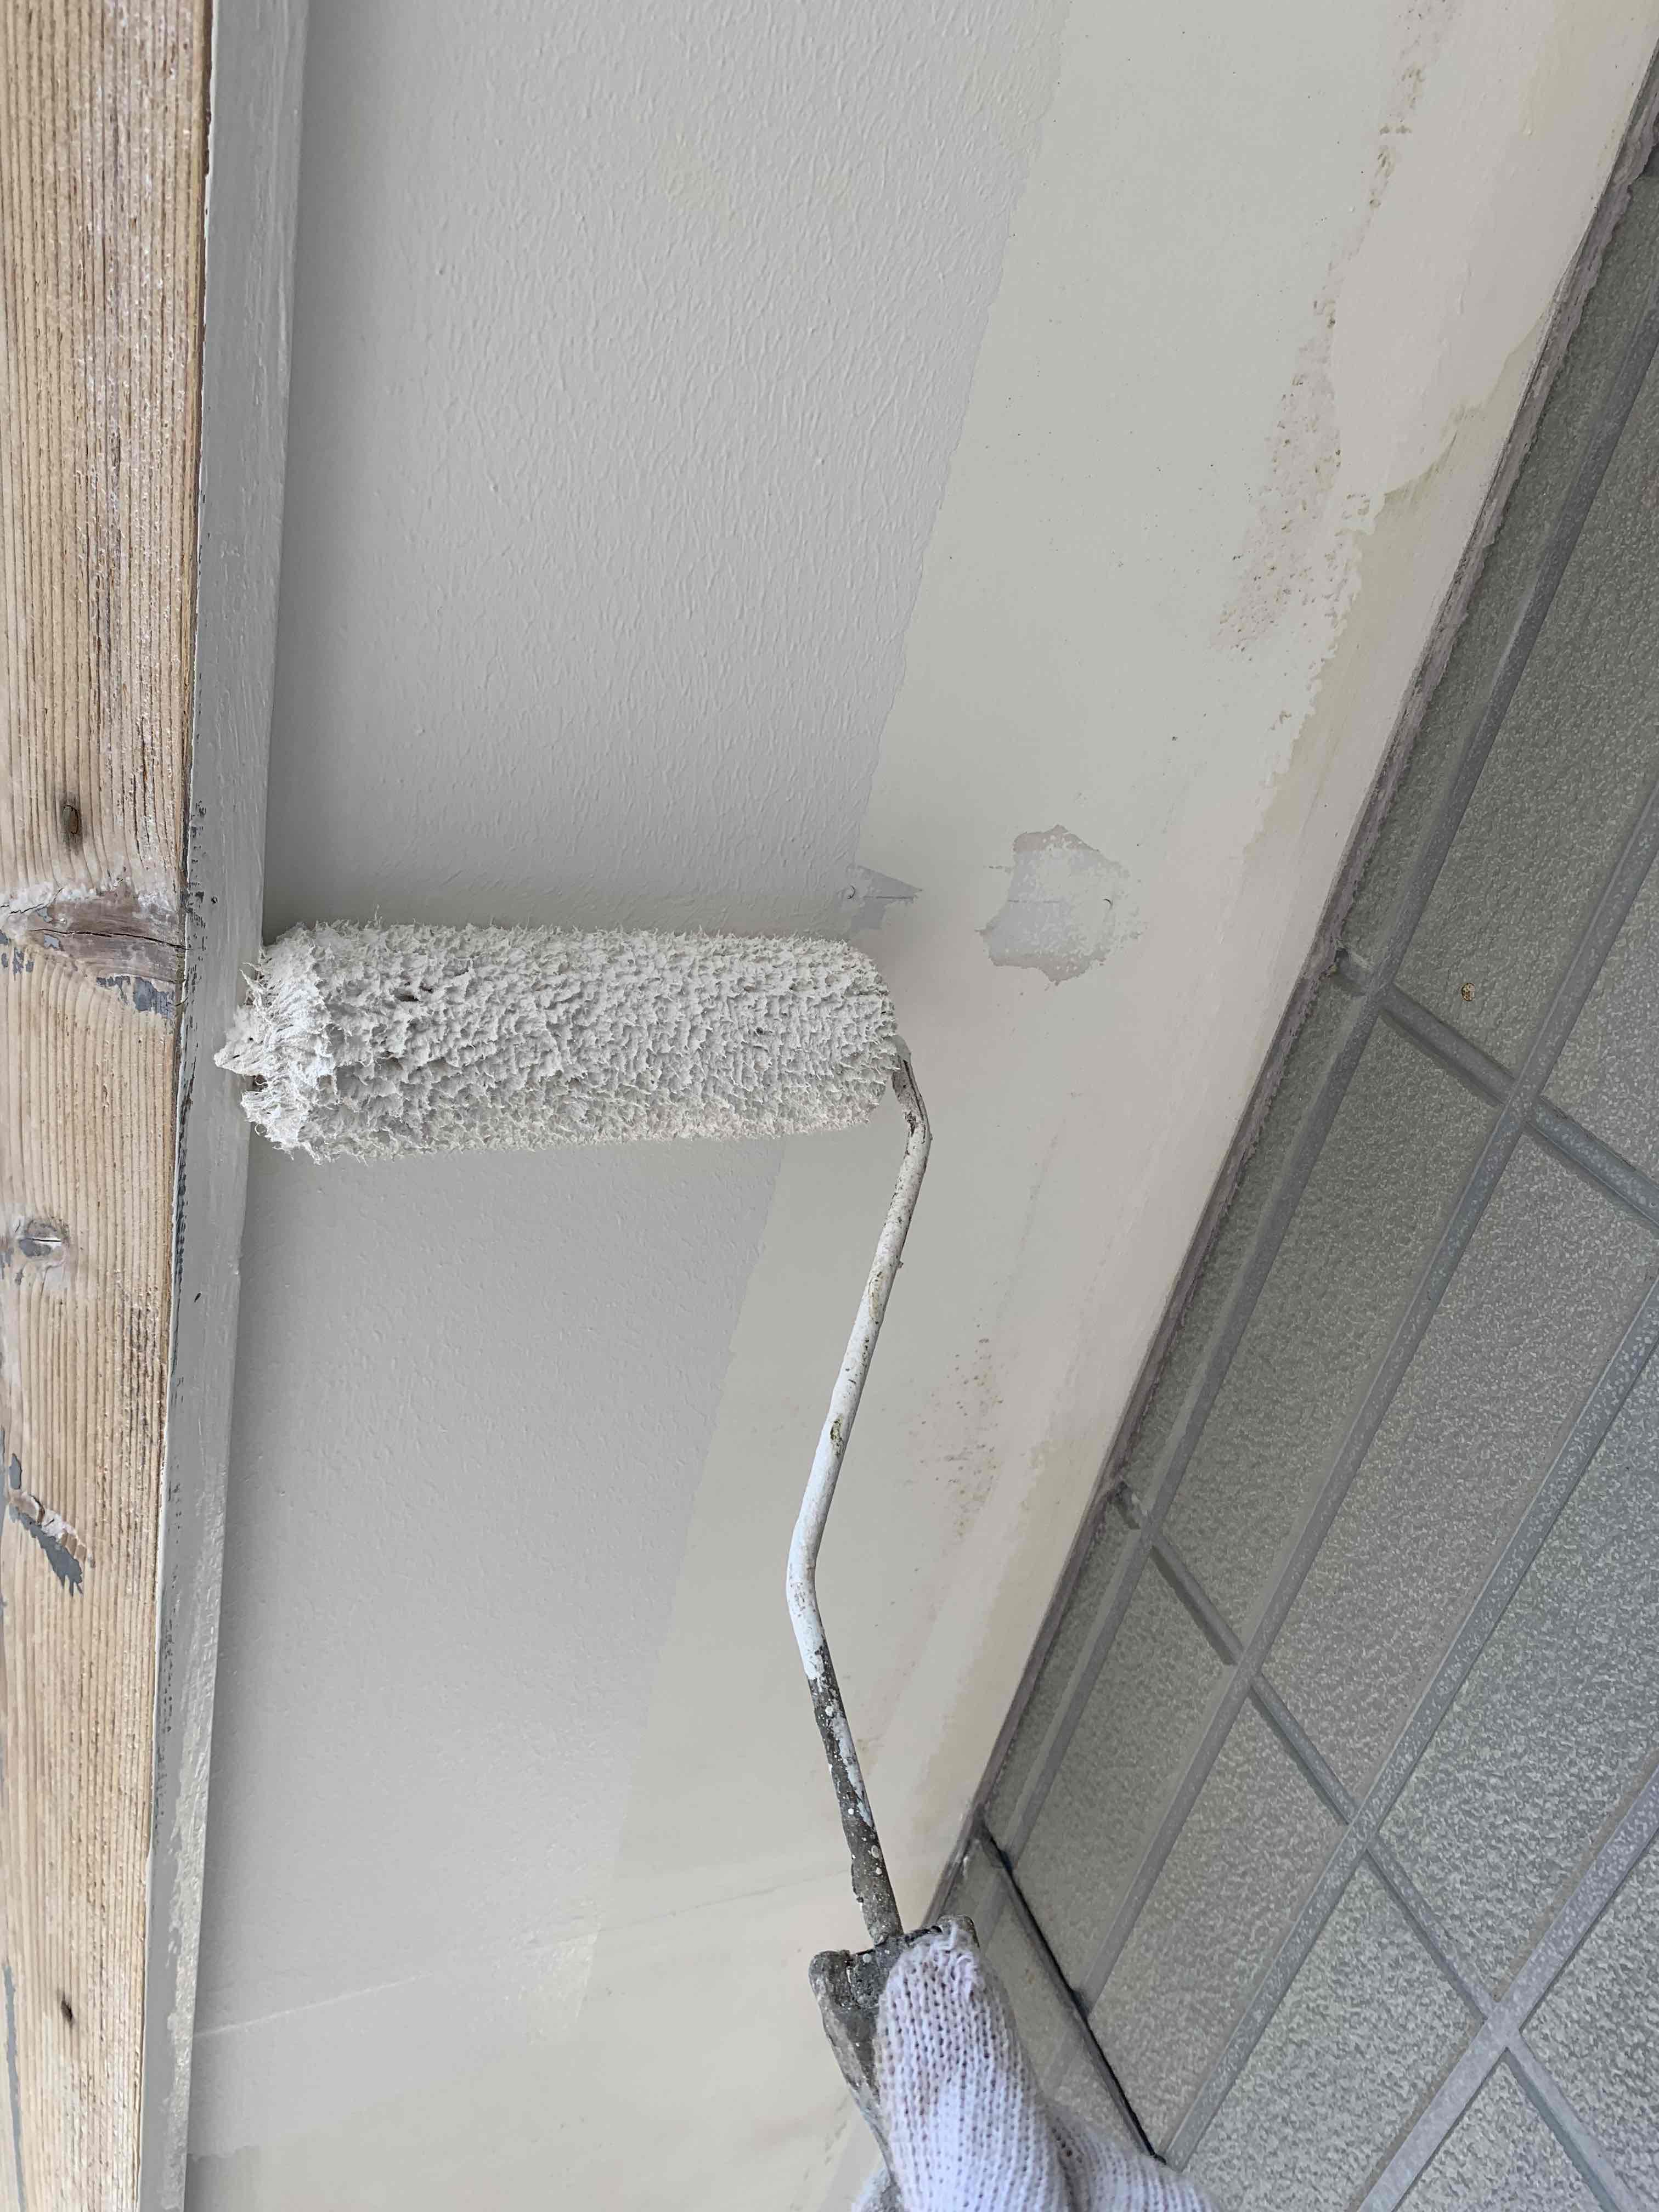
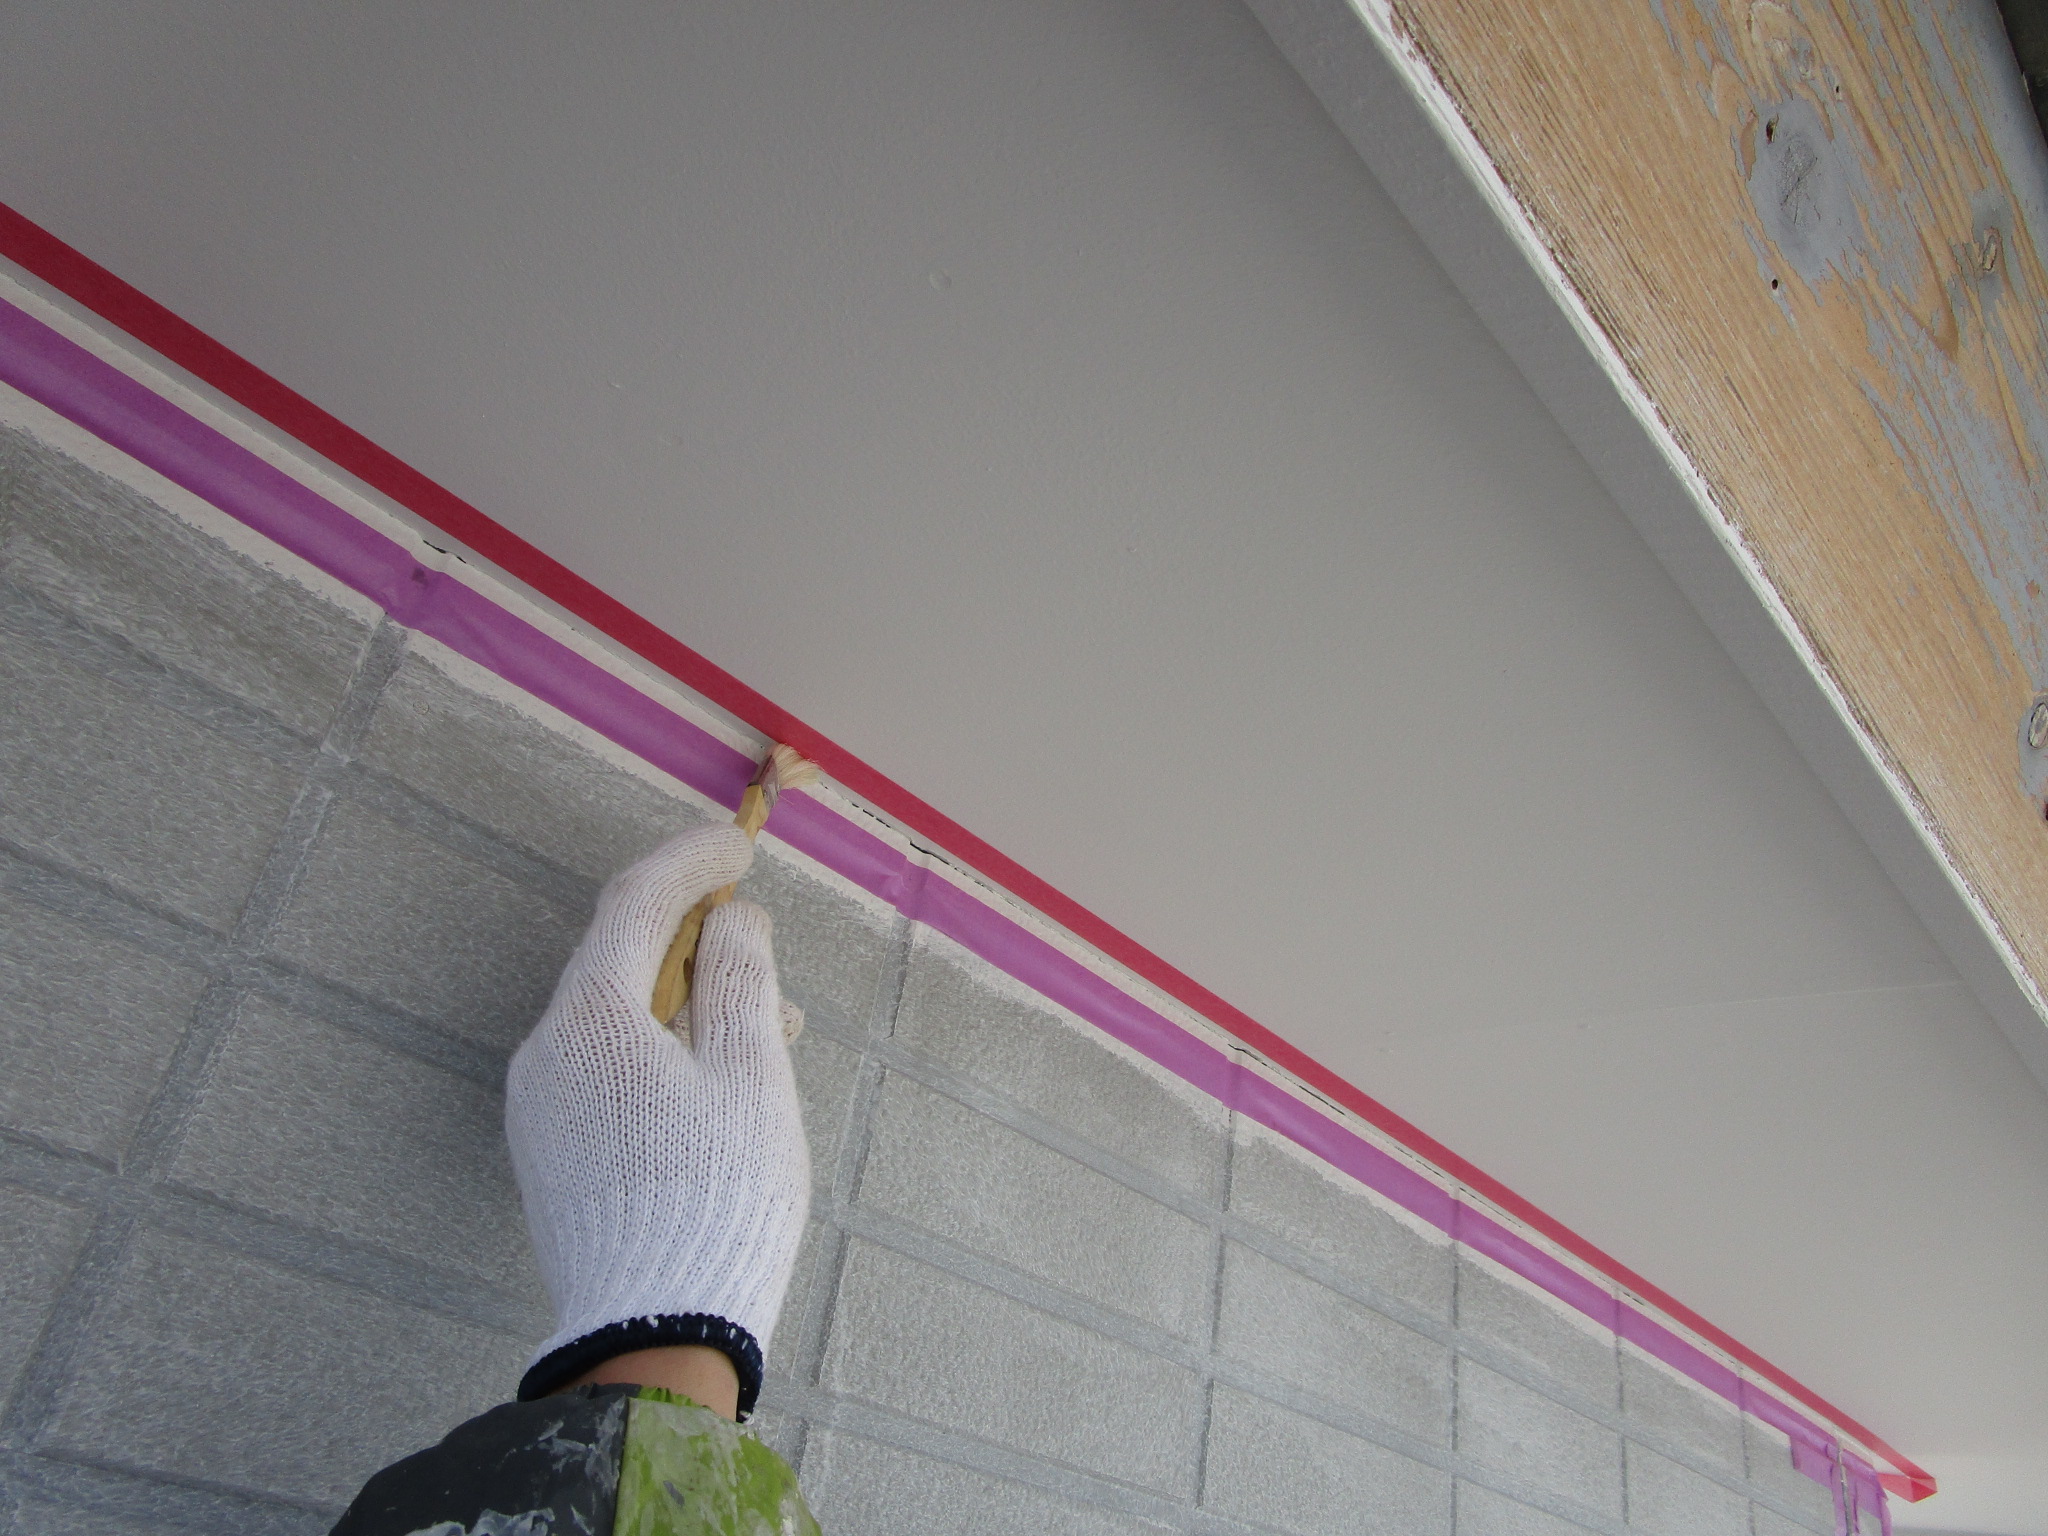
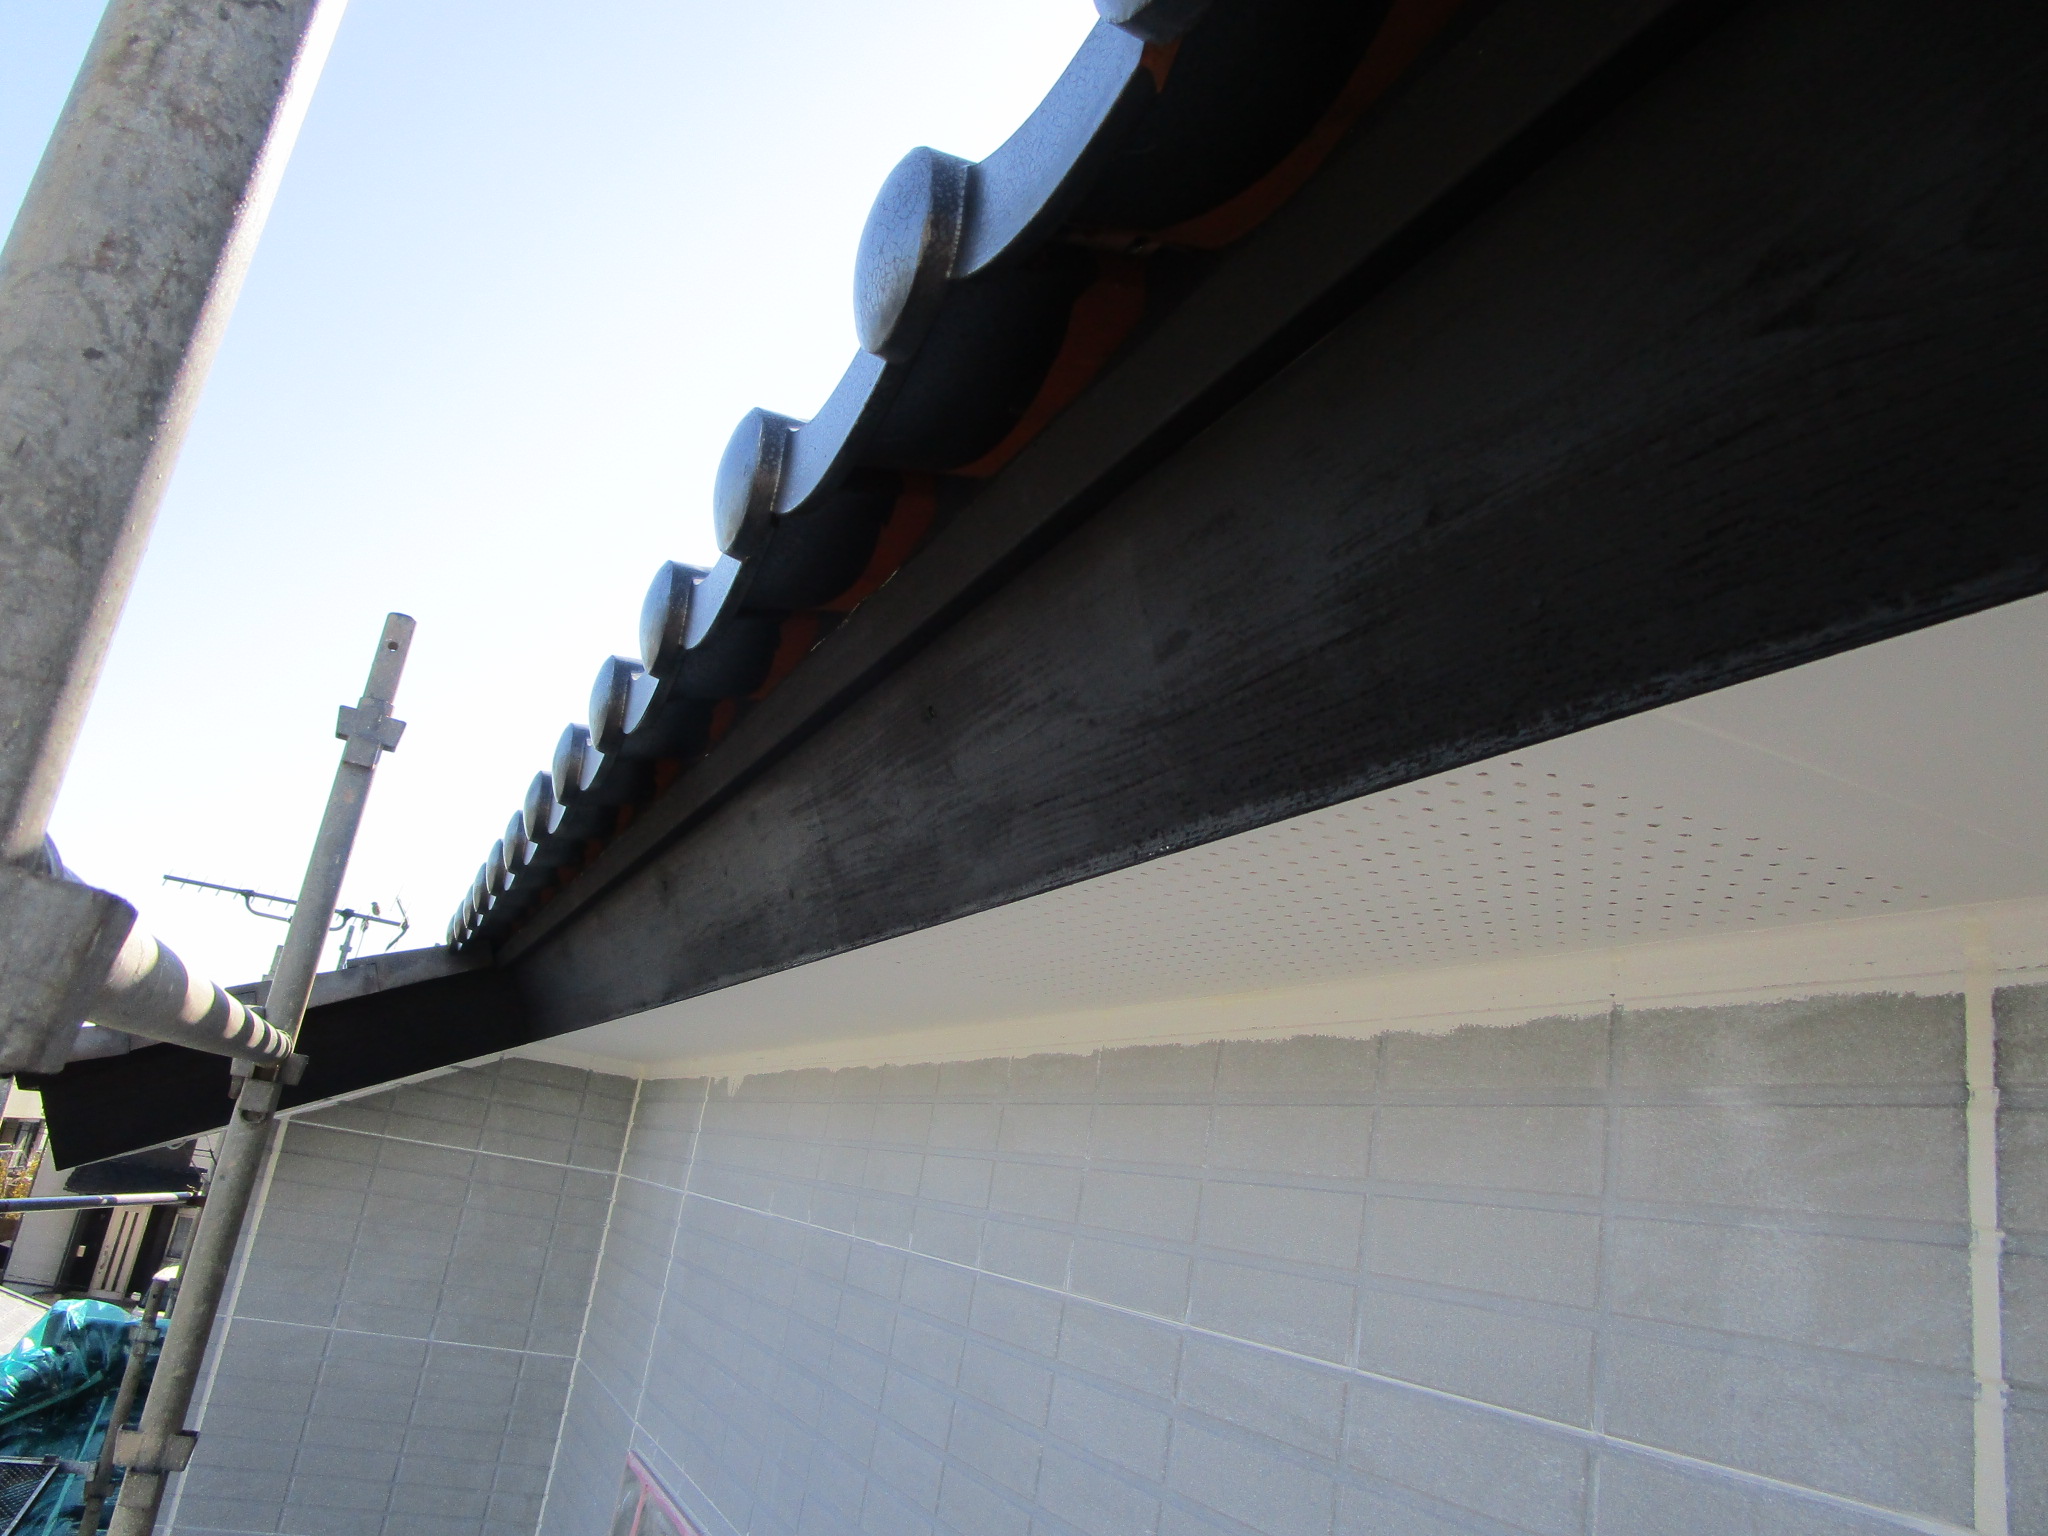
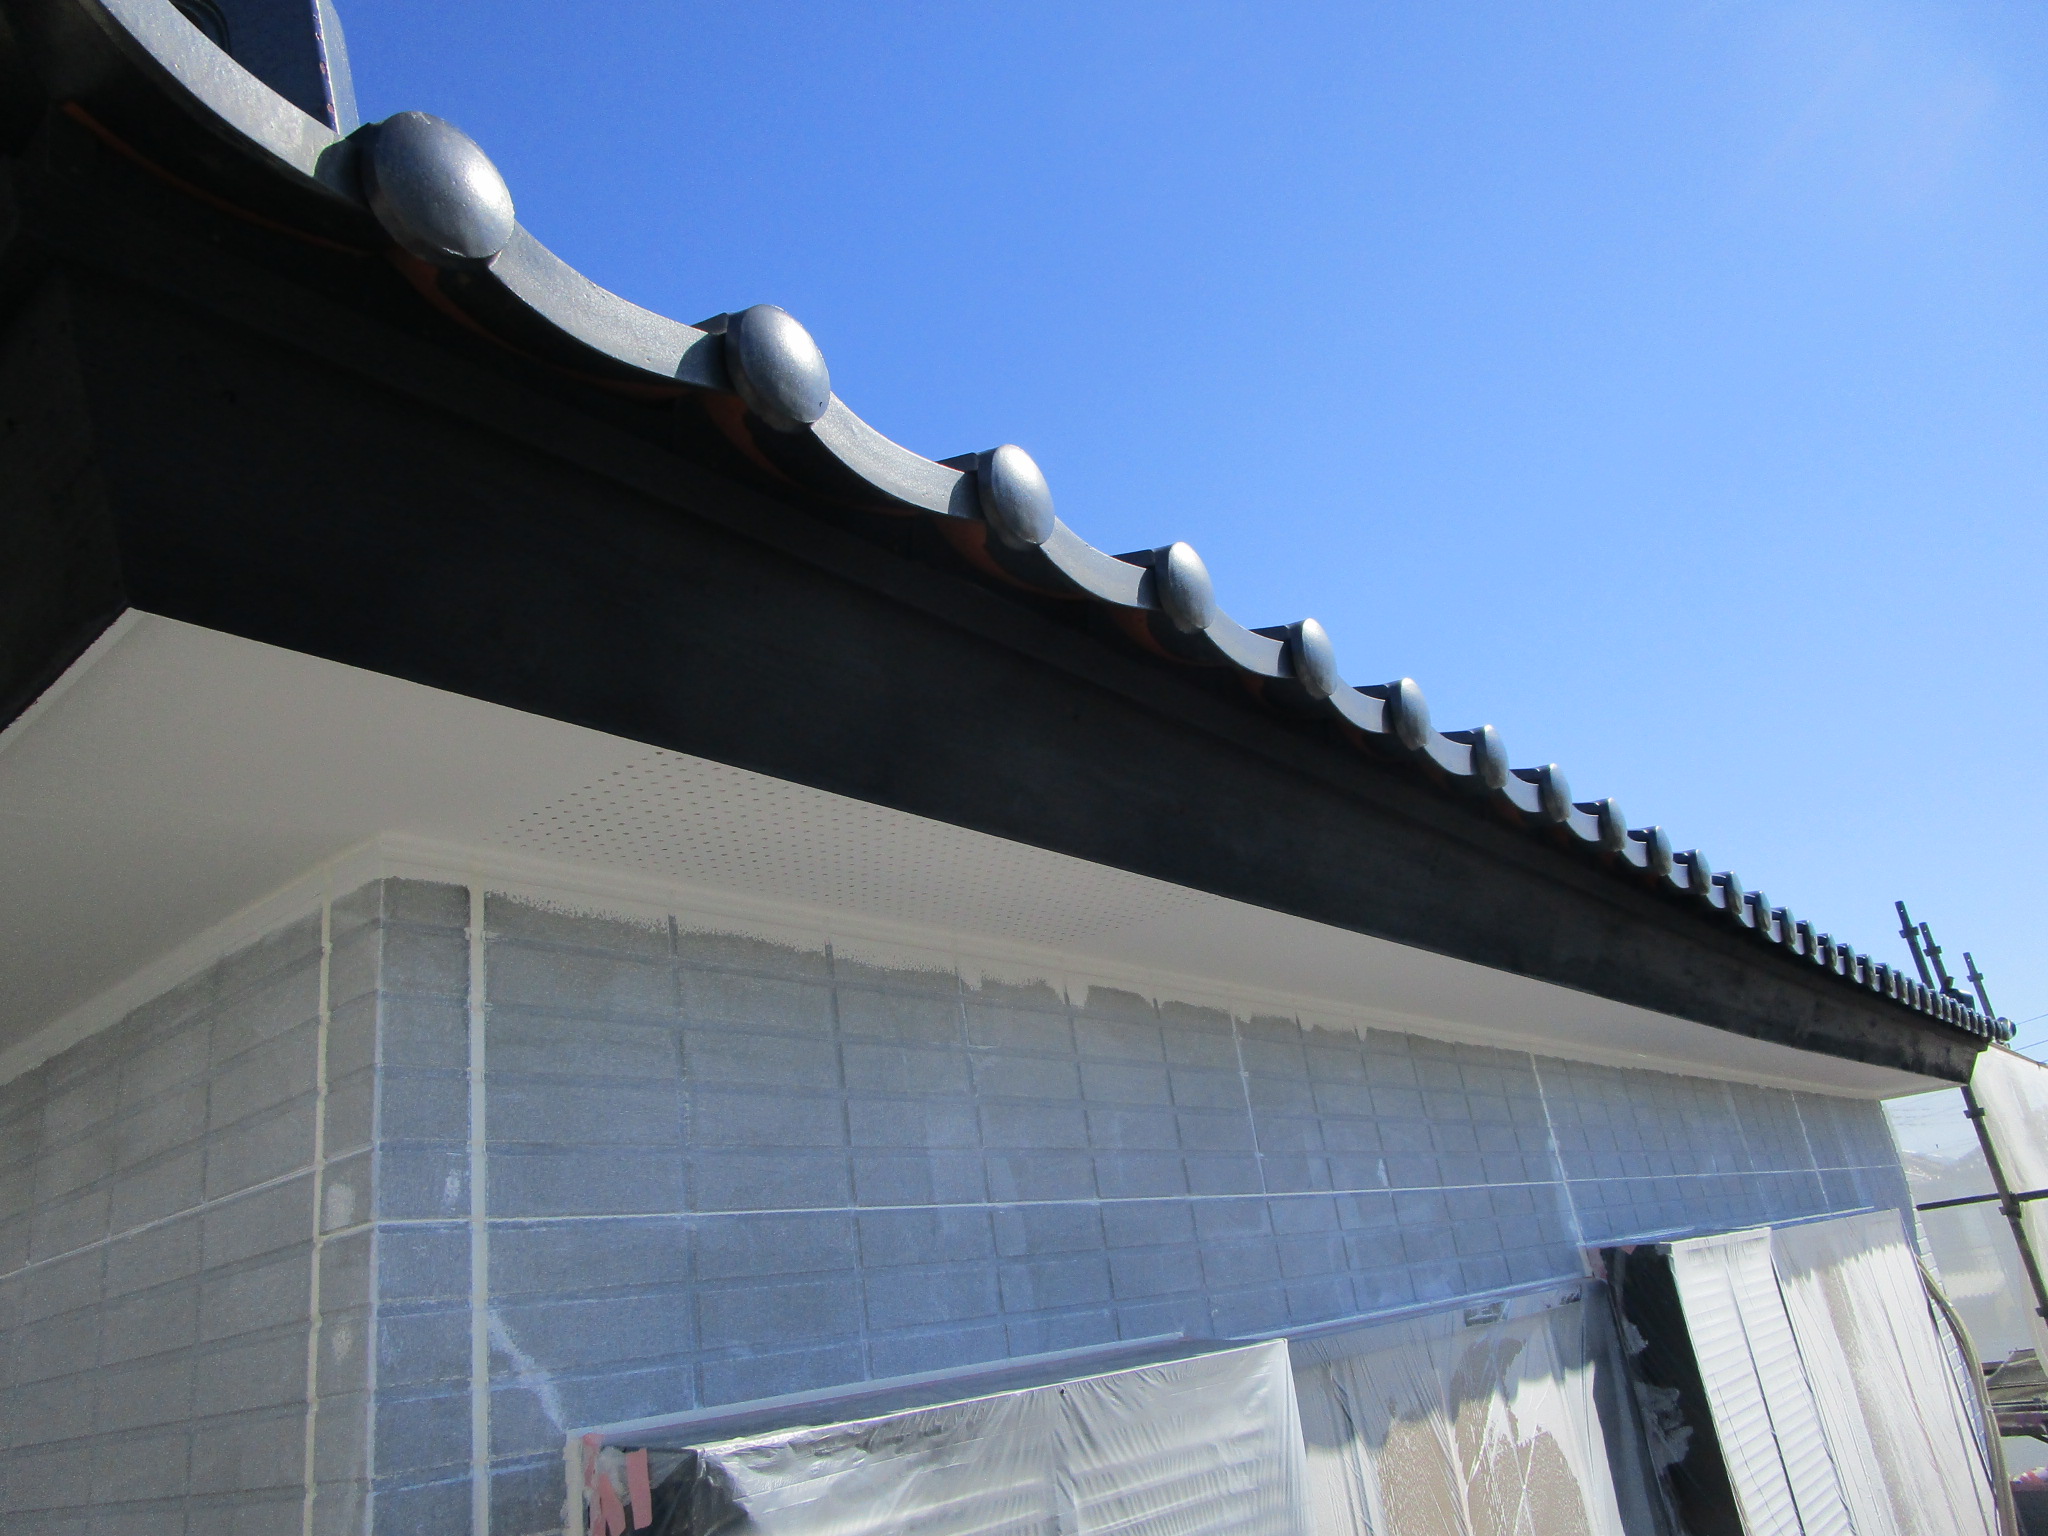
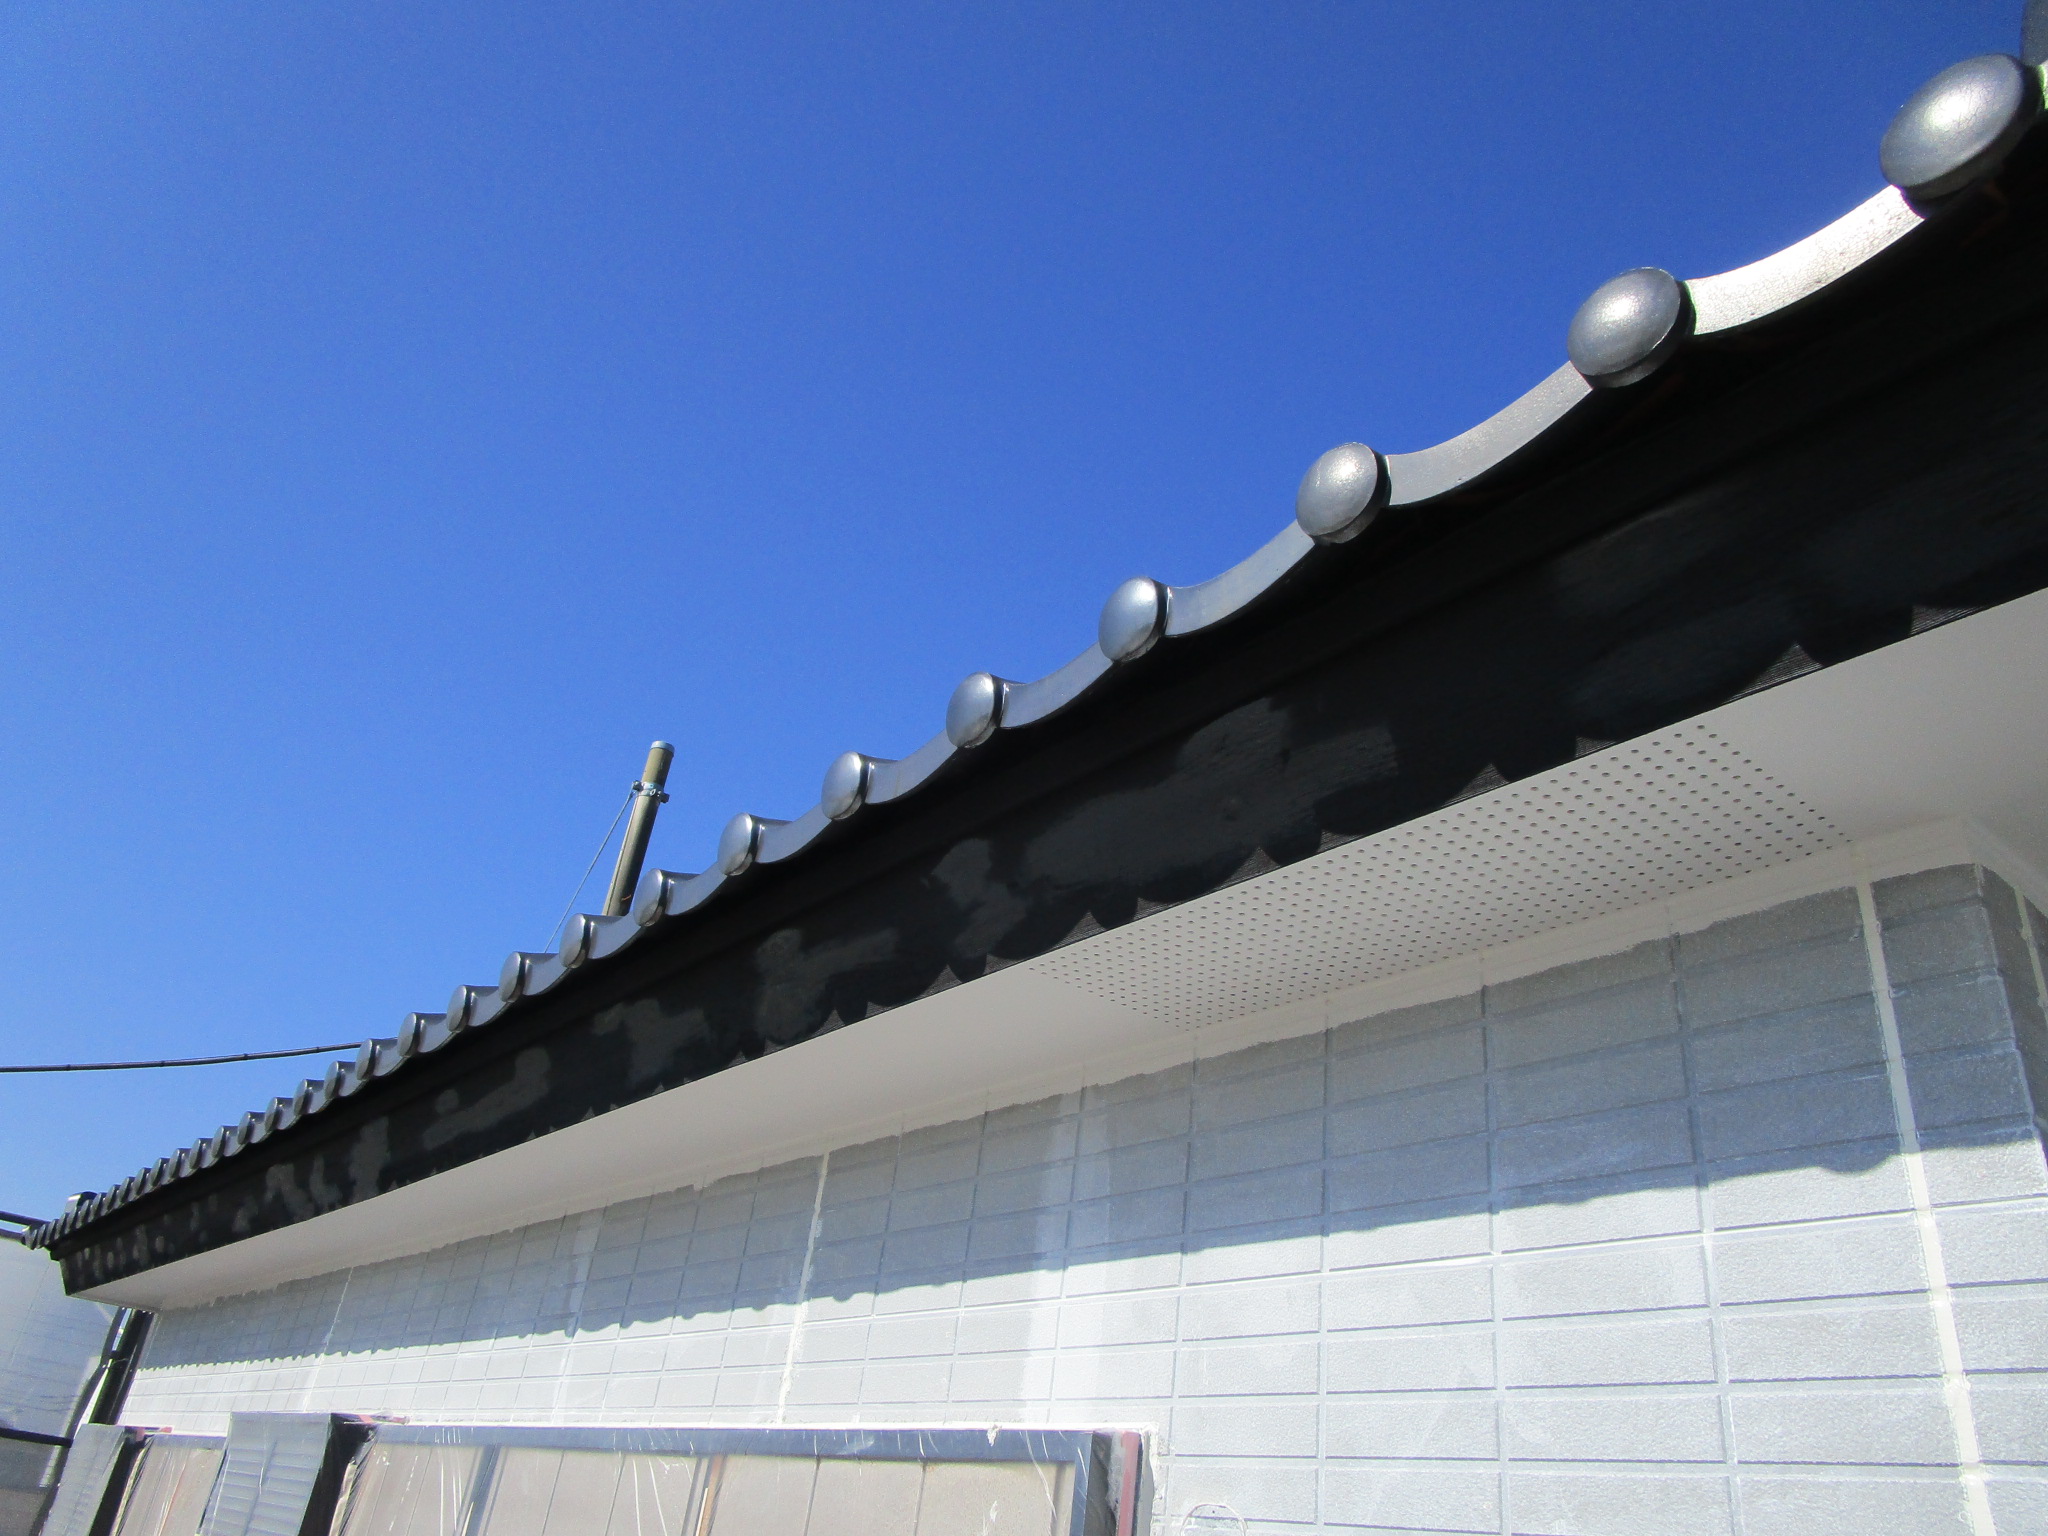
<軒天 中塗り、上塗り>
防藻、防カビ材入りの合成樹脂エマルションペイント/水性モルコン 塗装します。
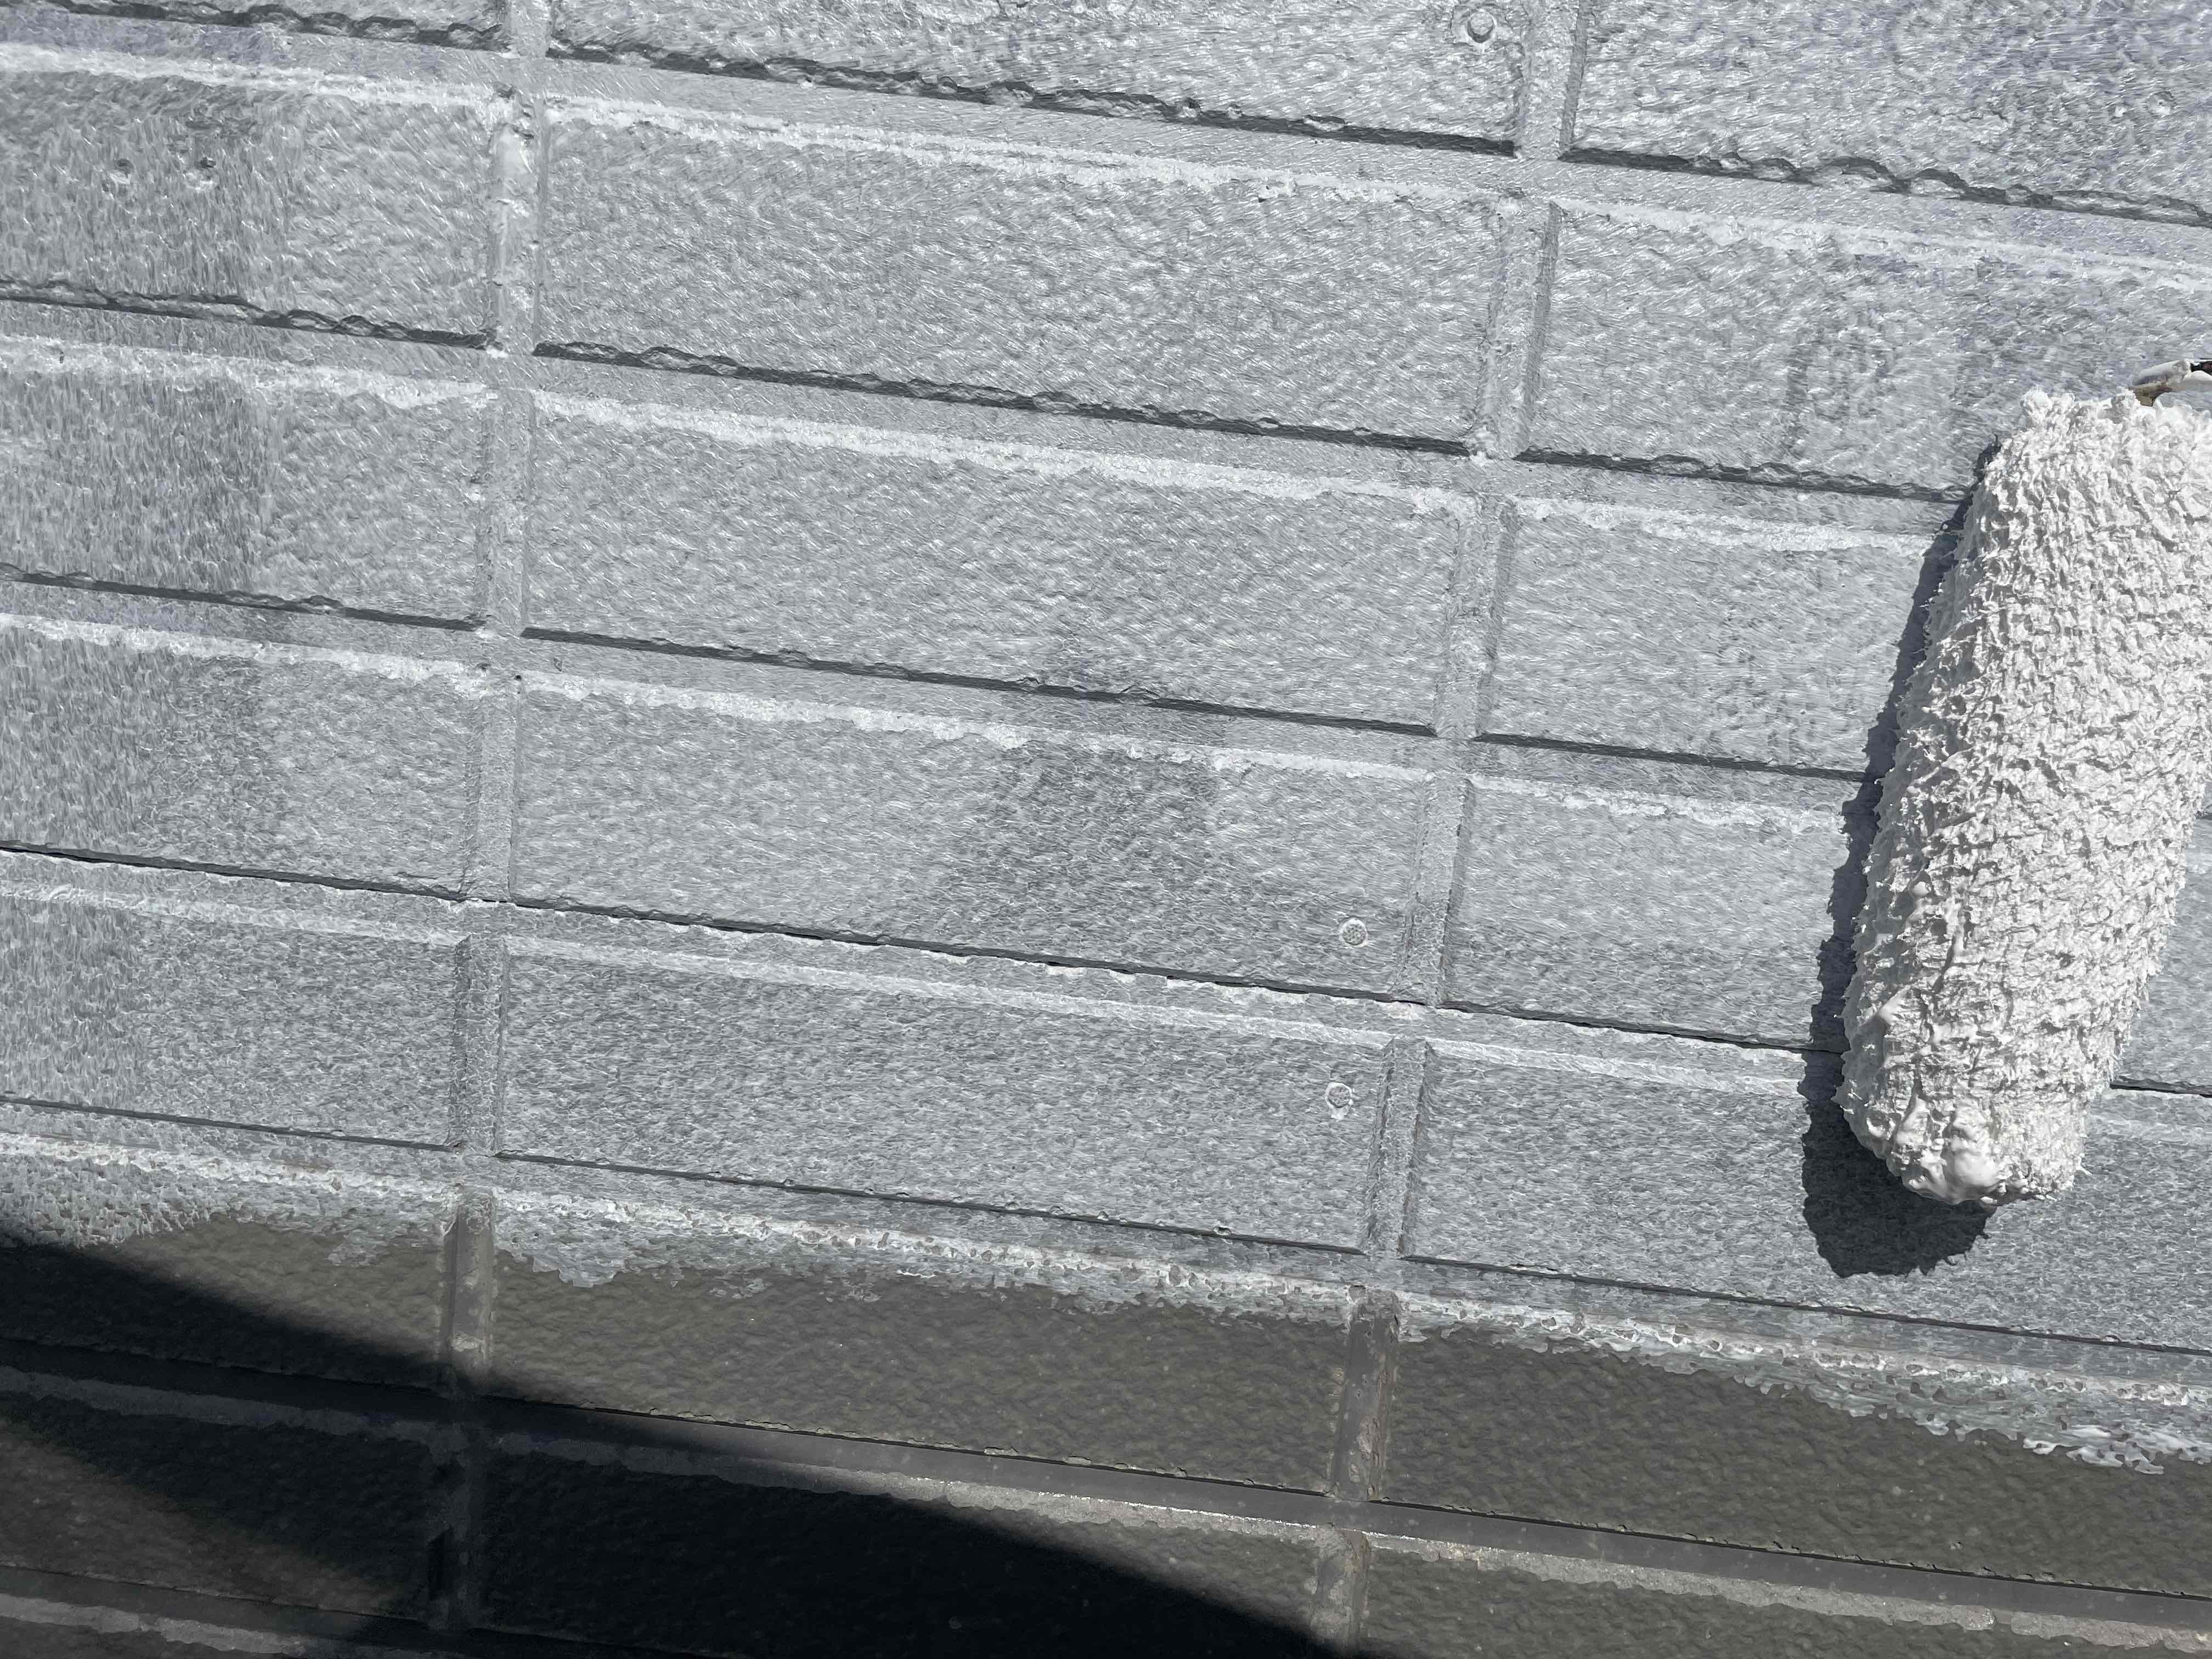
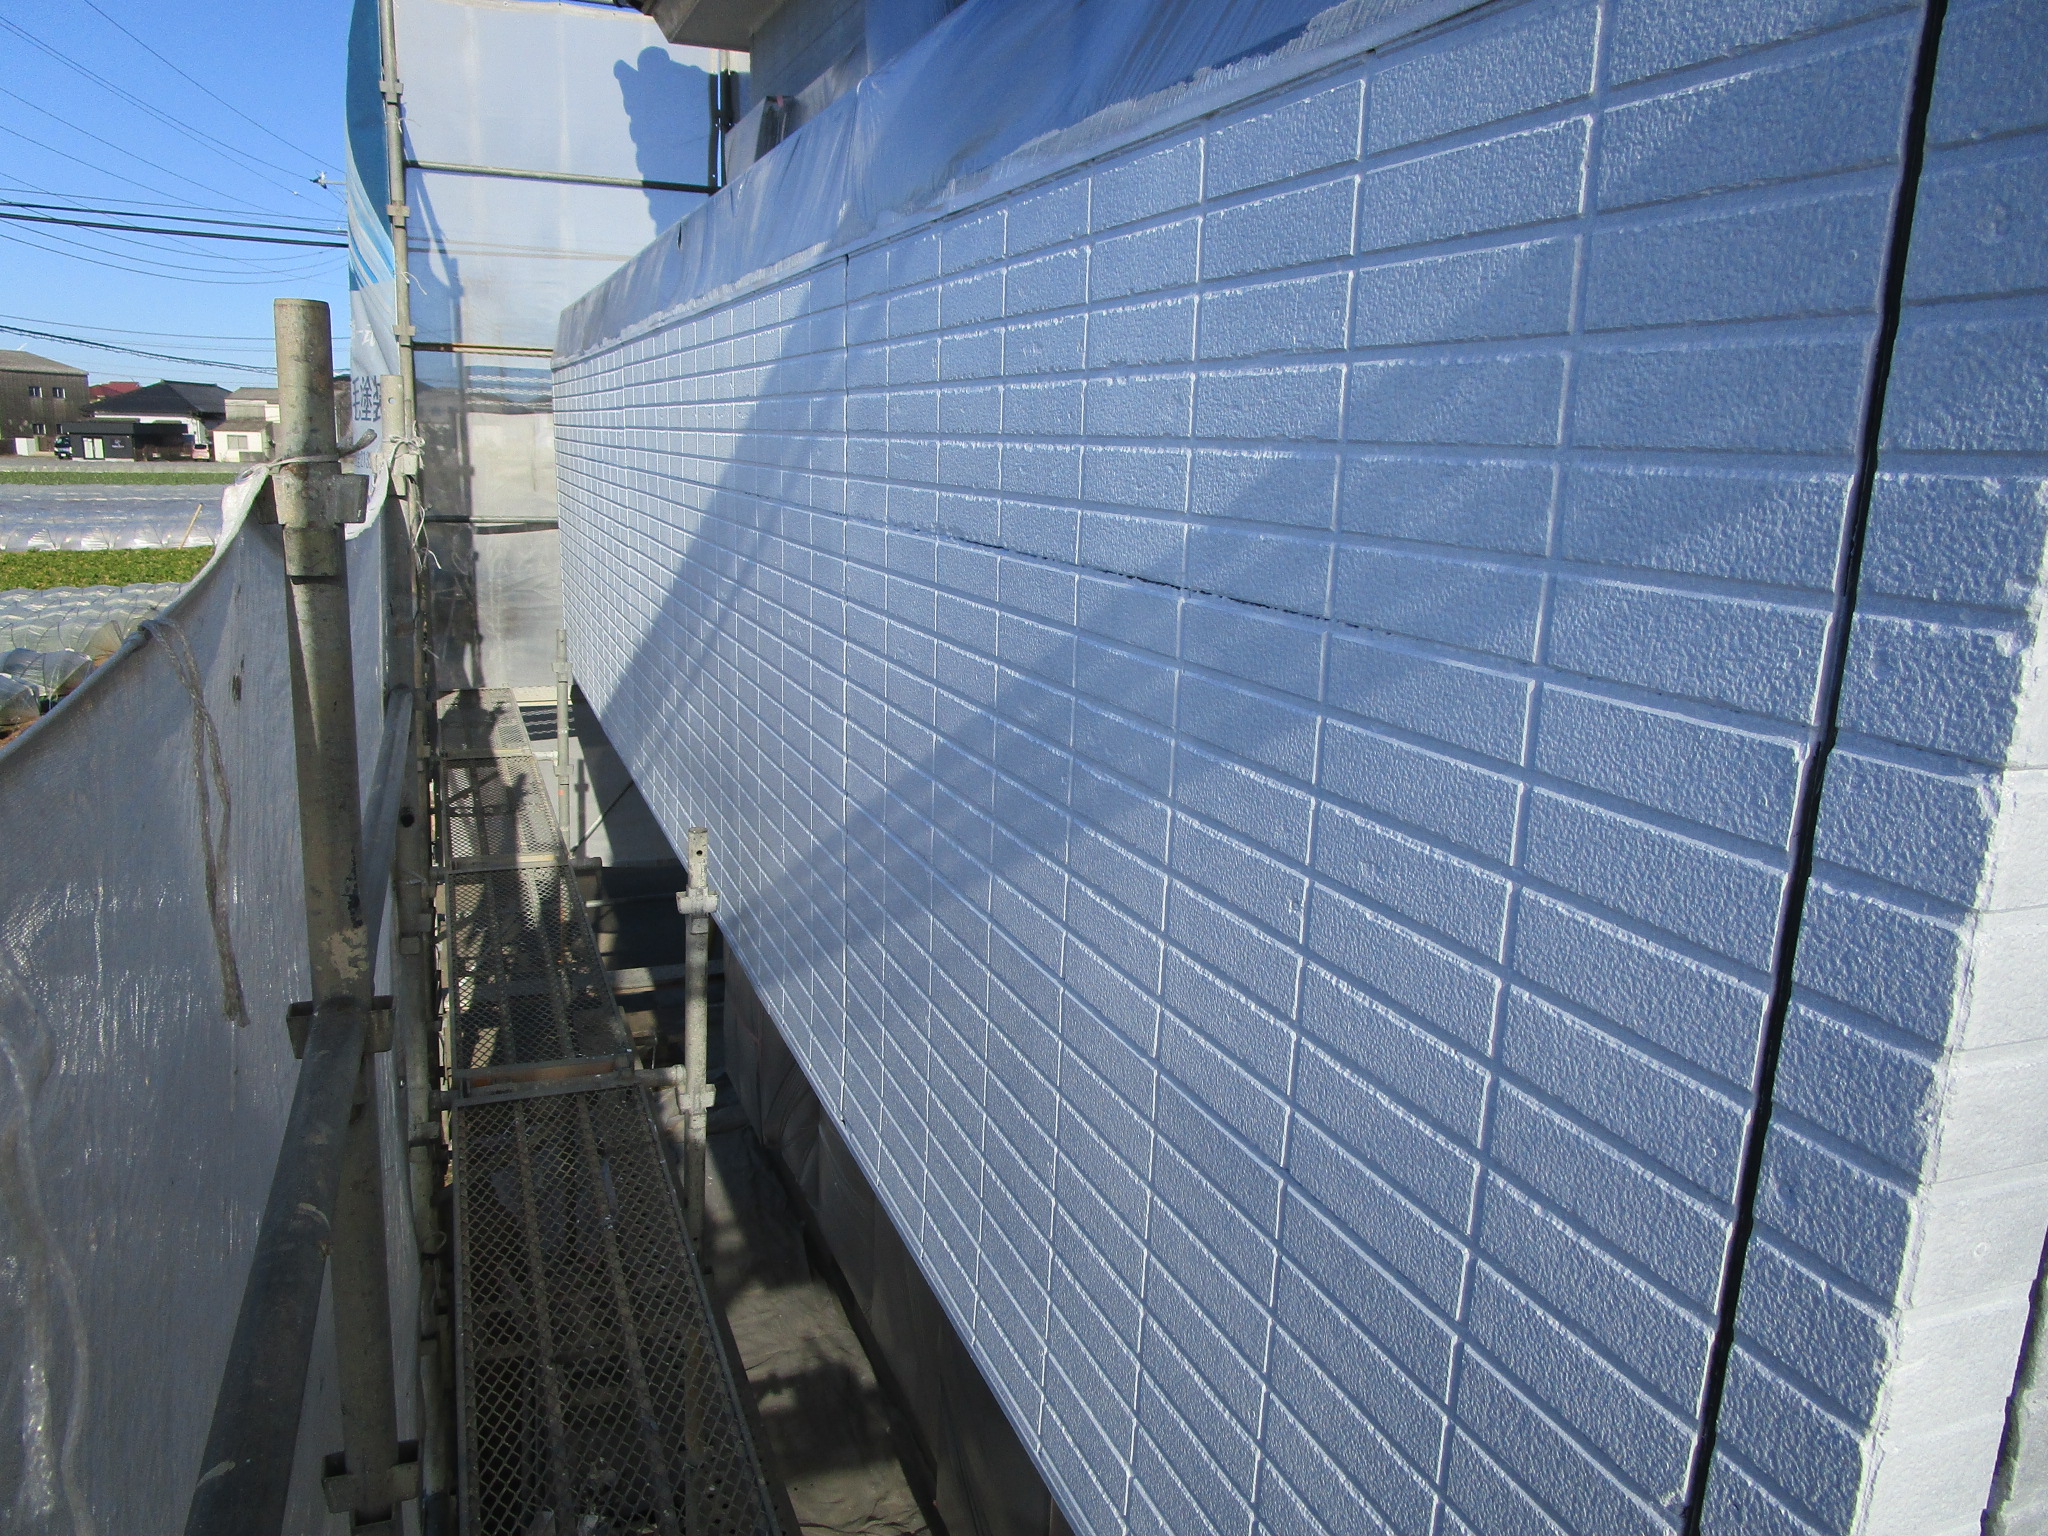
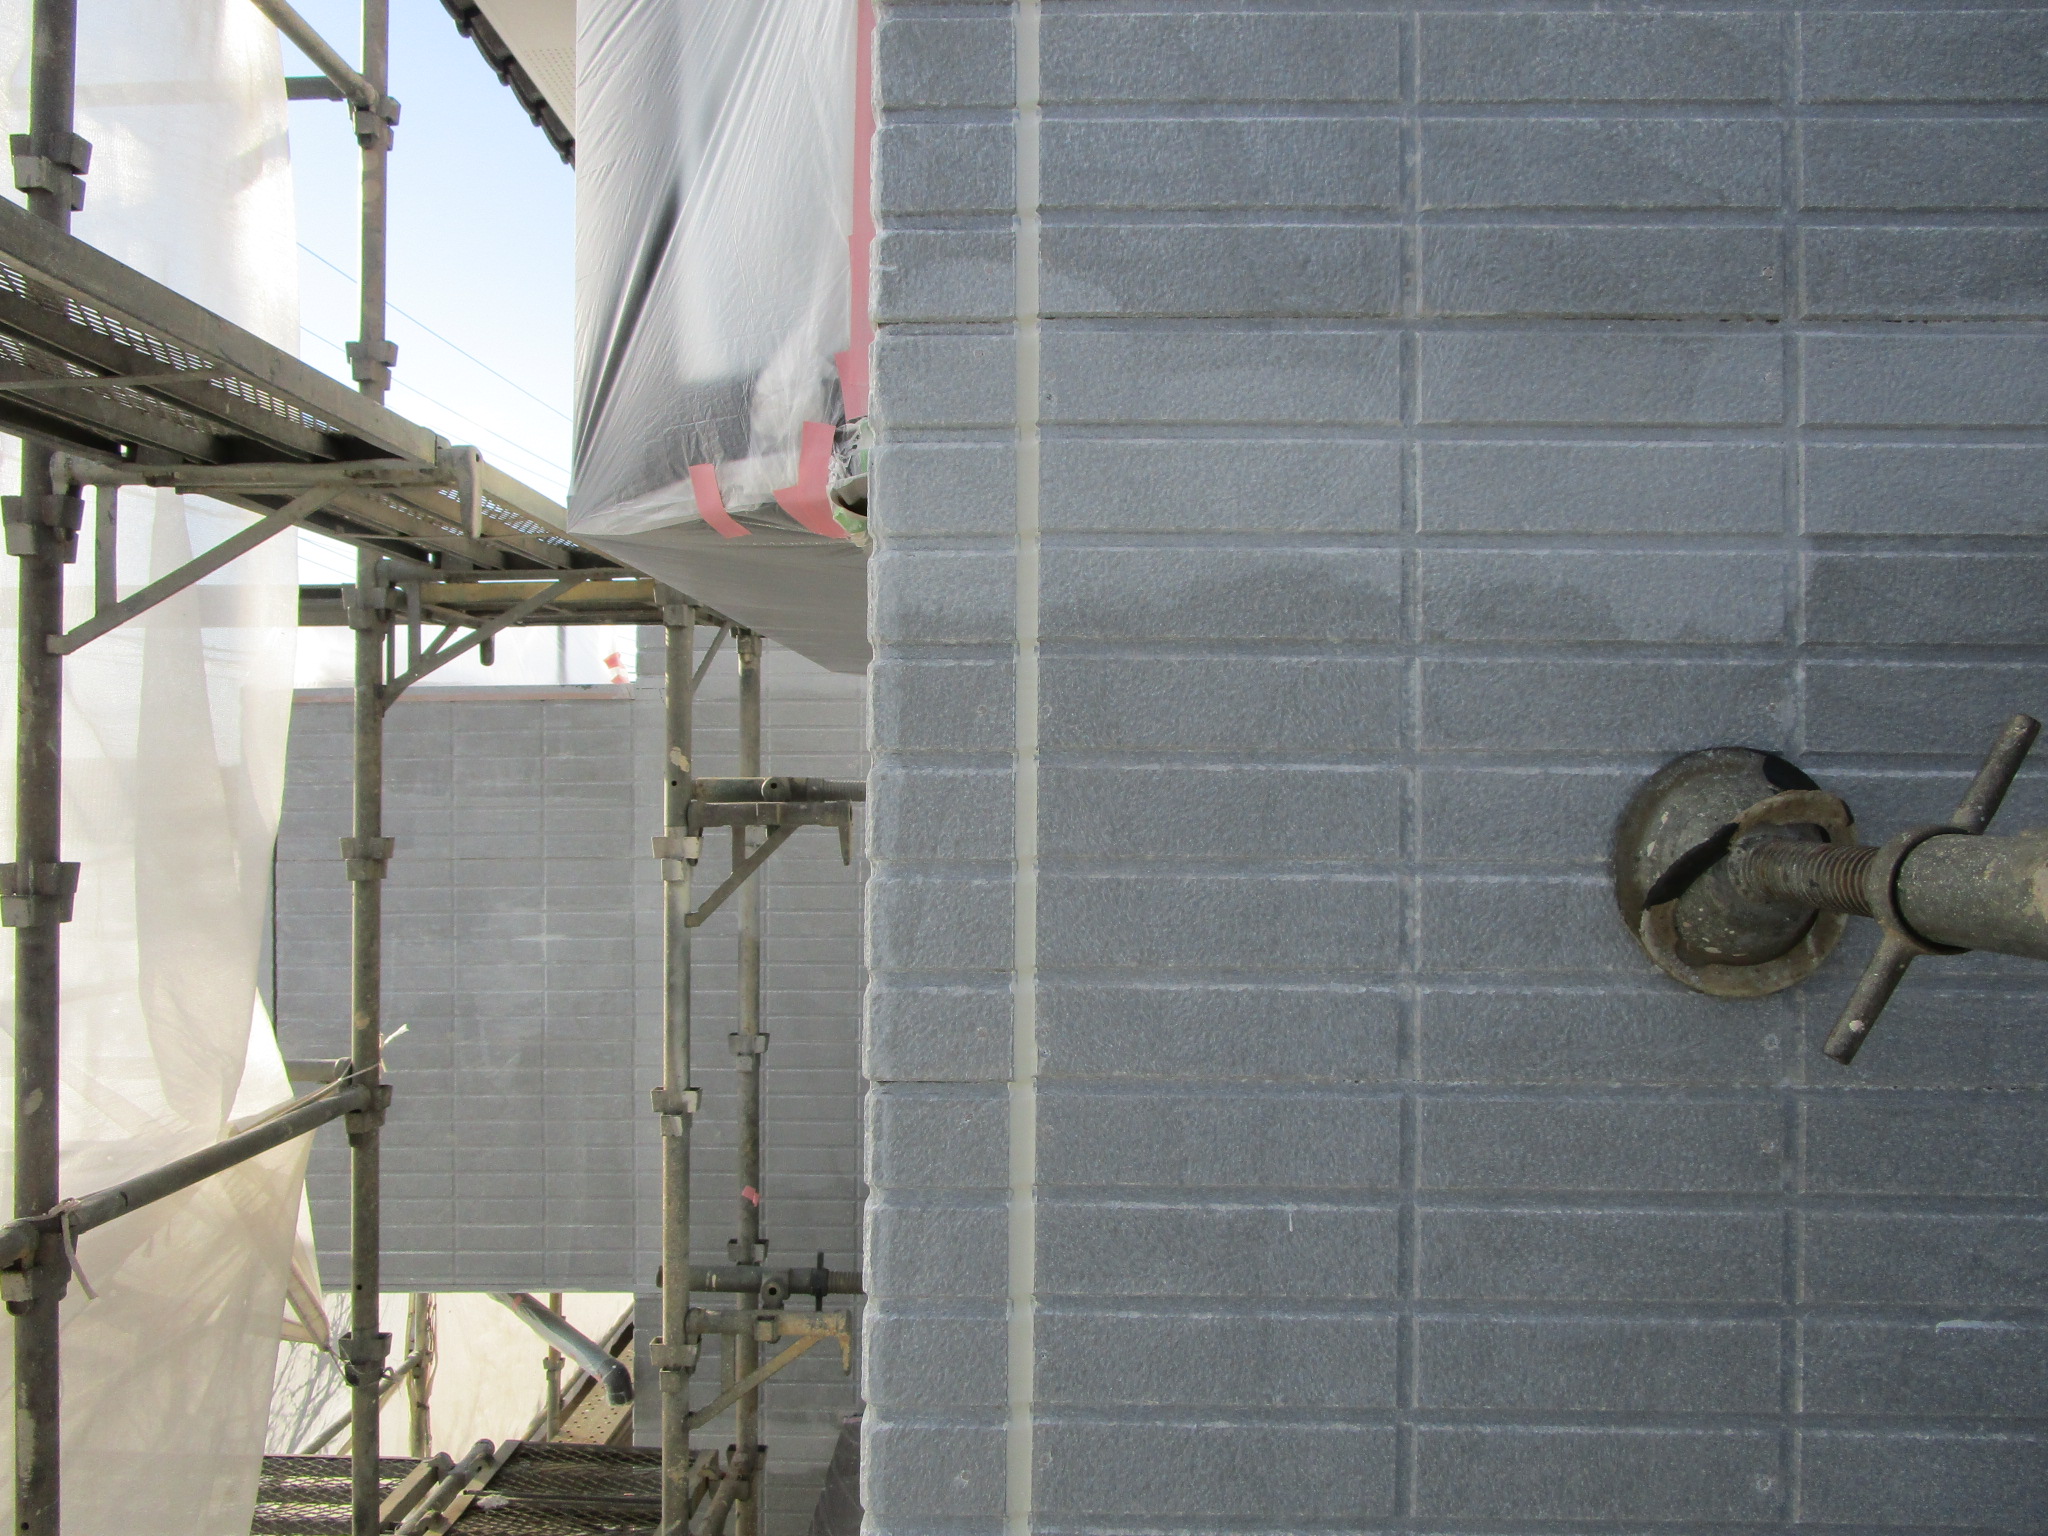
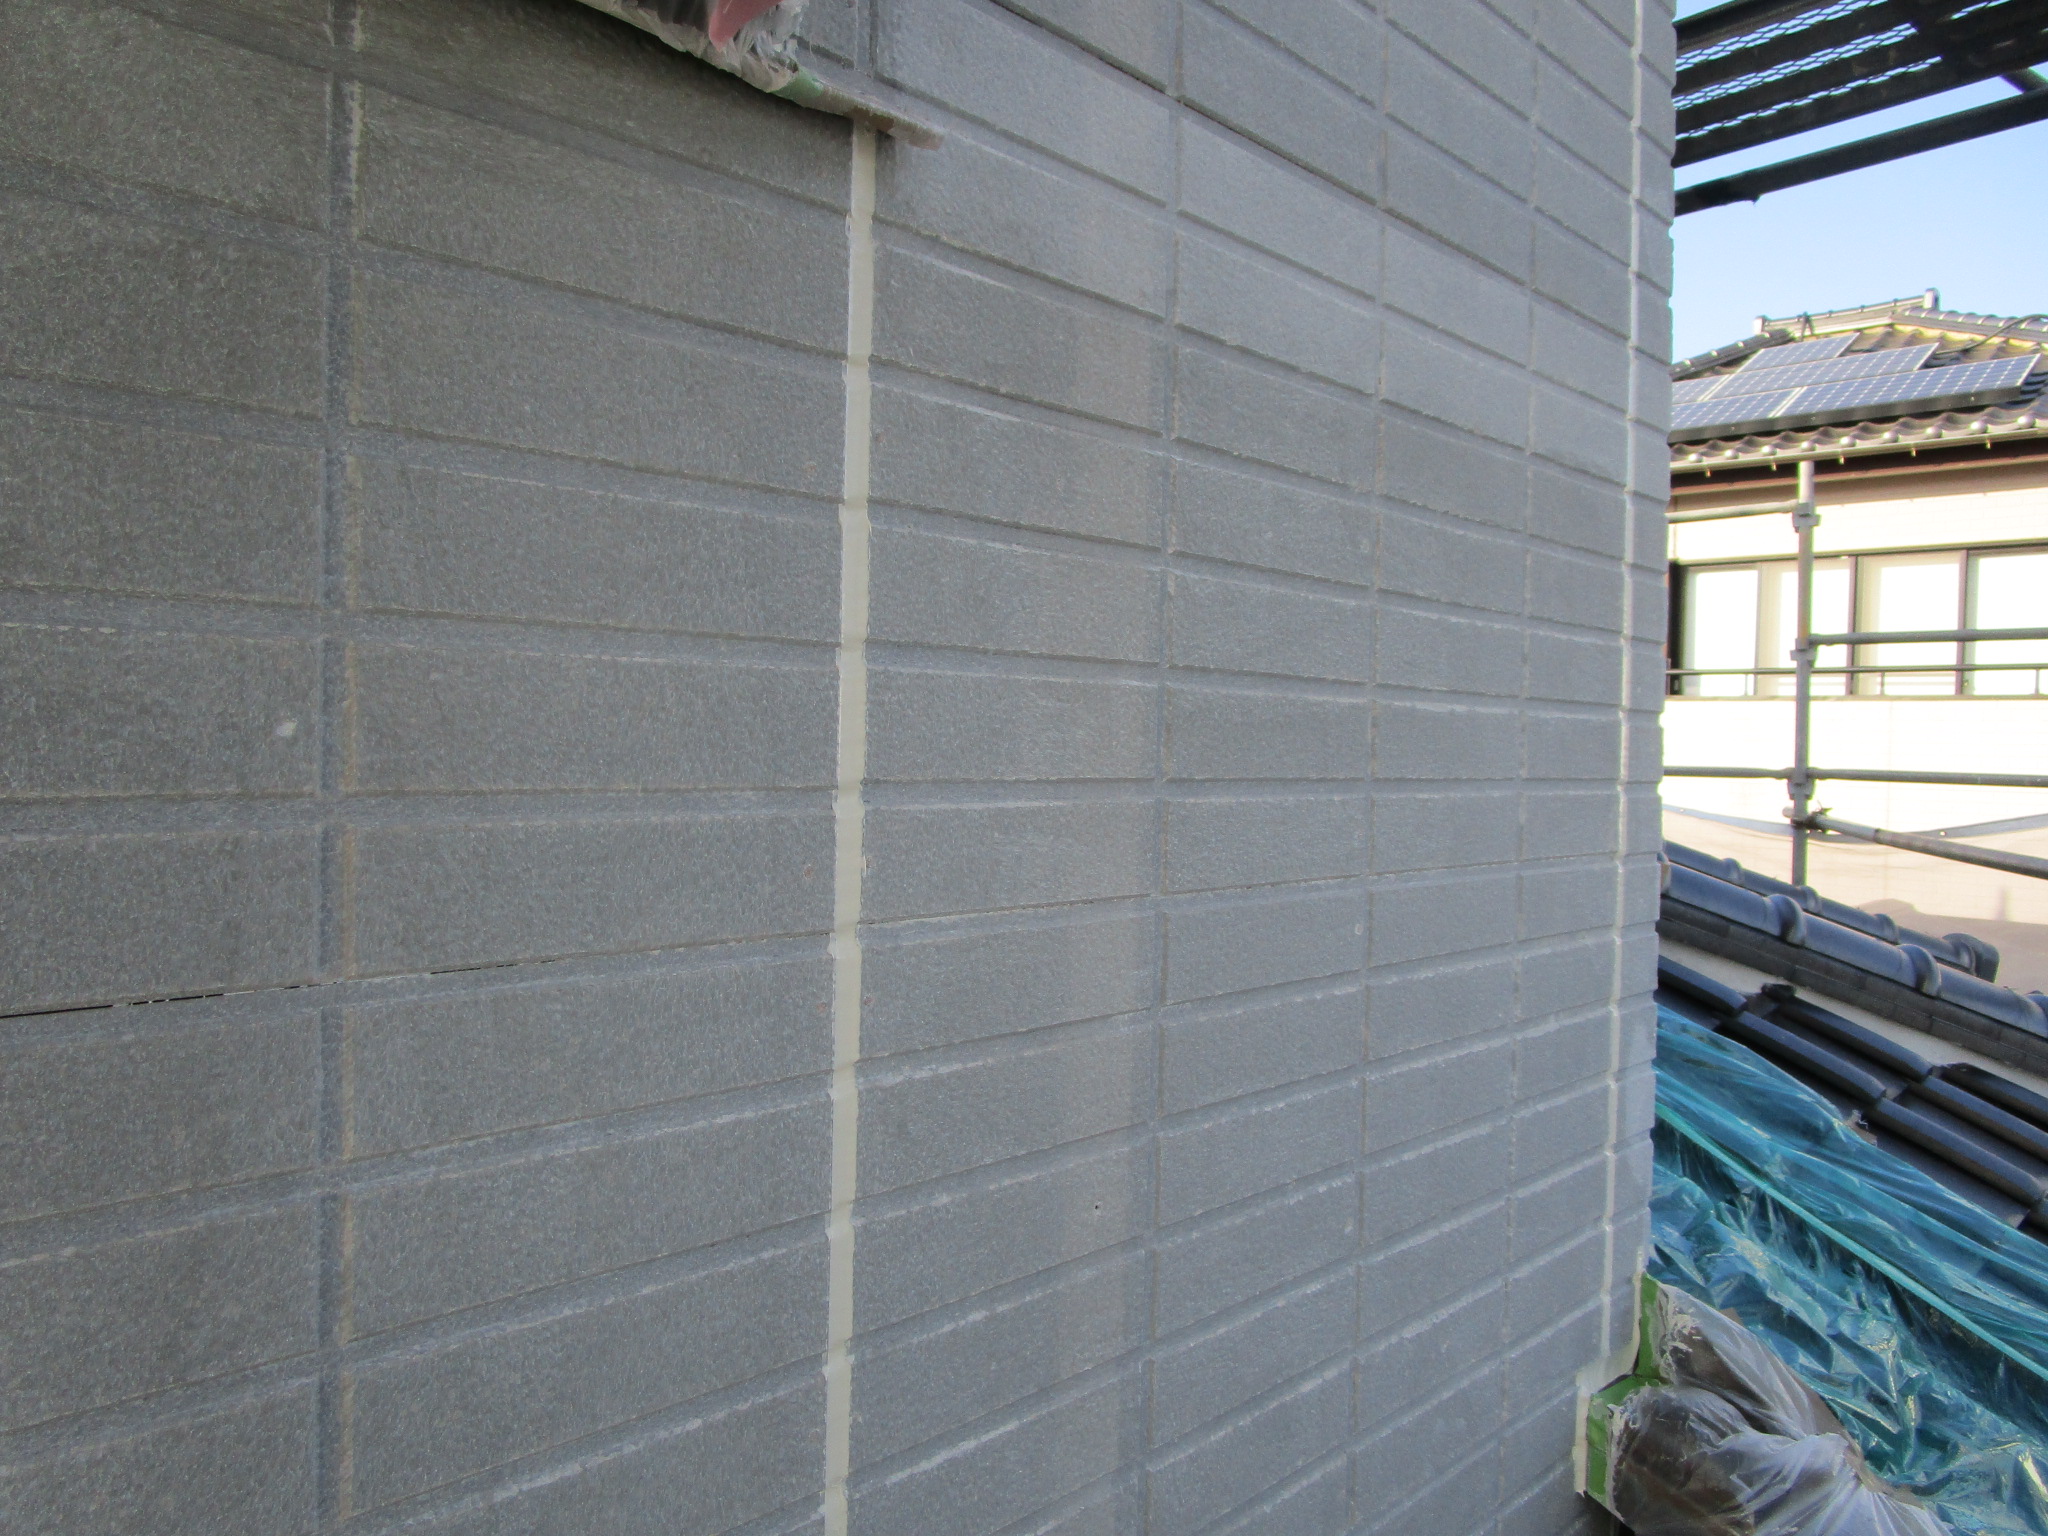
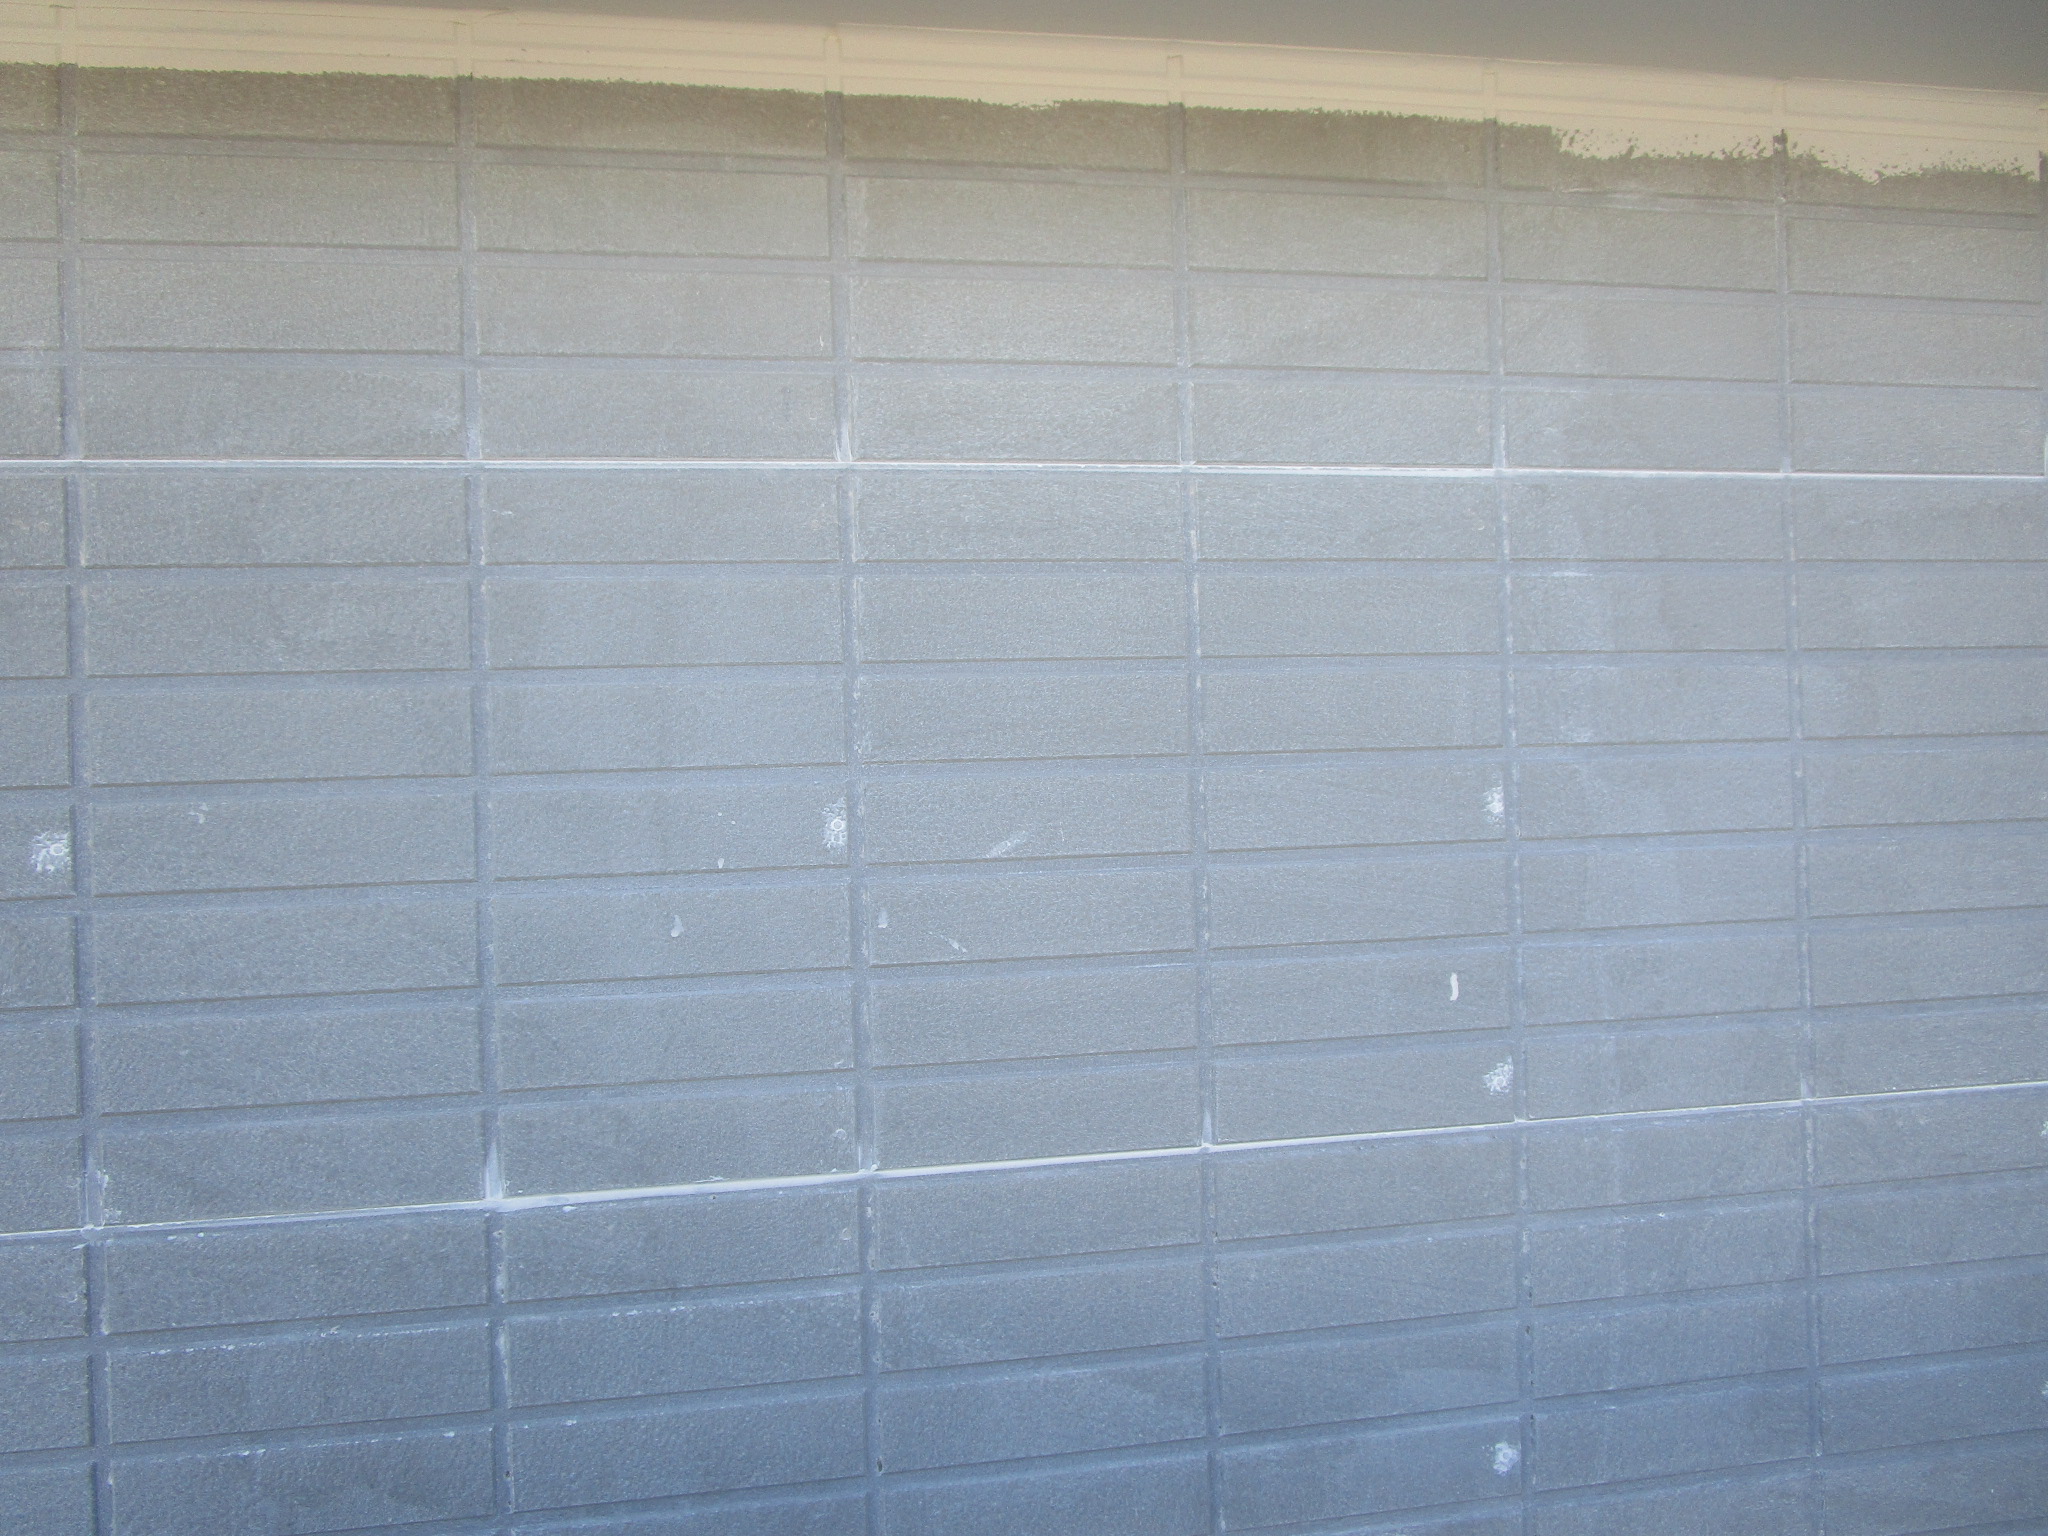
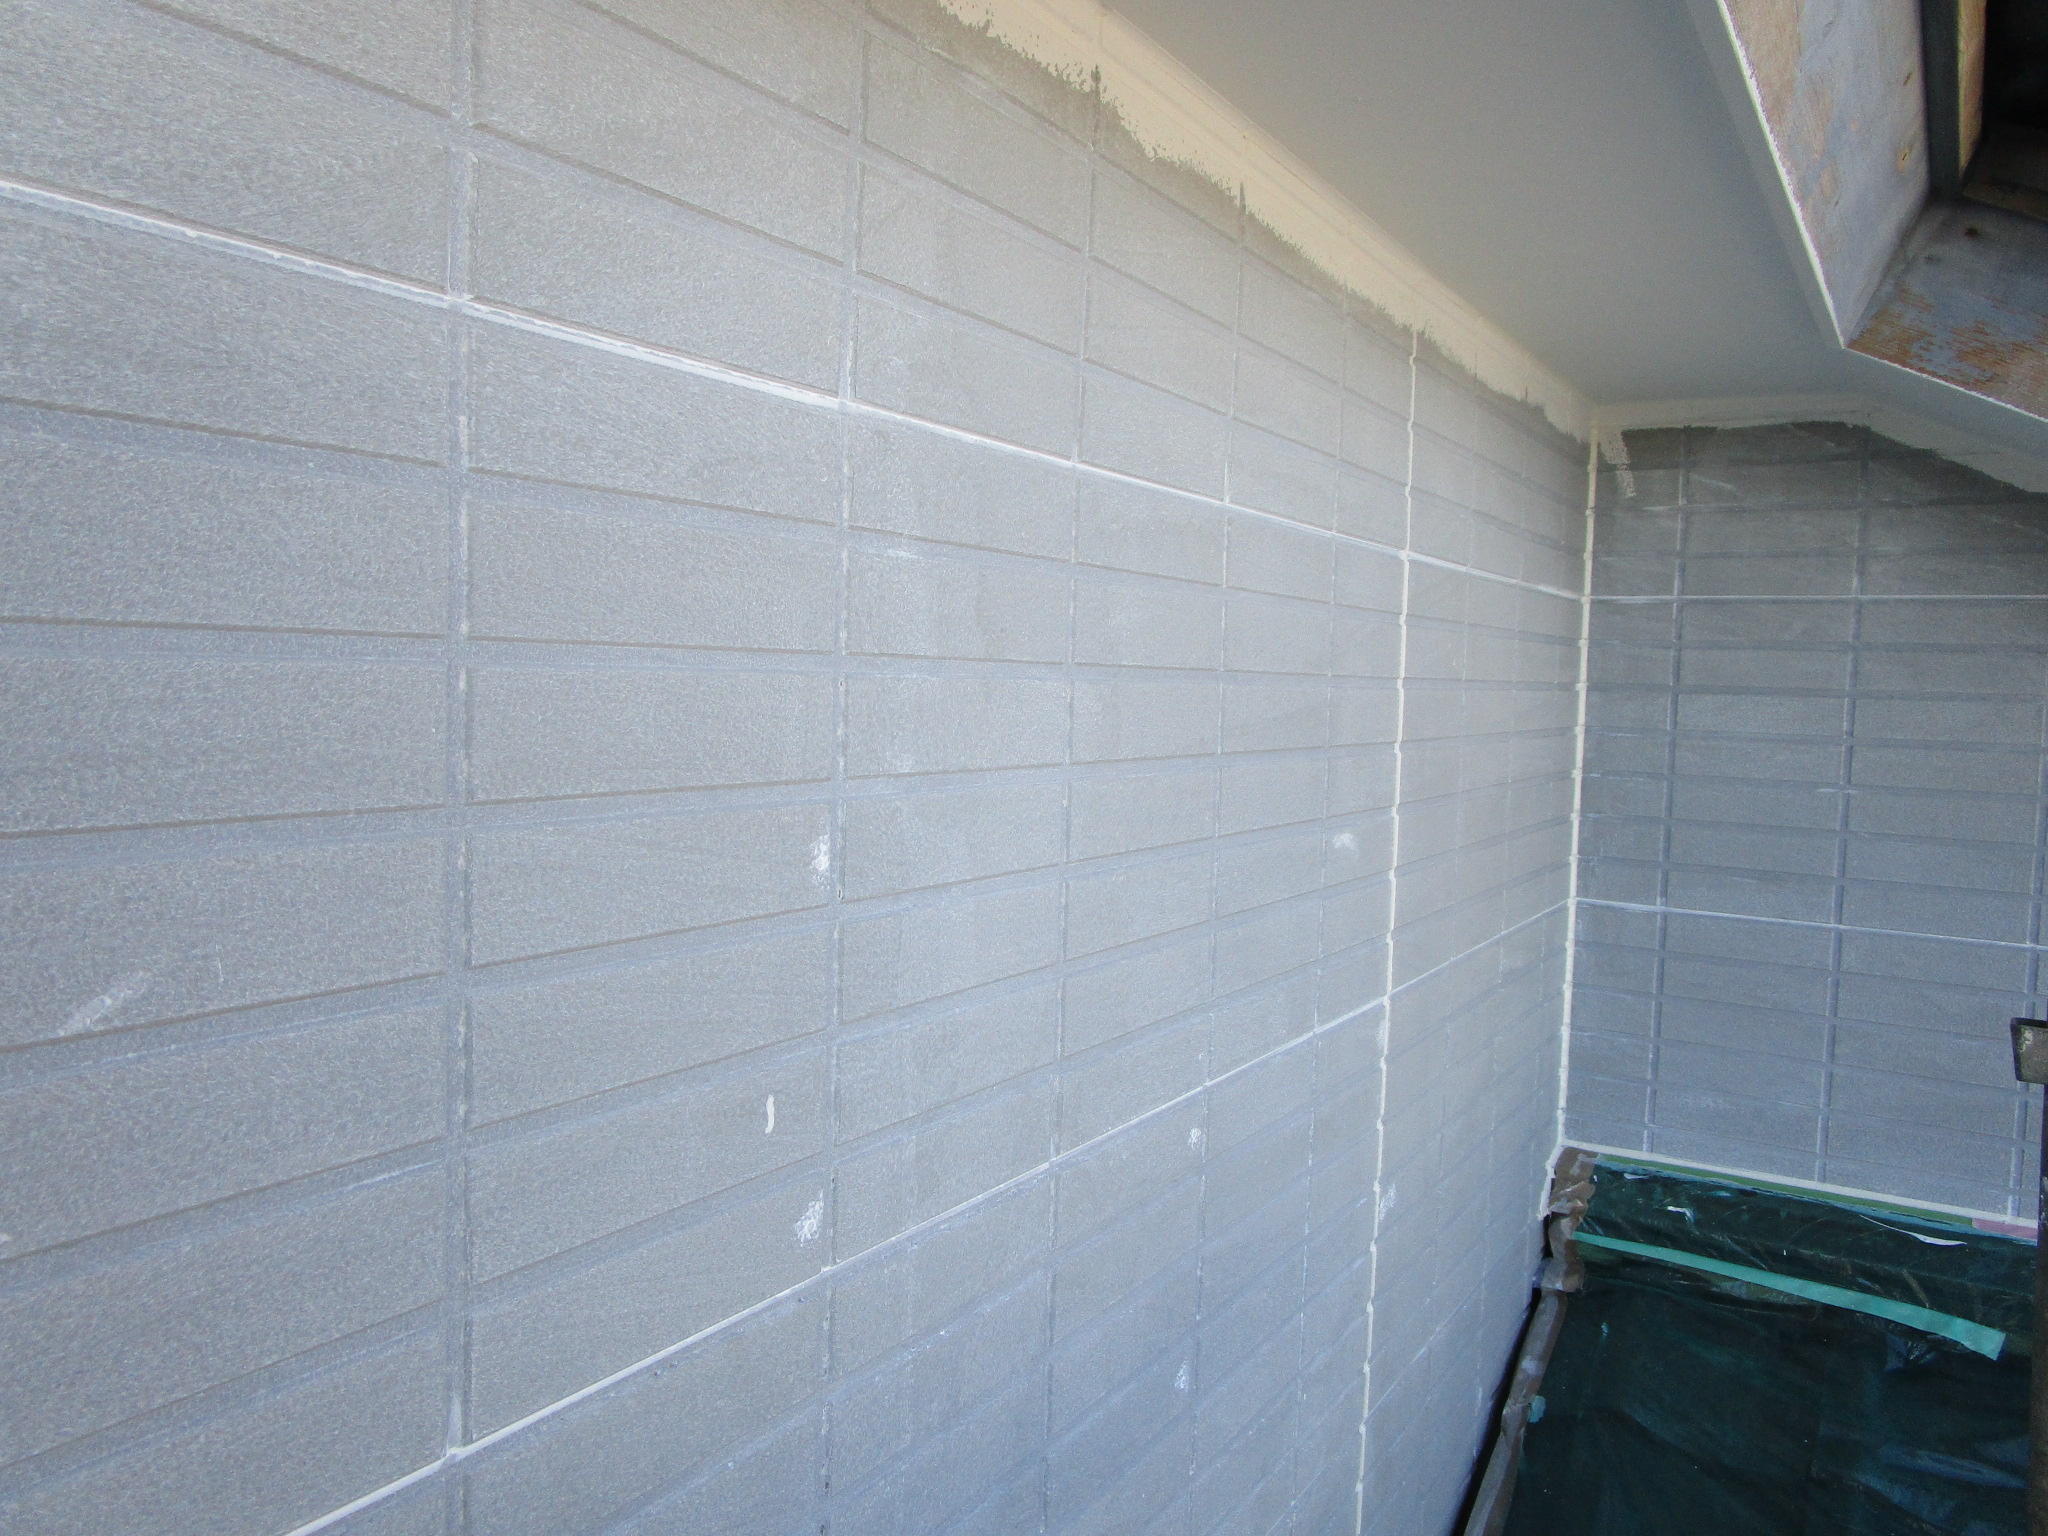
<壁 下塗り>
前回の壁の工程で強固な下地作りは出来ているのでフィラー系のヘアークラックなど充填する機能を備え持った下塗り塗装します。
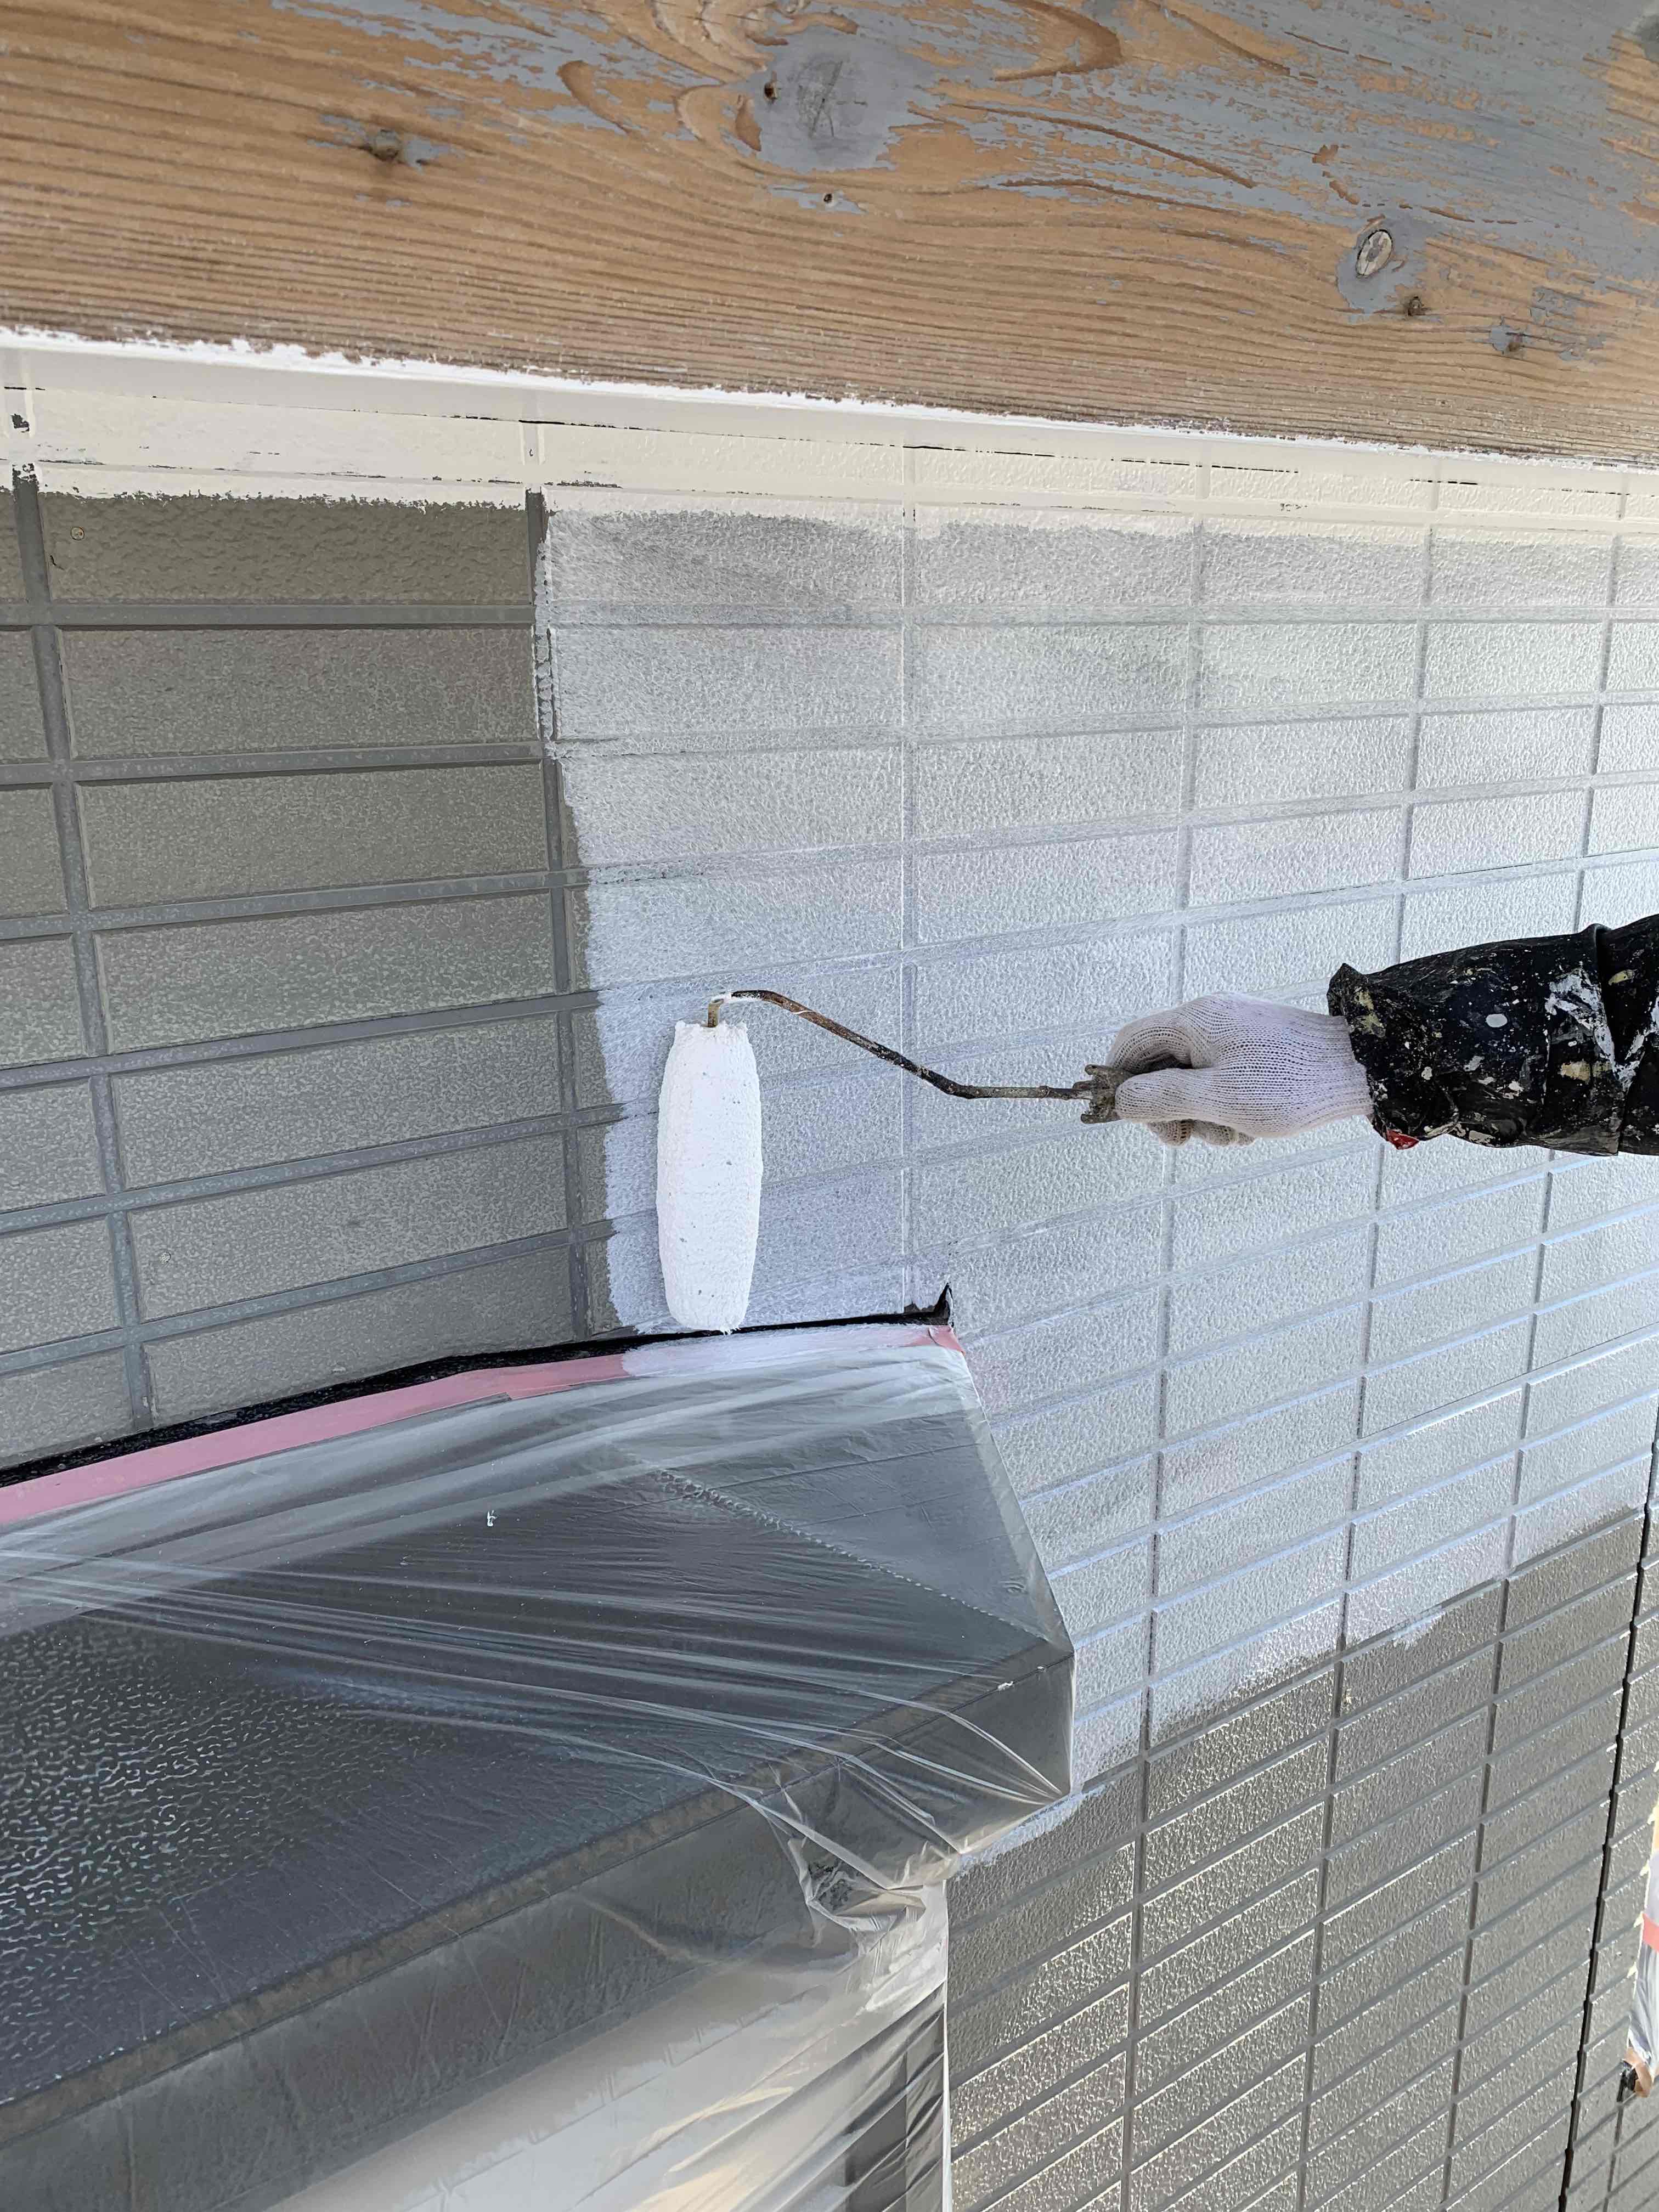
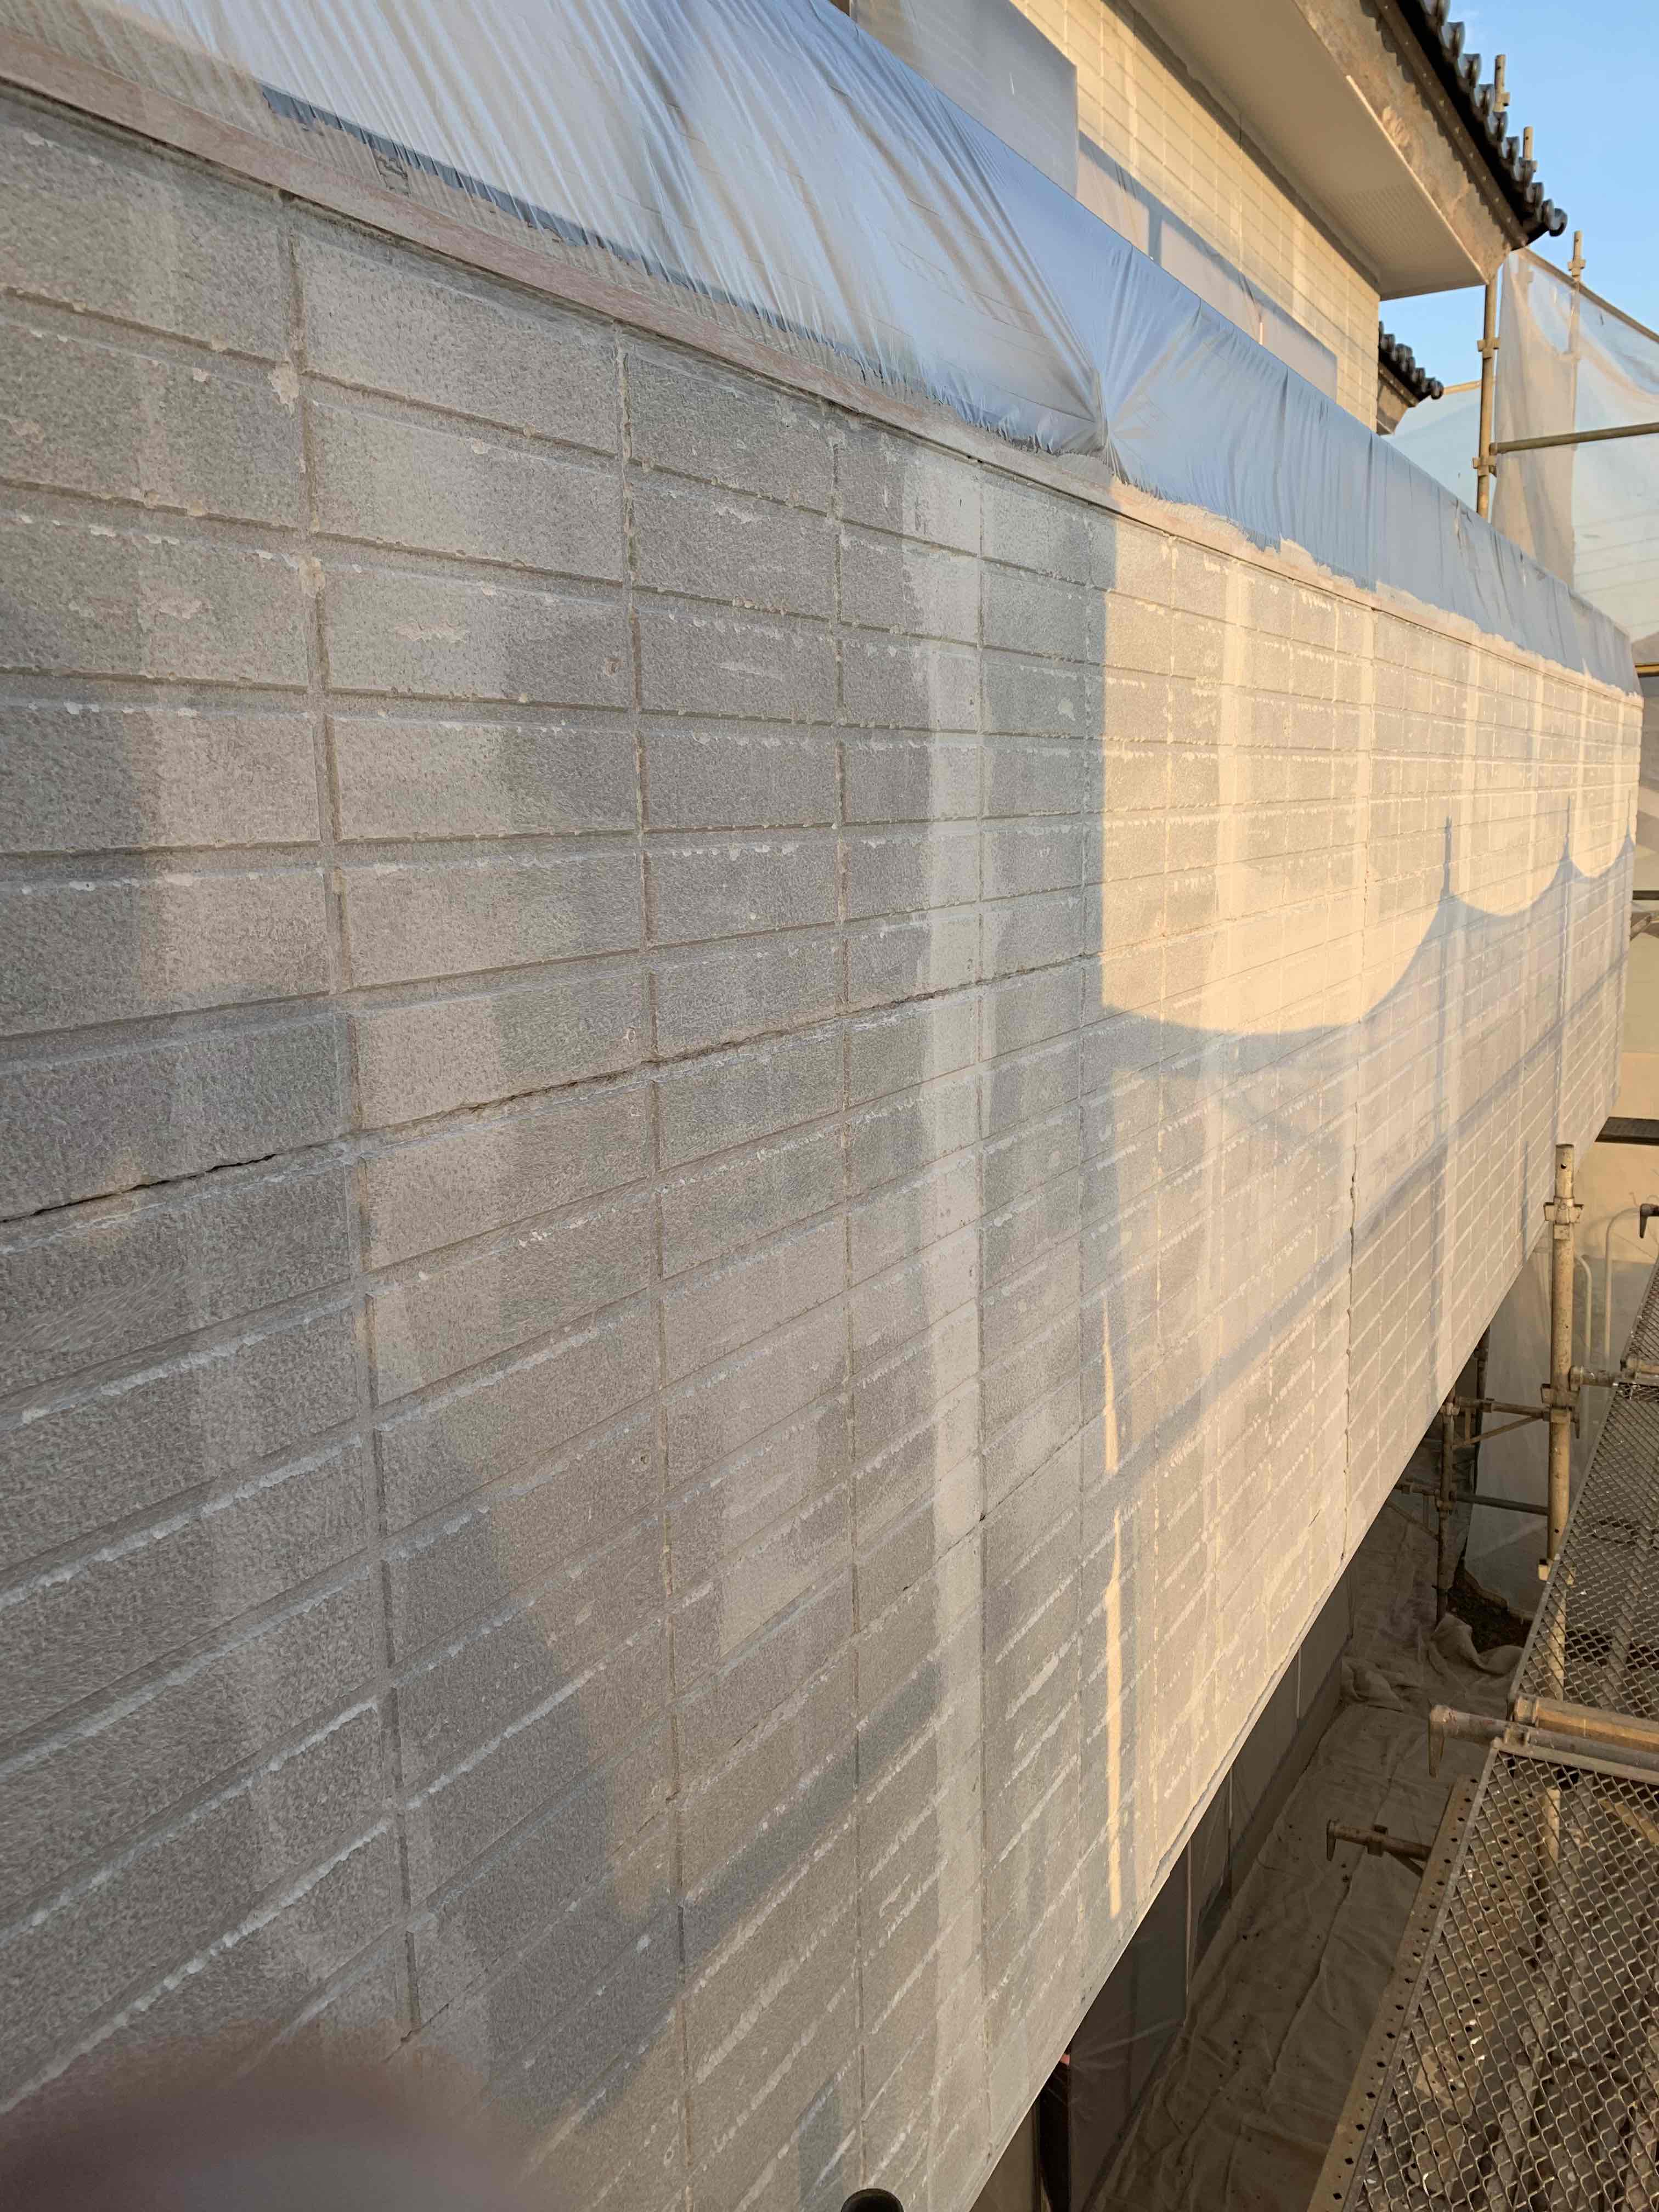
特にベランダ外壁は酷かったのでフィラー系の下塗り2回塗装しました。
次の日になりますが<コーキング打ち込み>します。
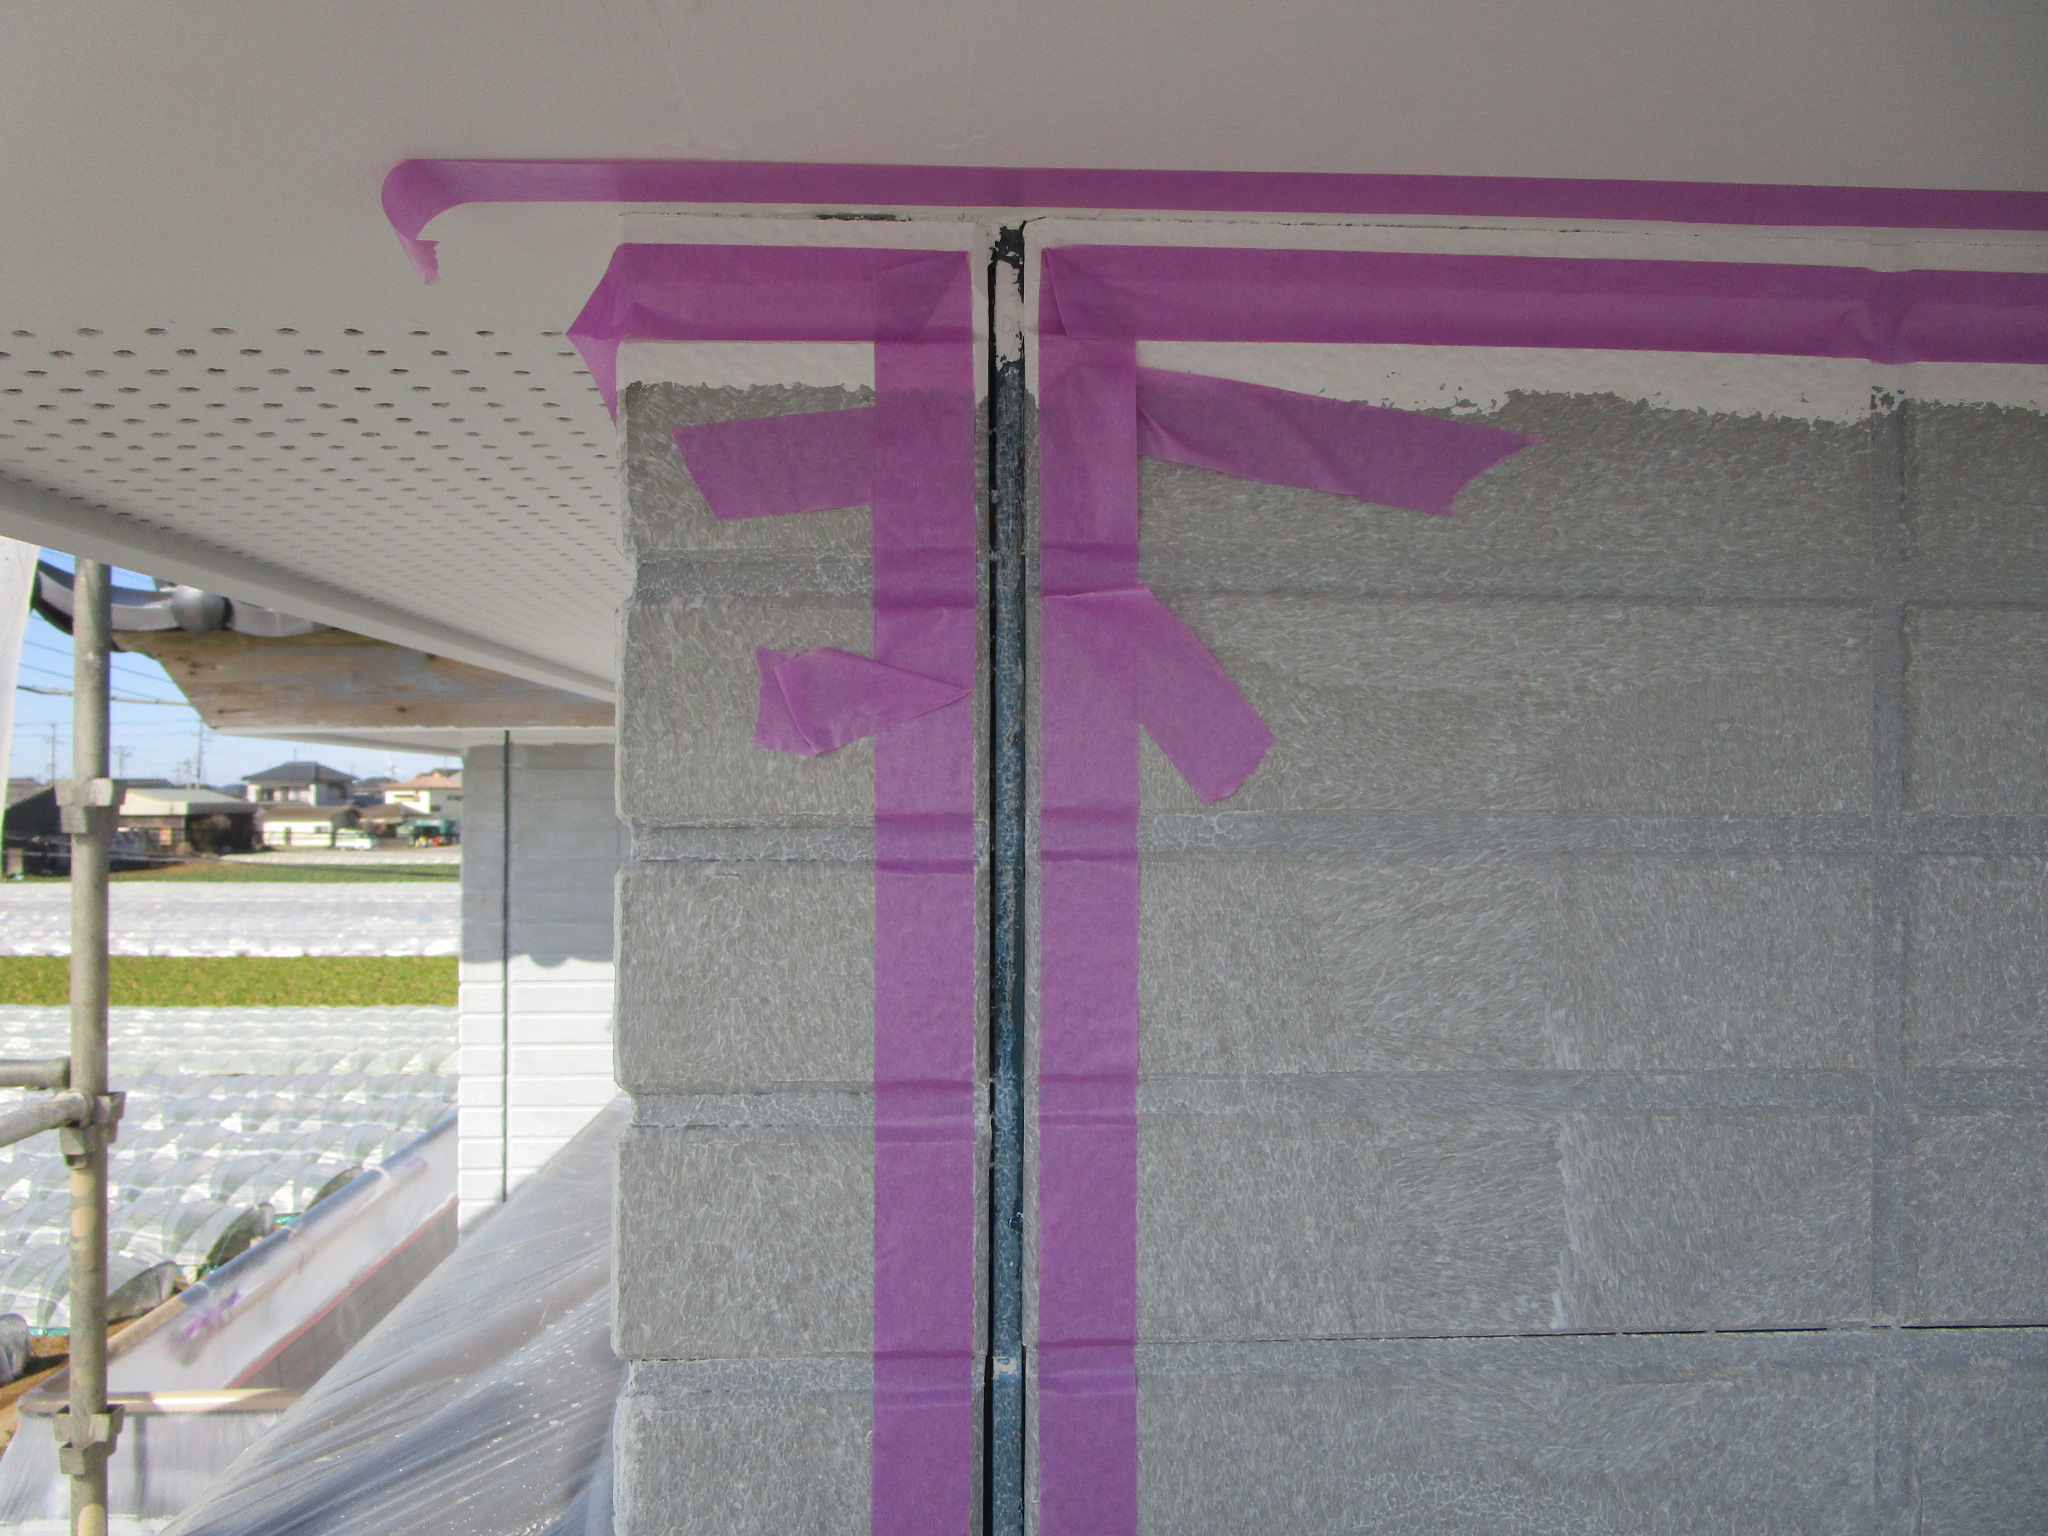
コーキングシーラー
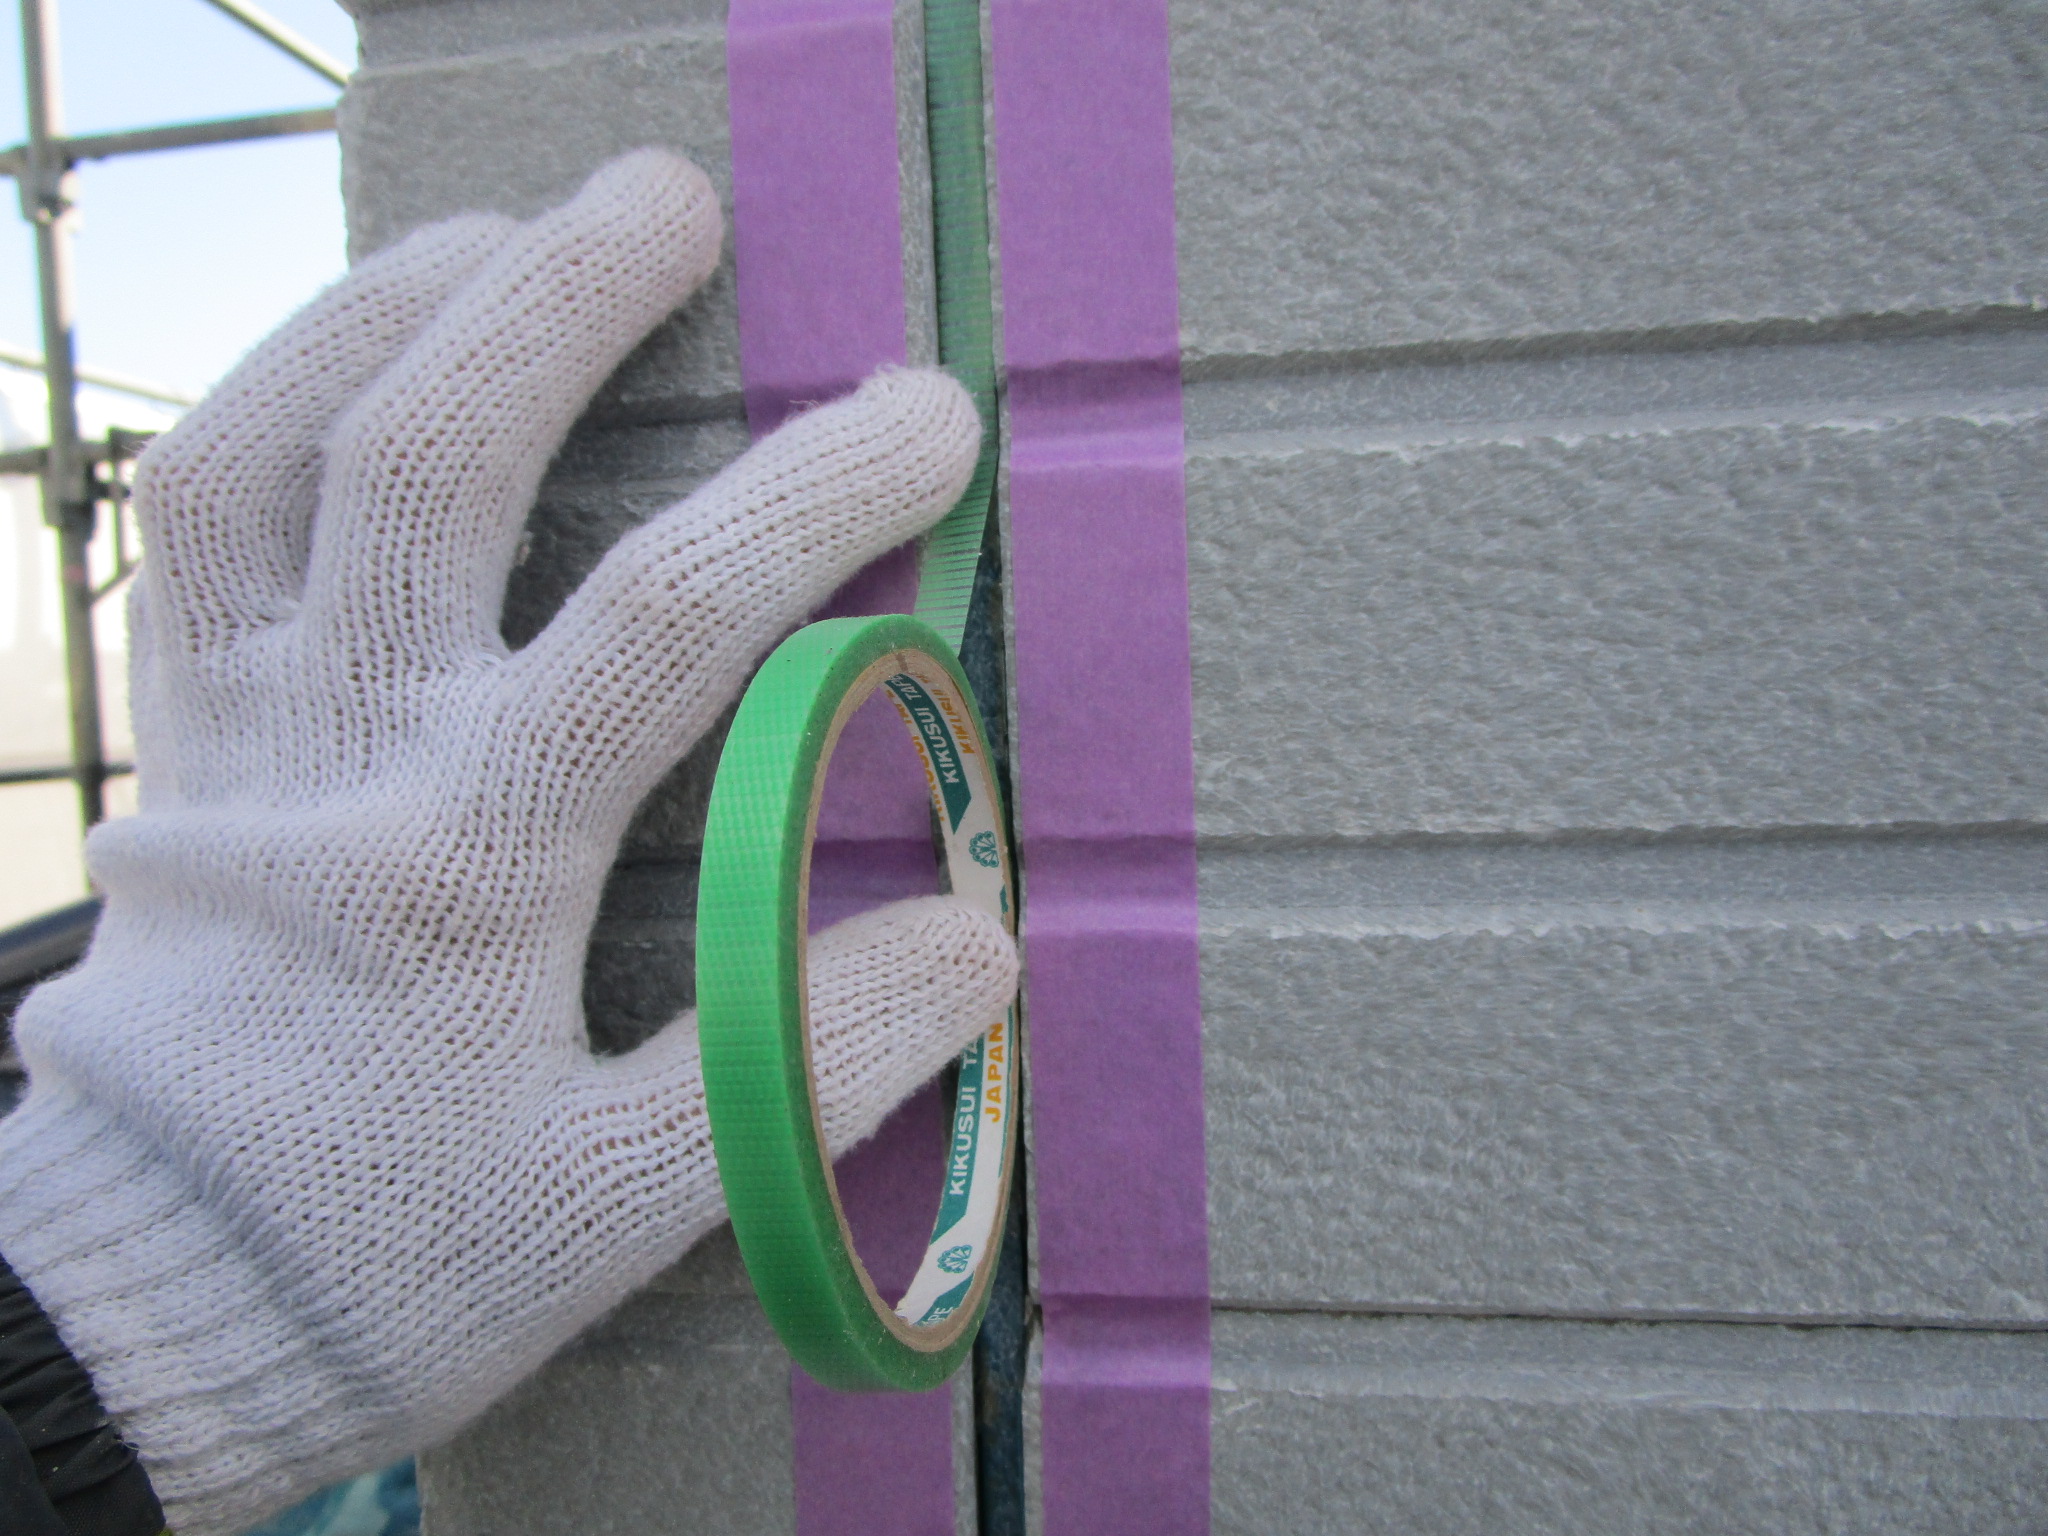
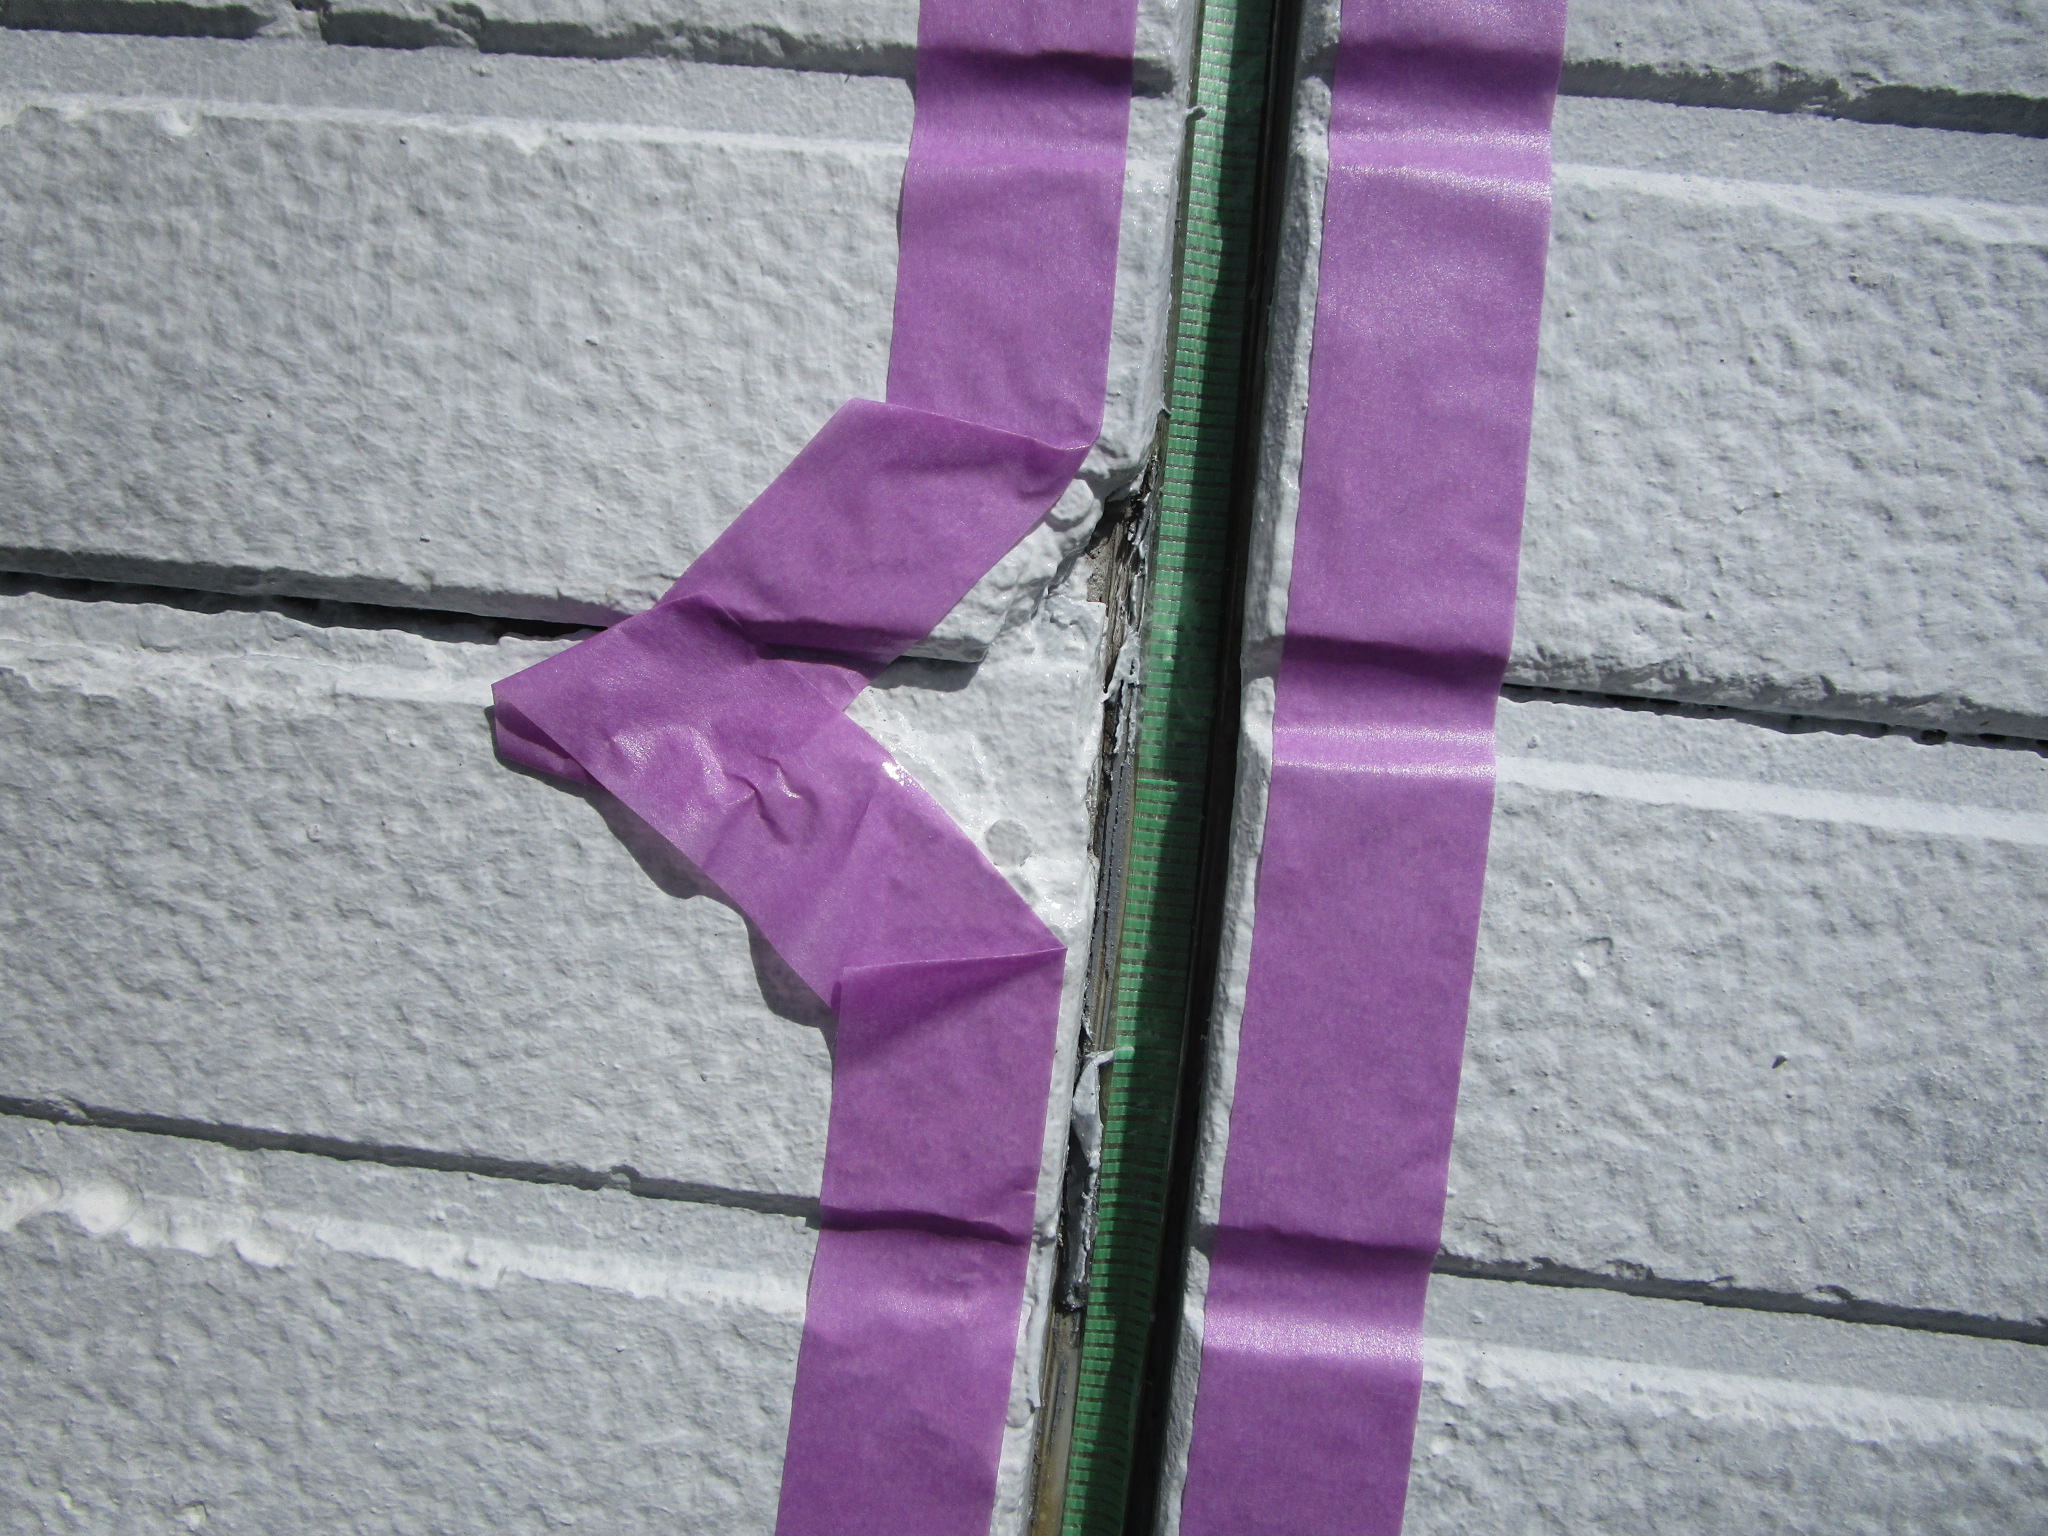
ボンドブレーカー貼り付け
2面接着の為、ボンドブレーカ貼り付けします。

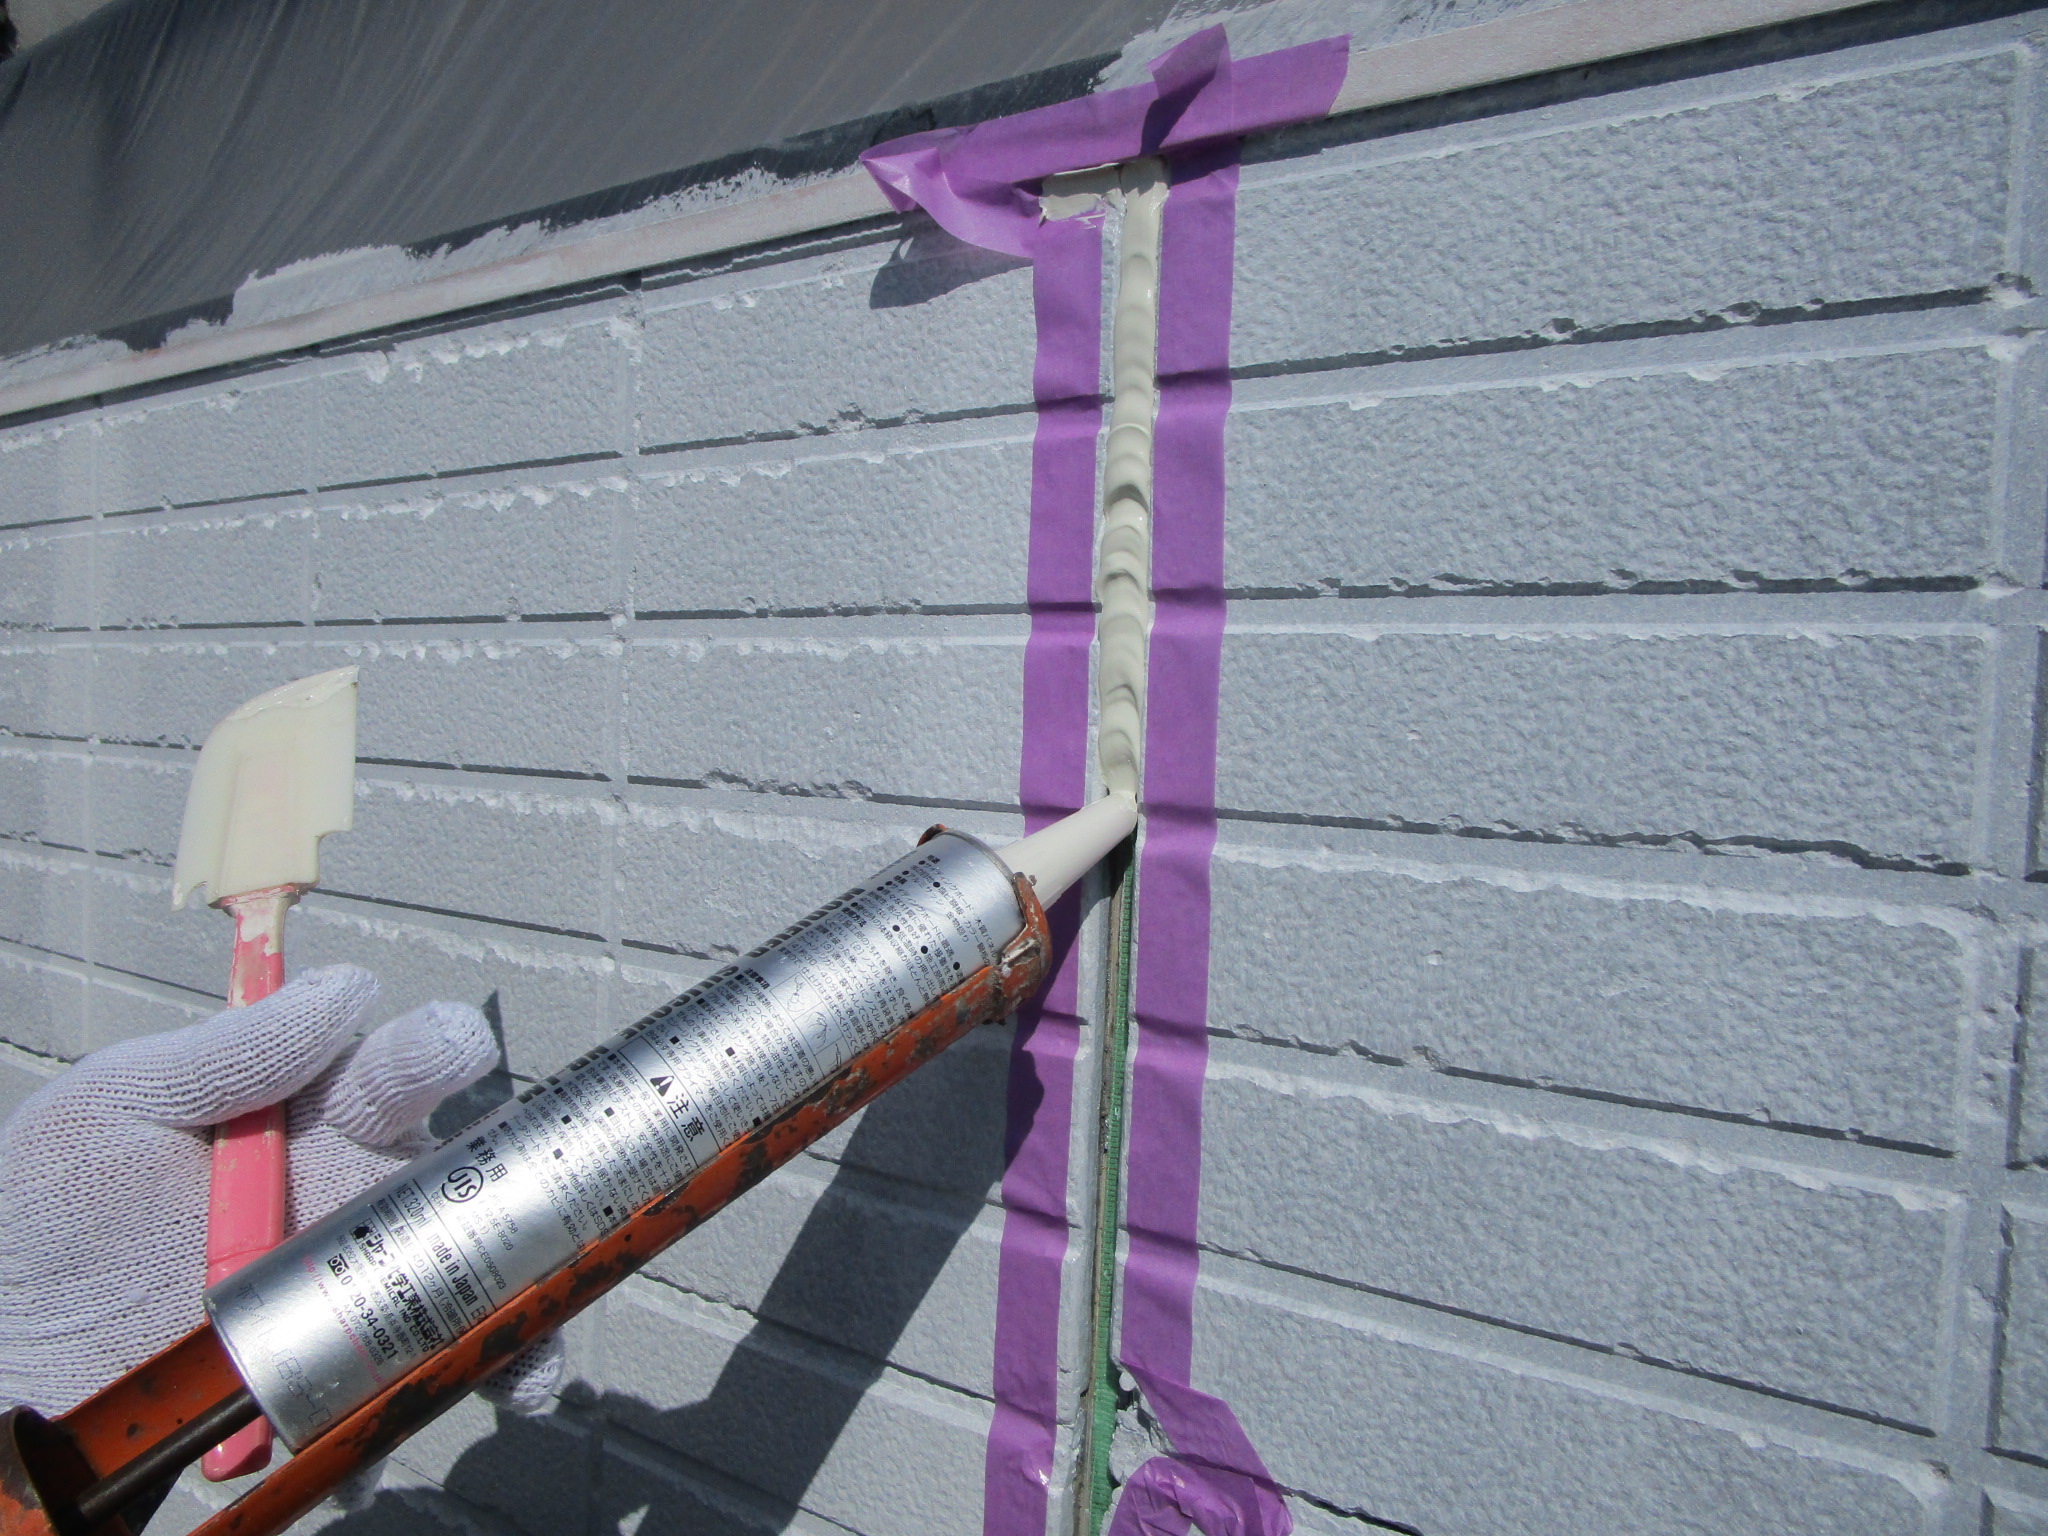
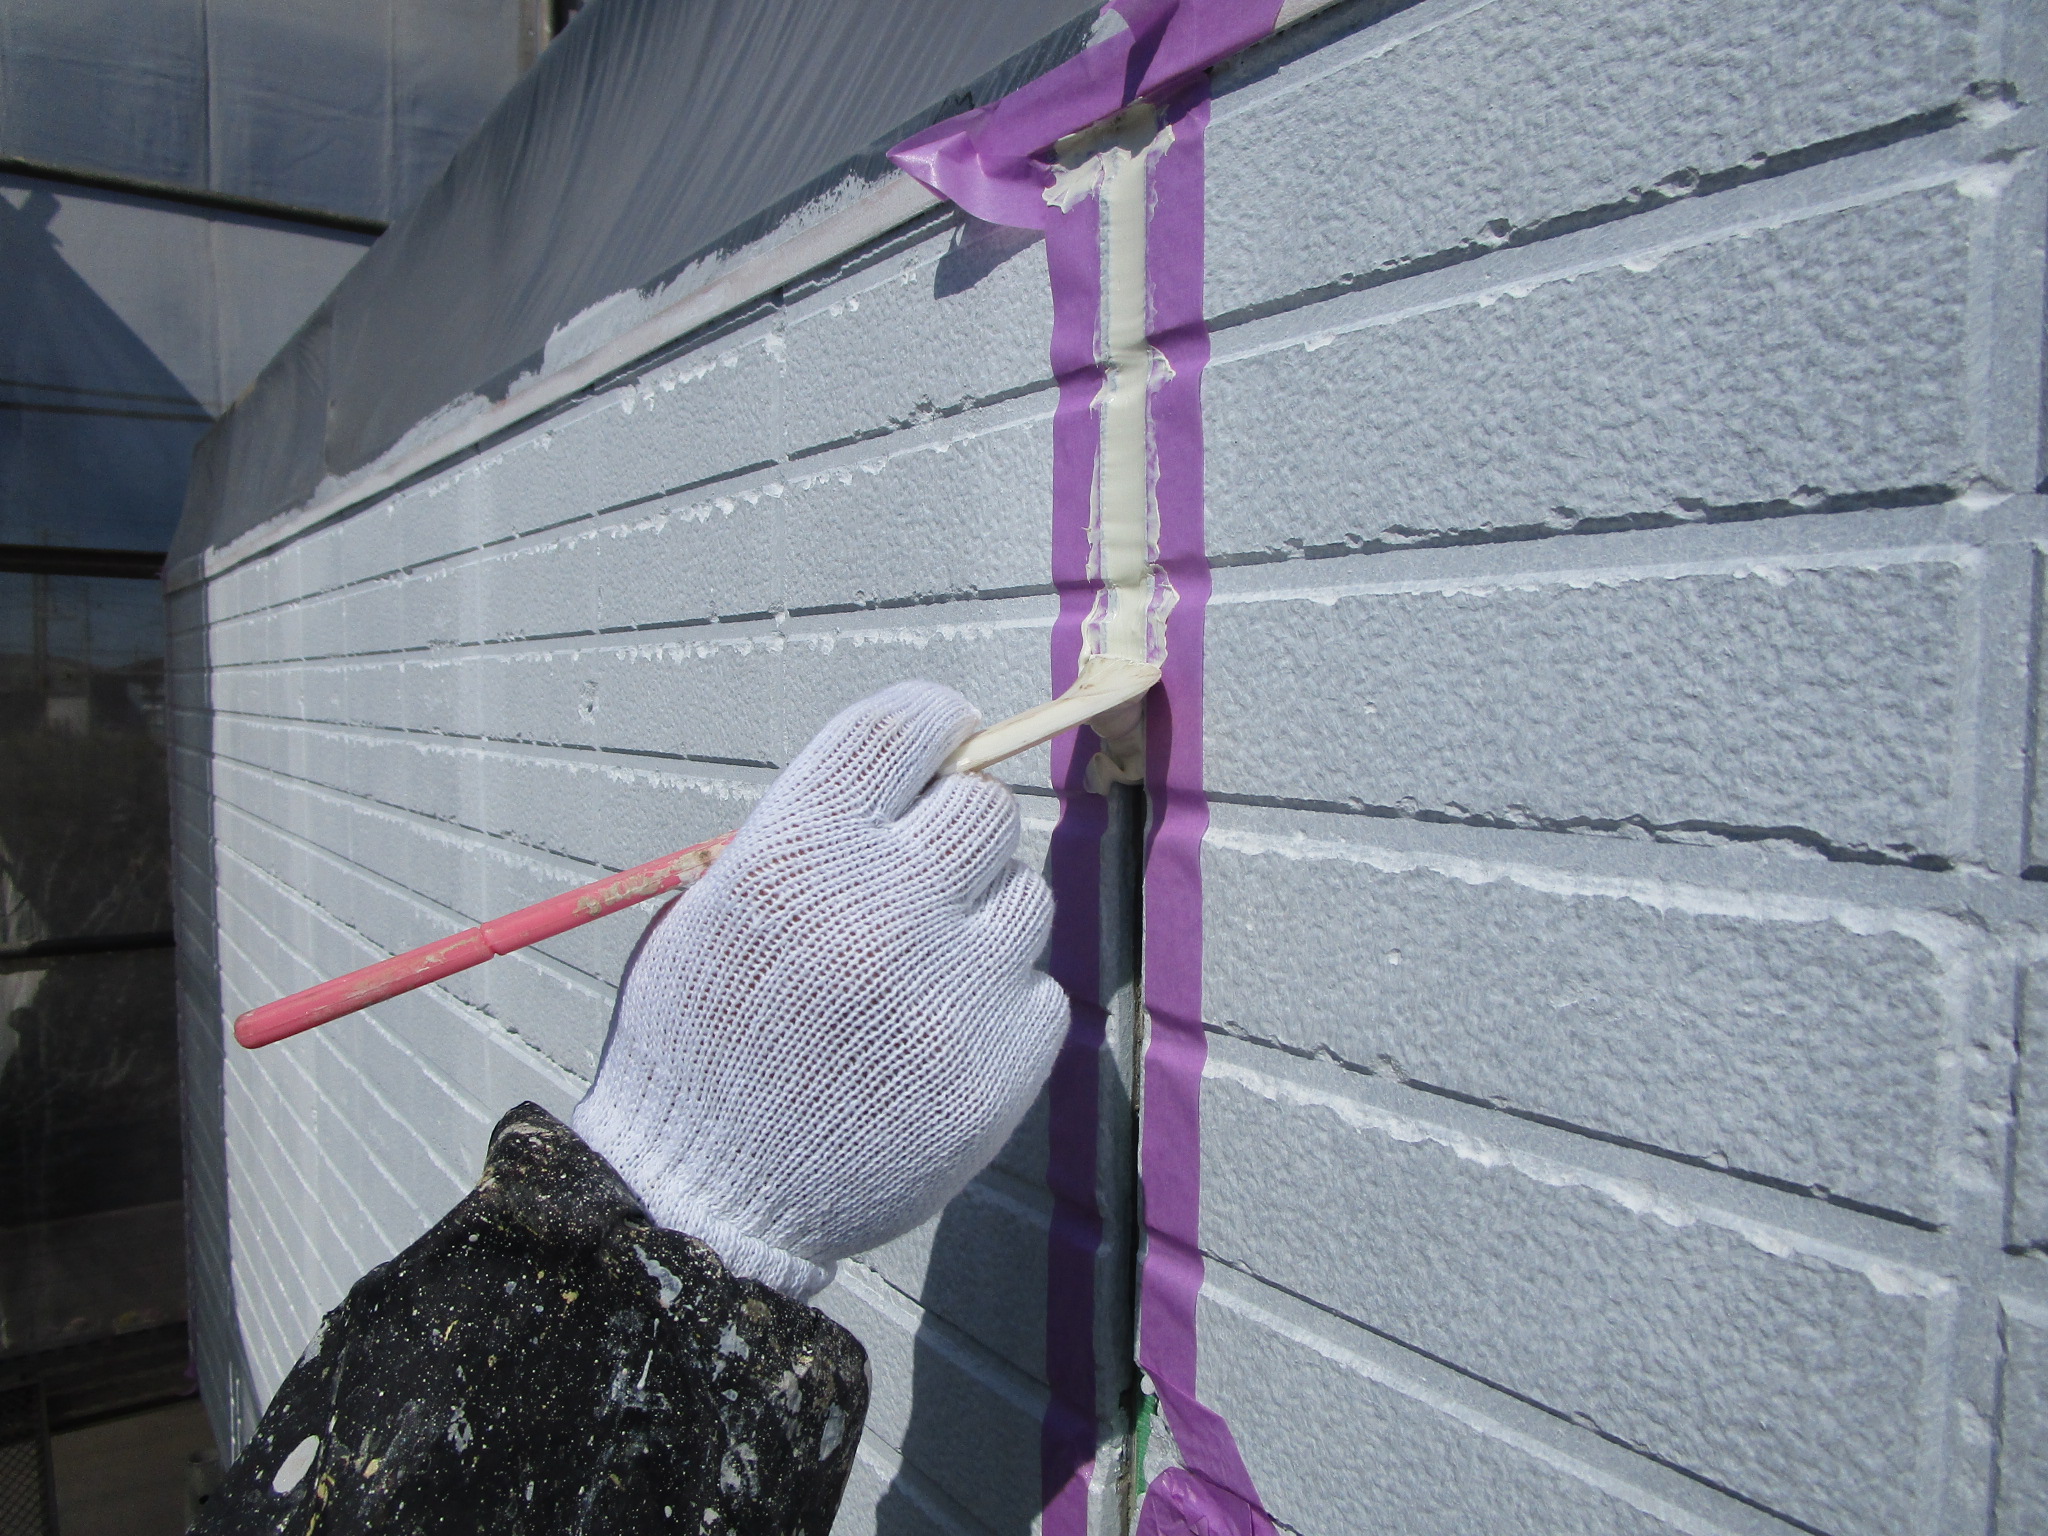
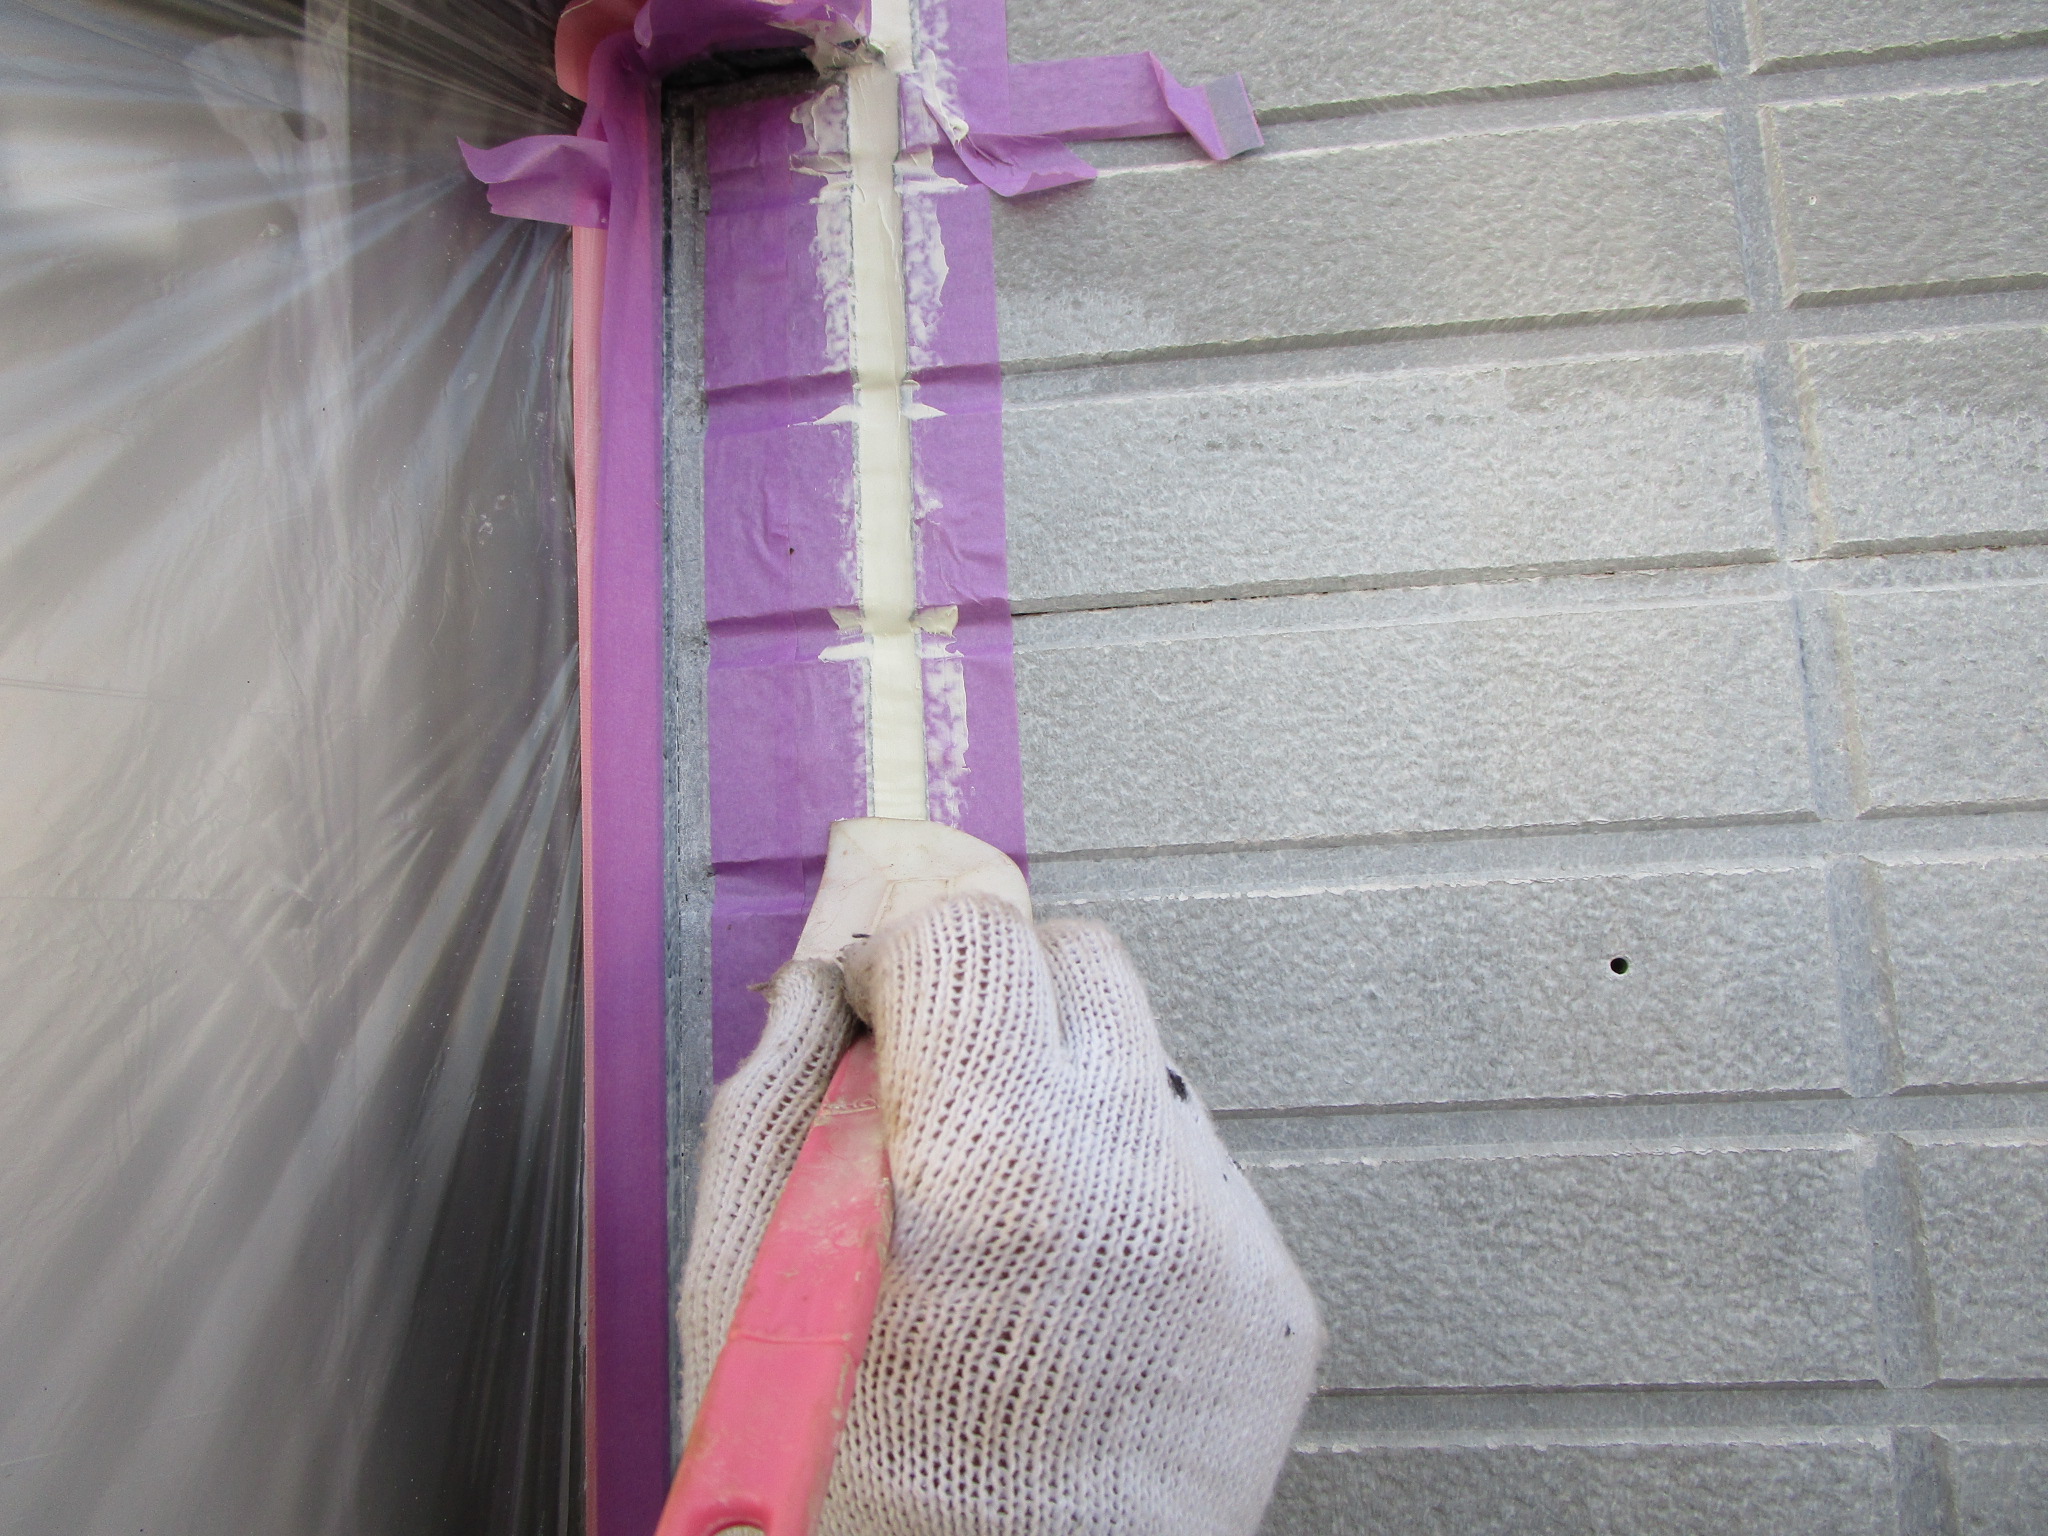

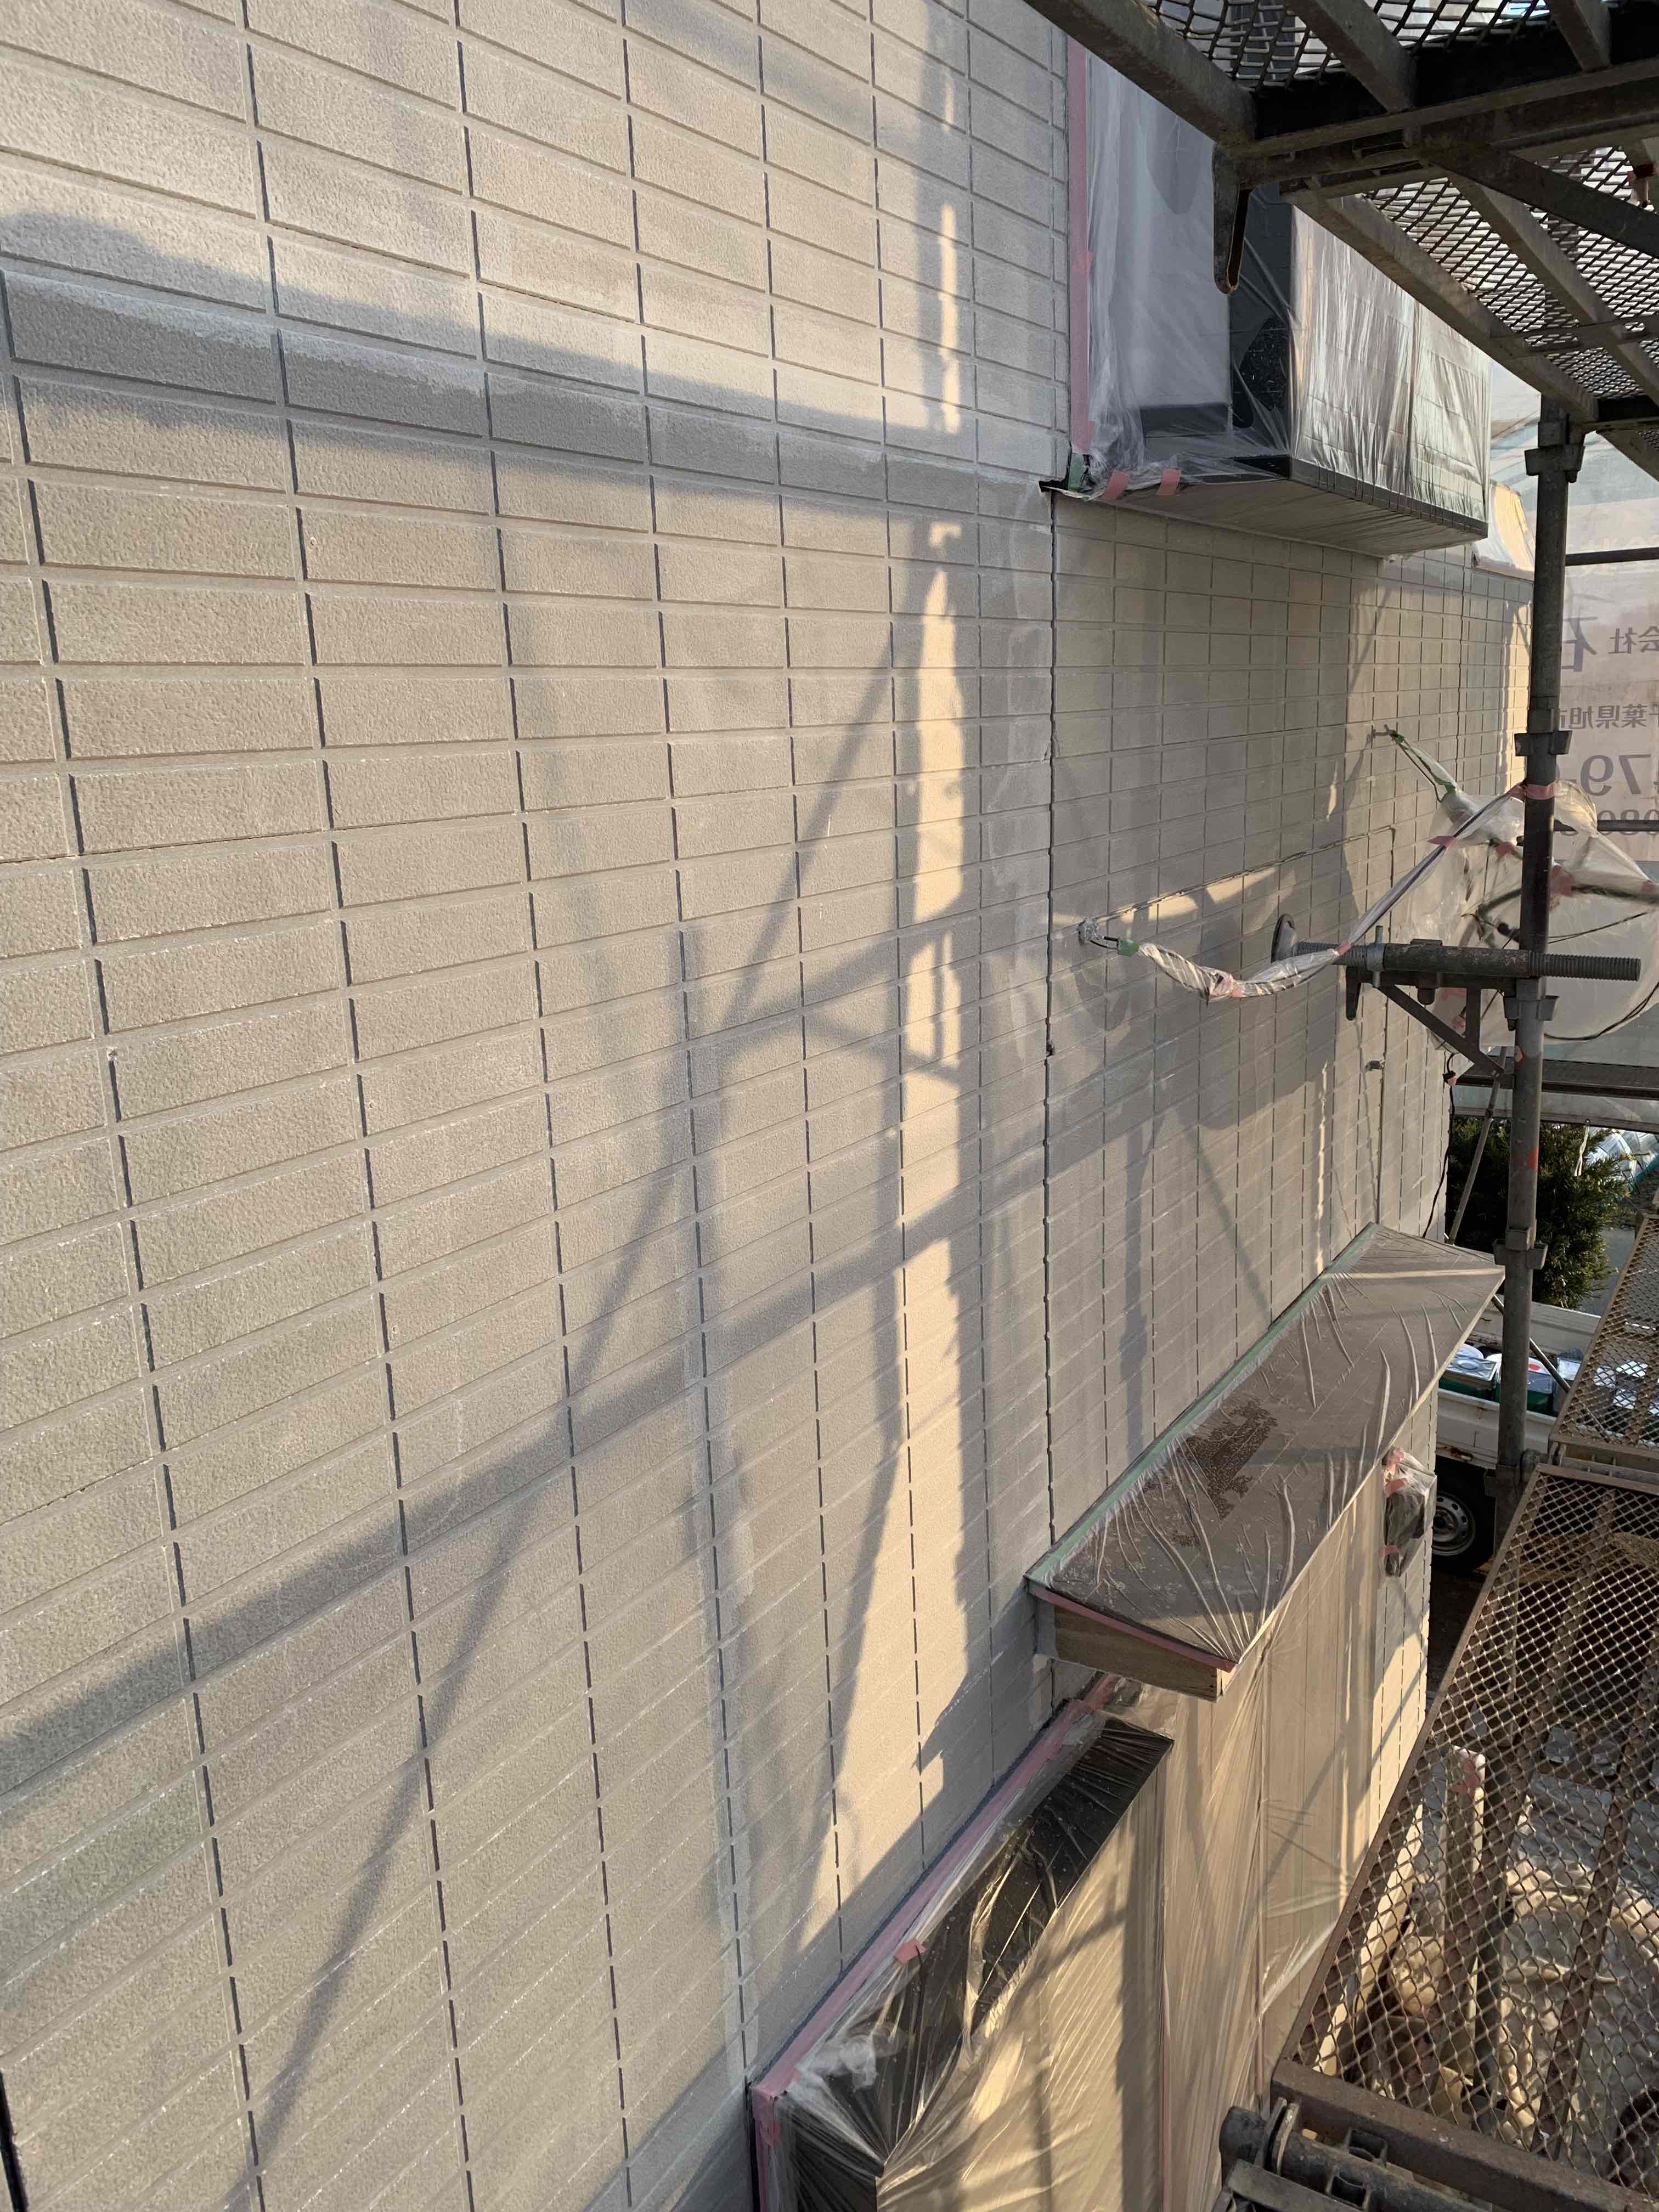
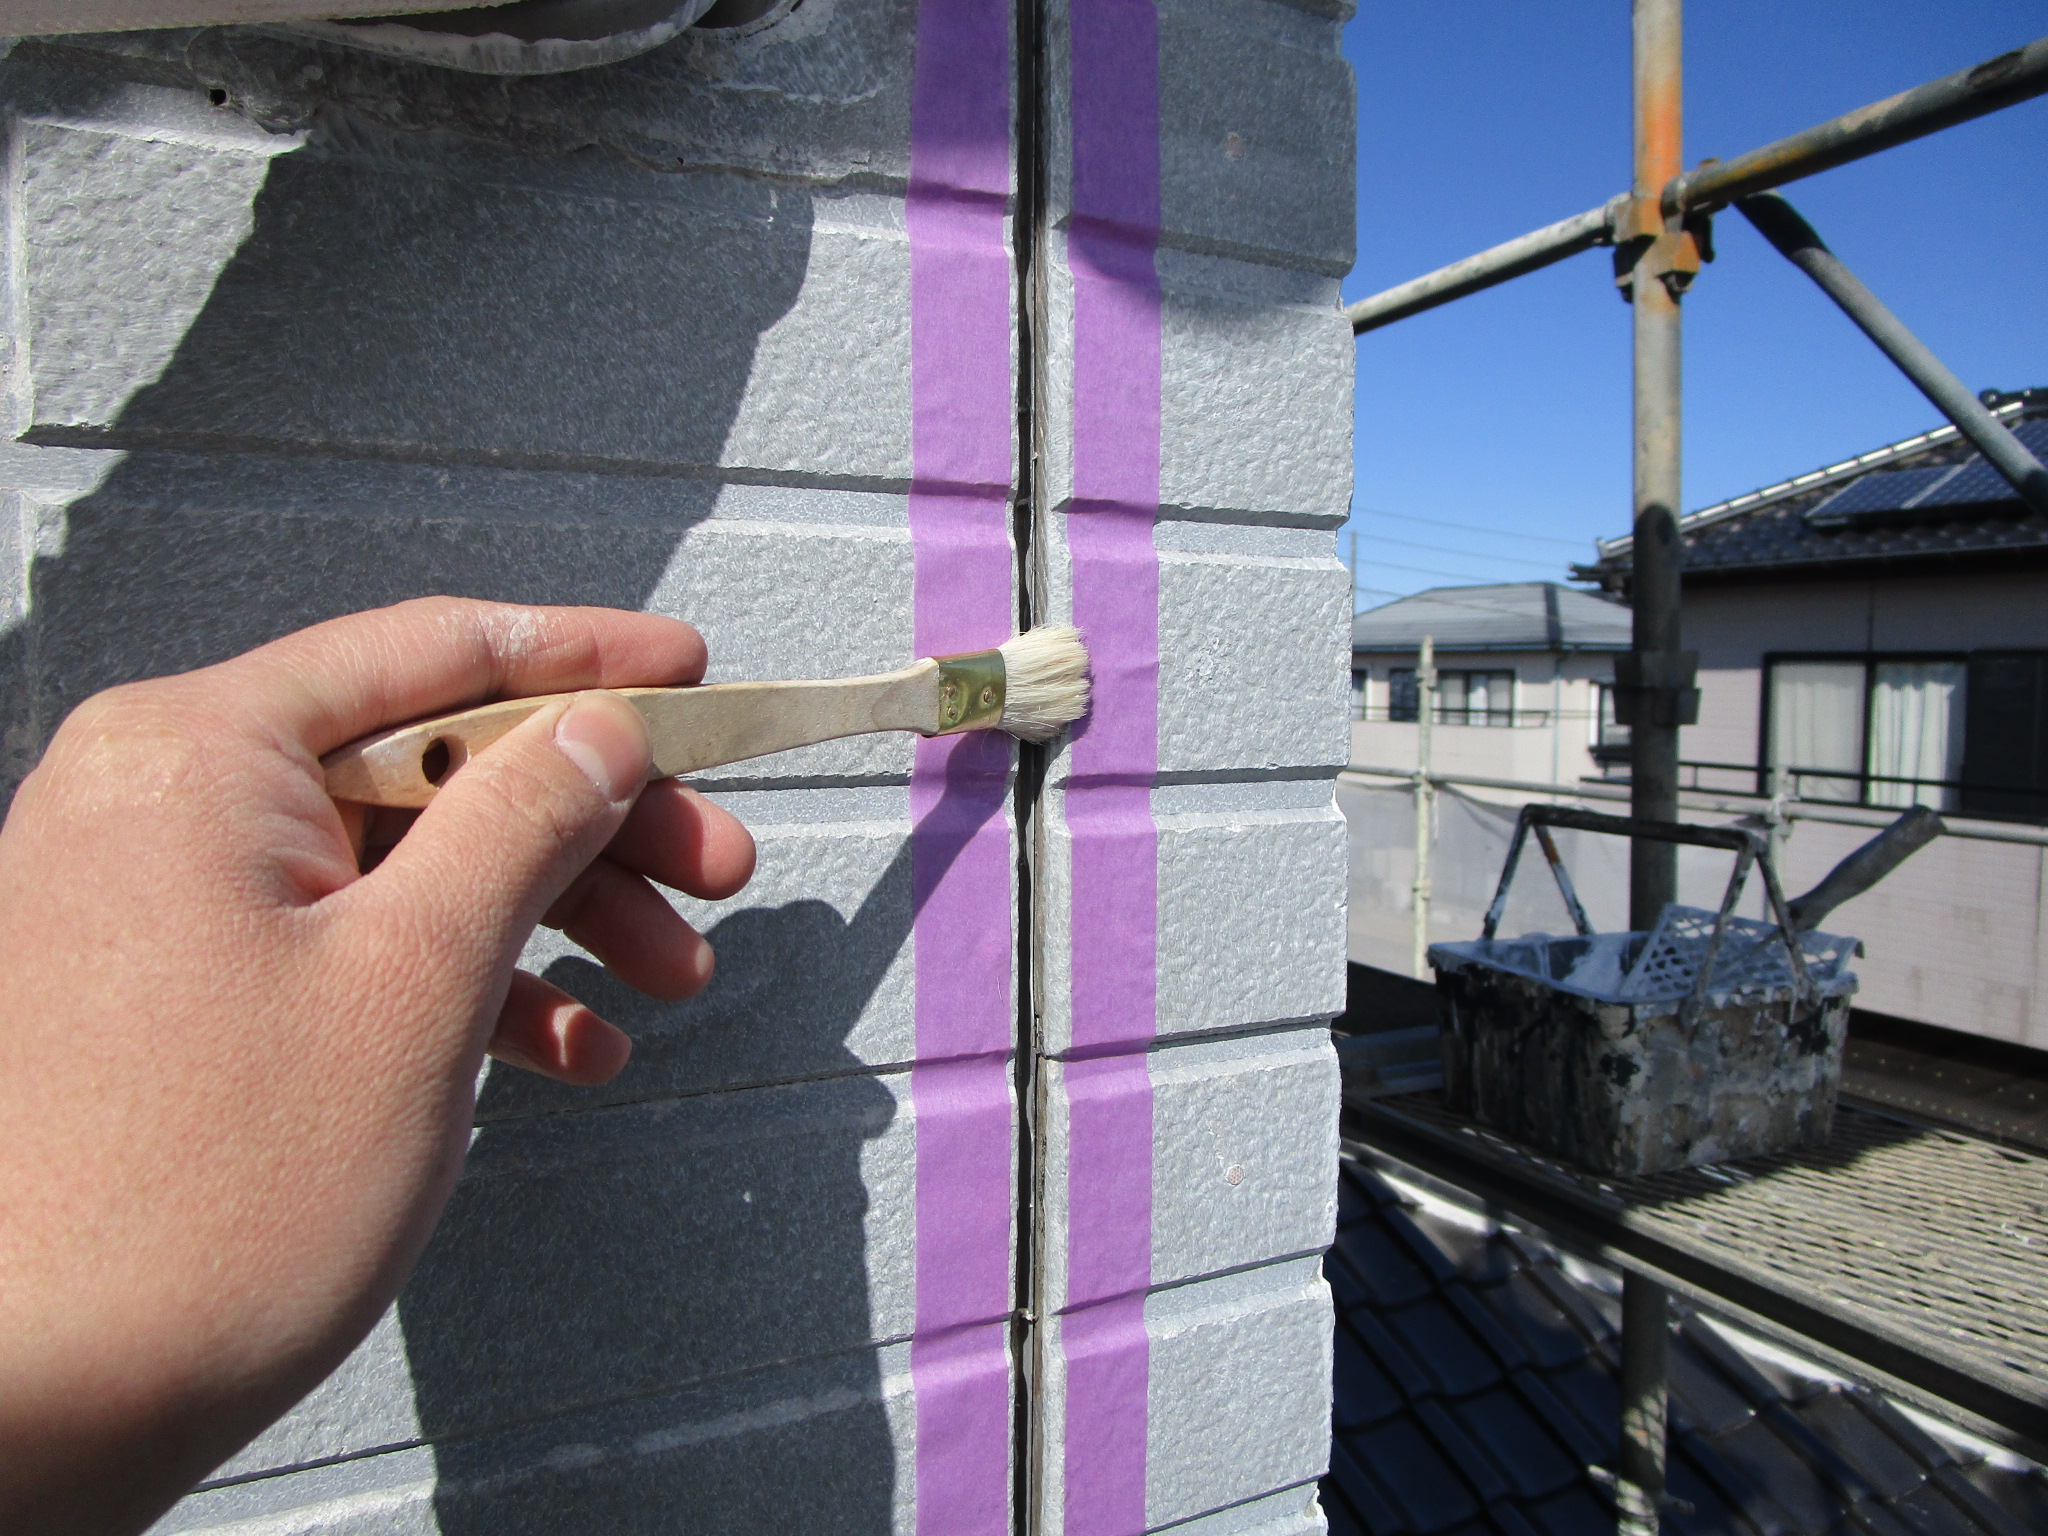
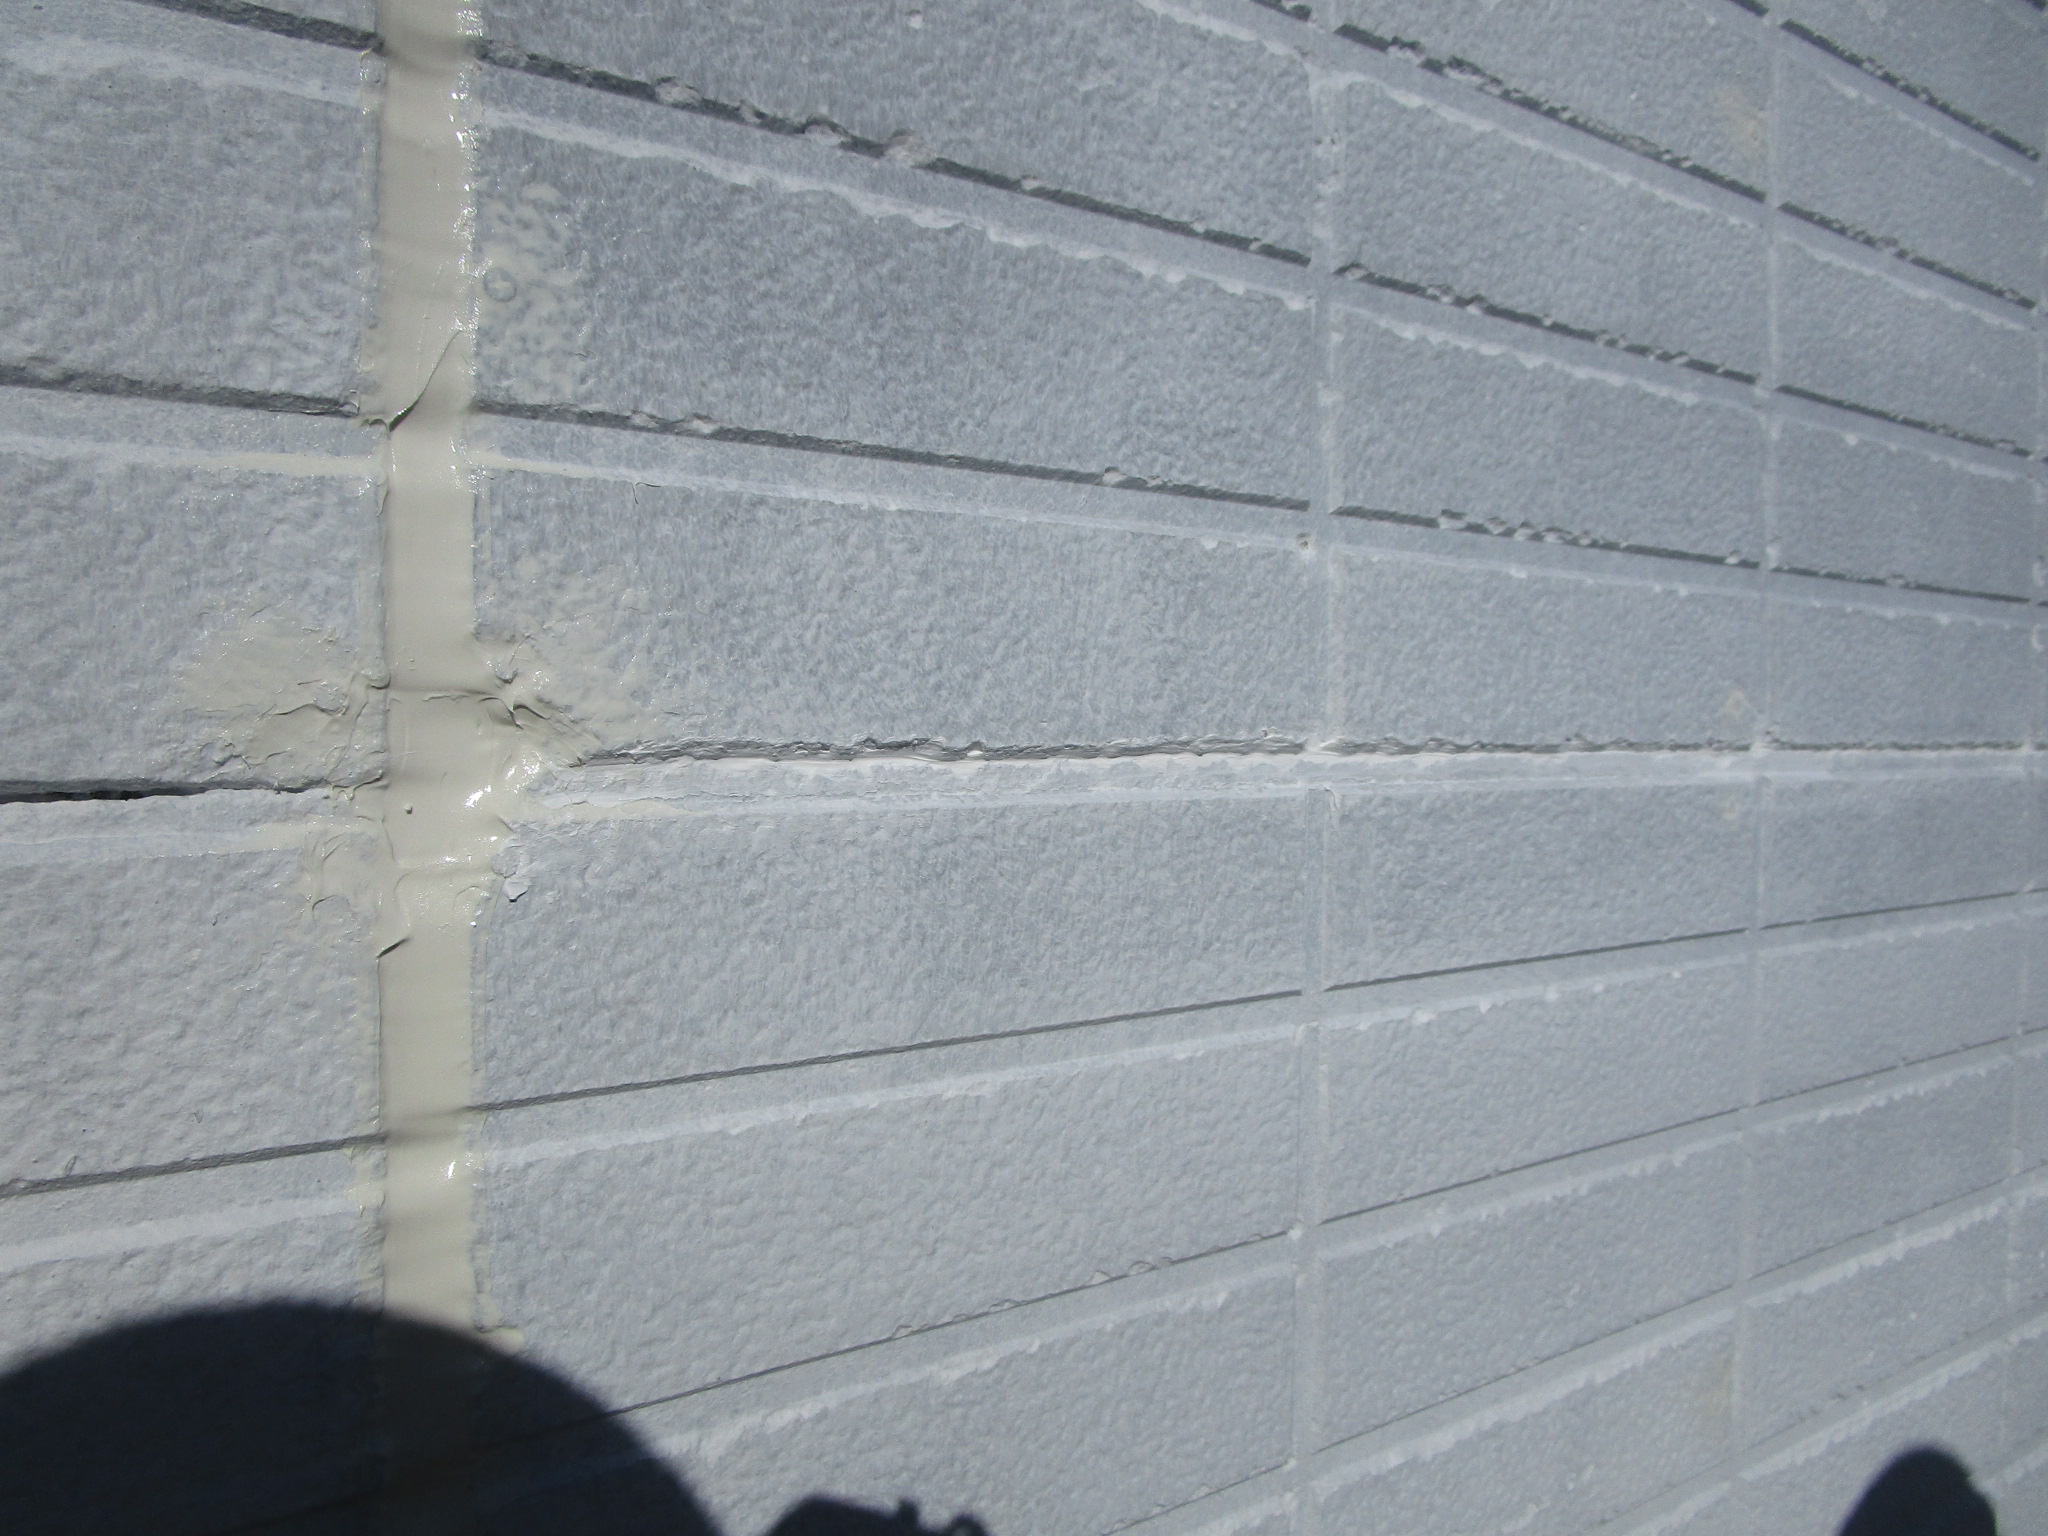
通常ならこのまま上塗り工程に入るのですが(有)石毛塗装では仕上がり向上の為にもうひと手間かけます!
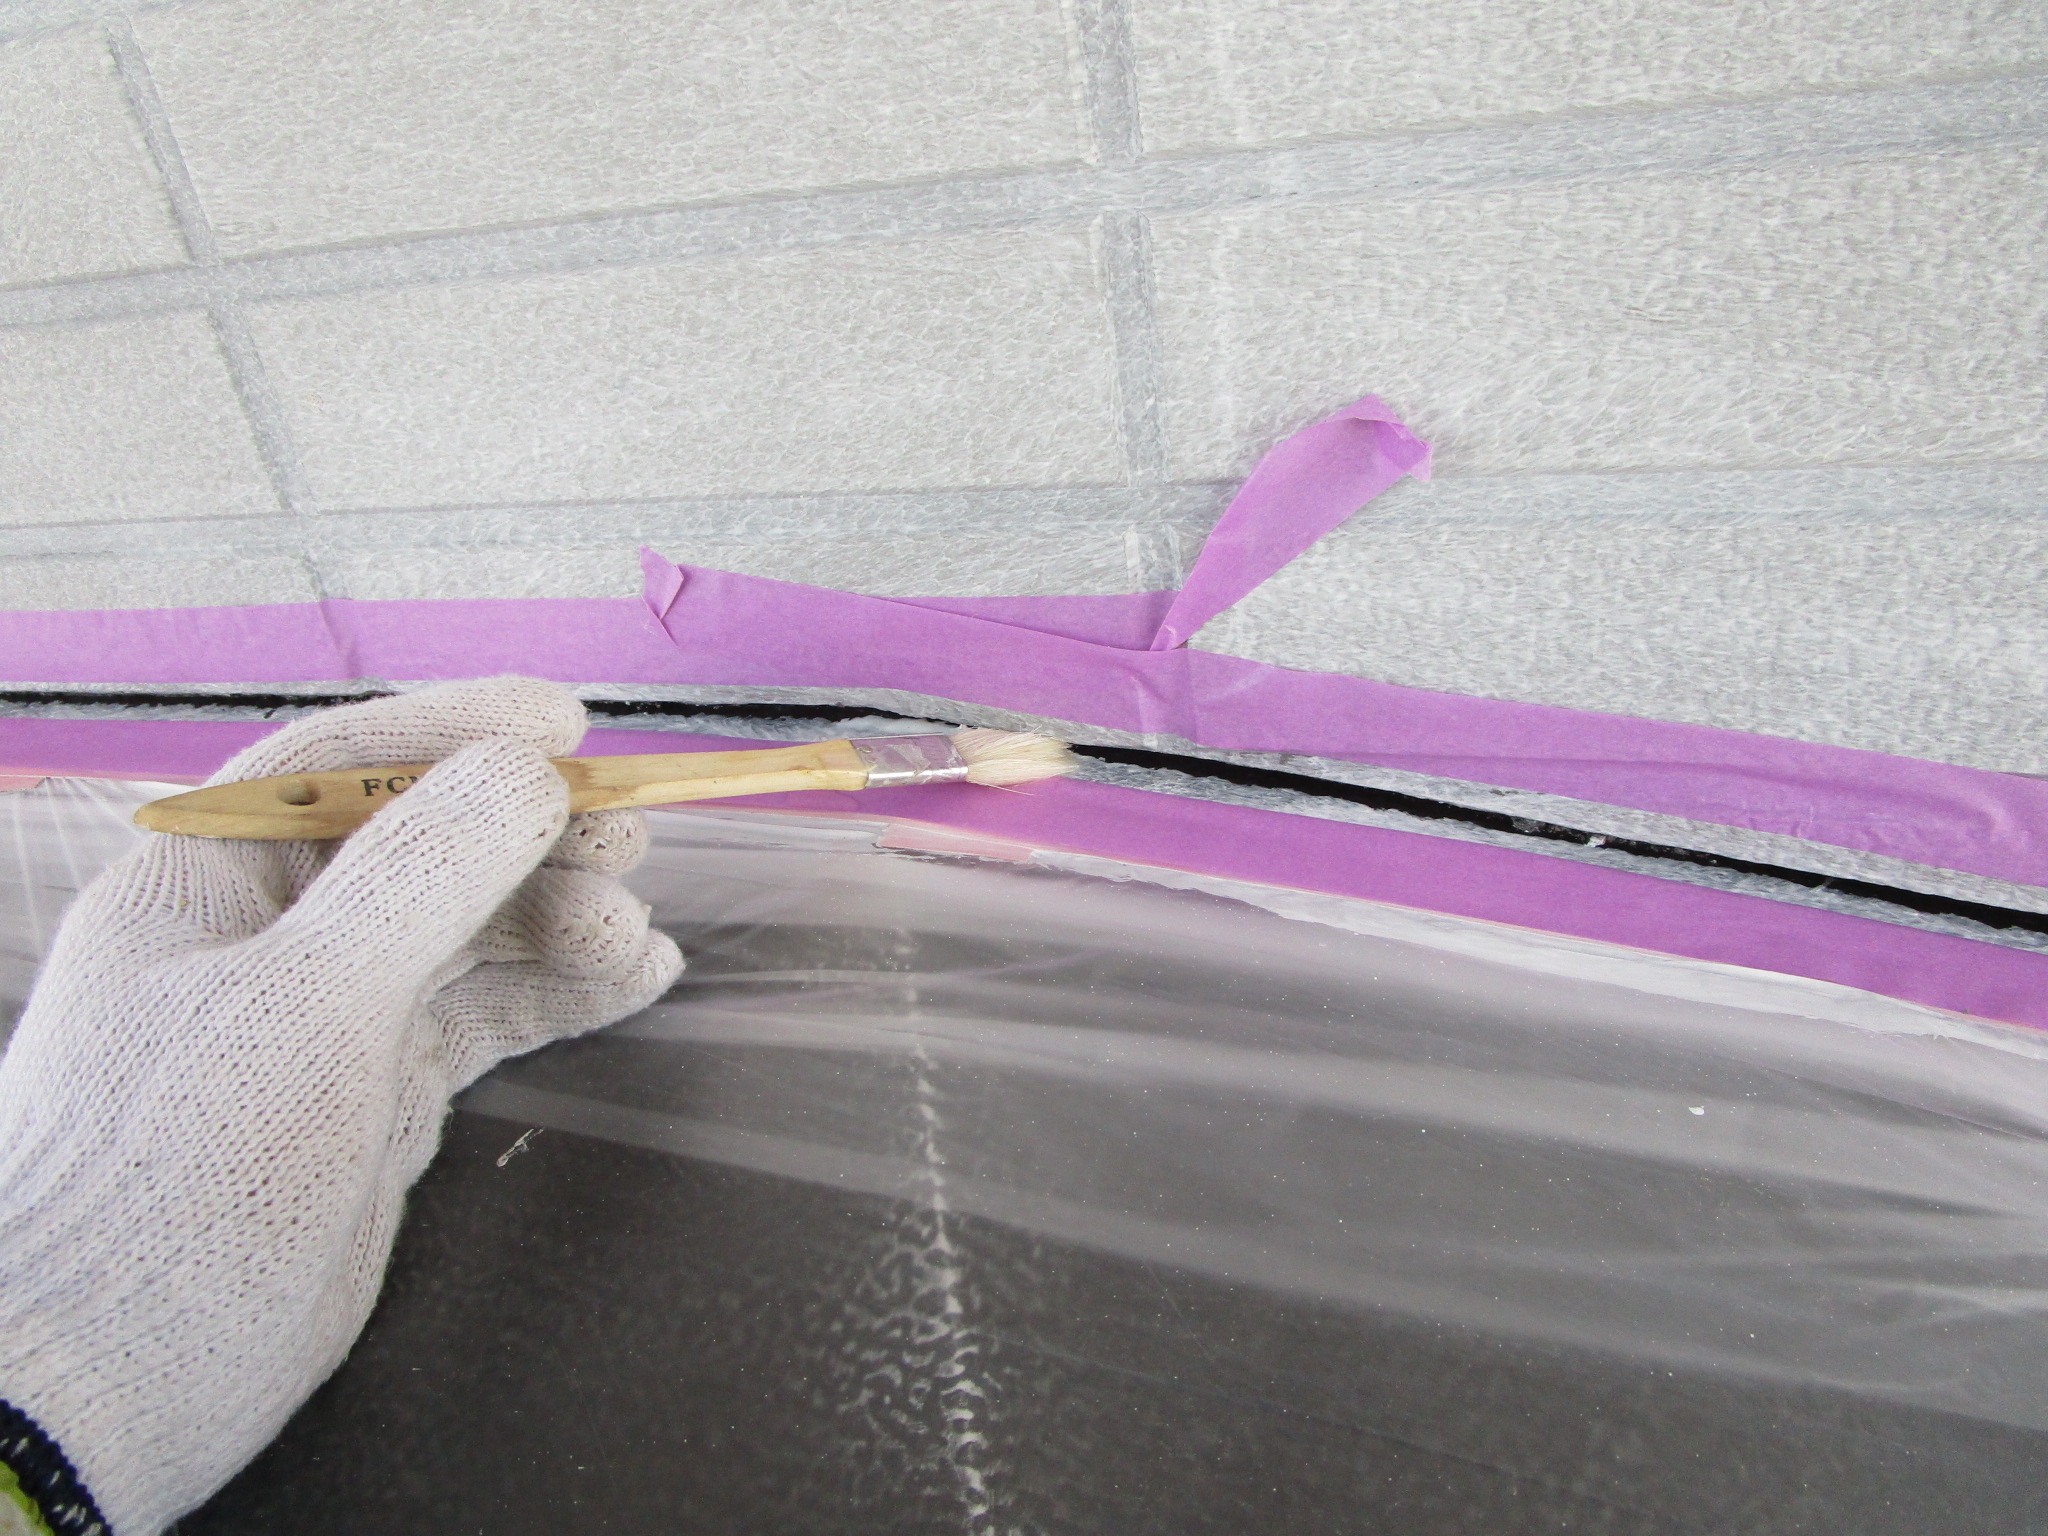
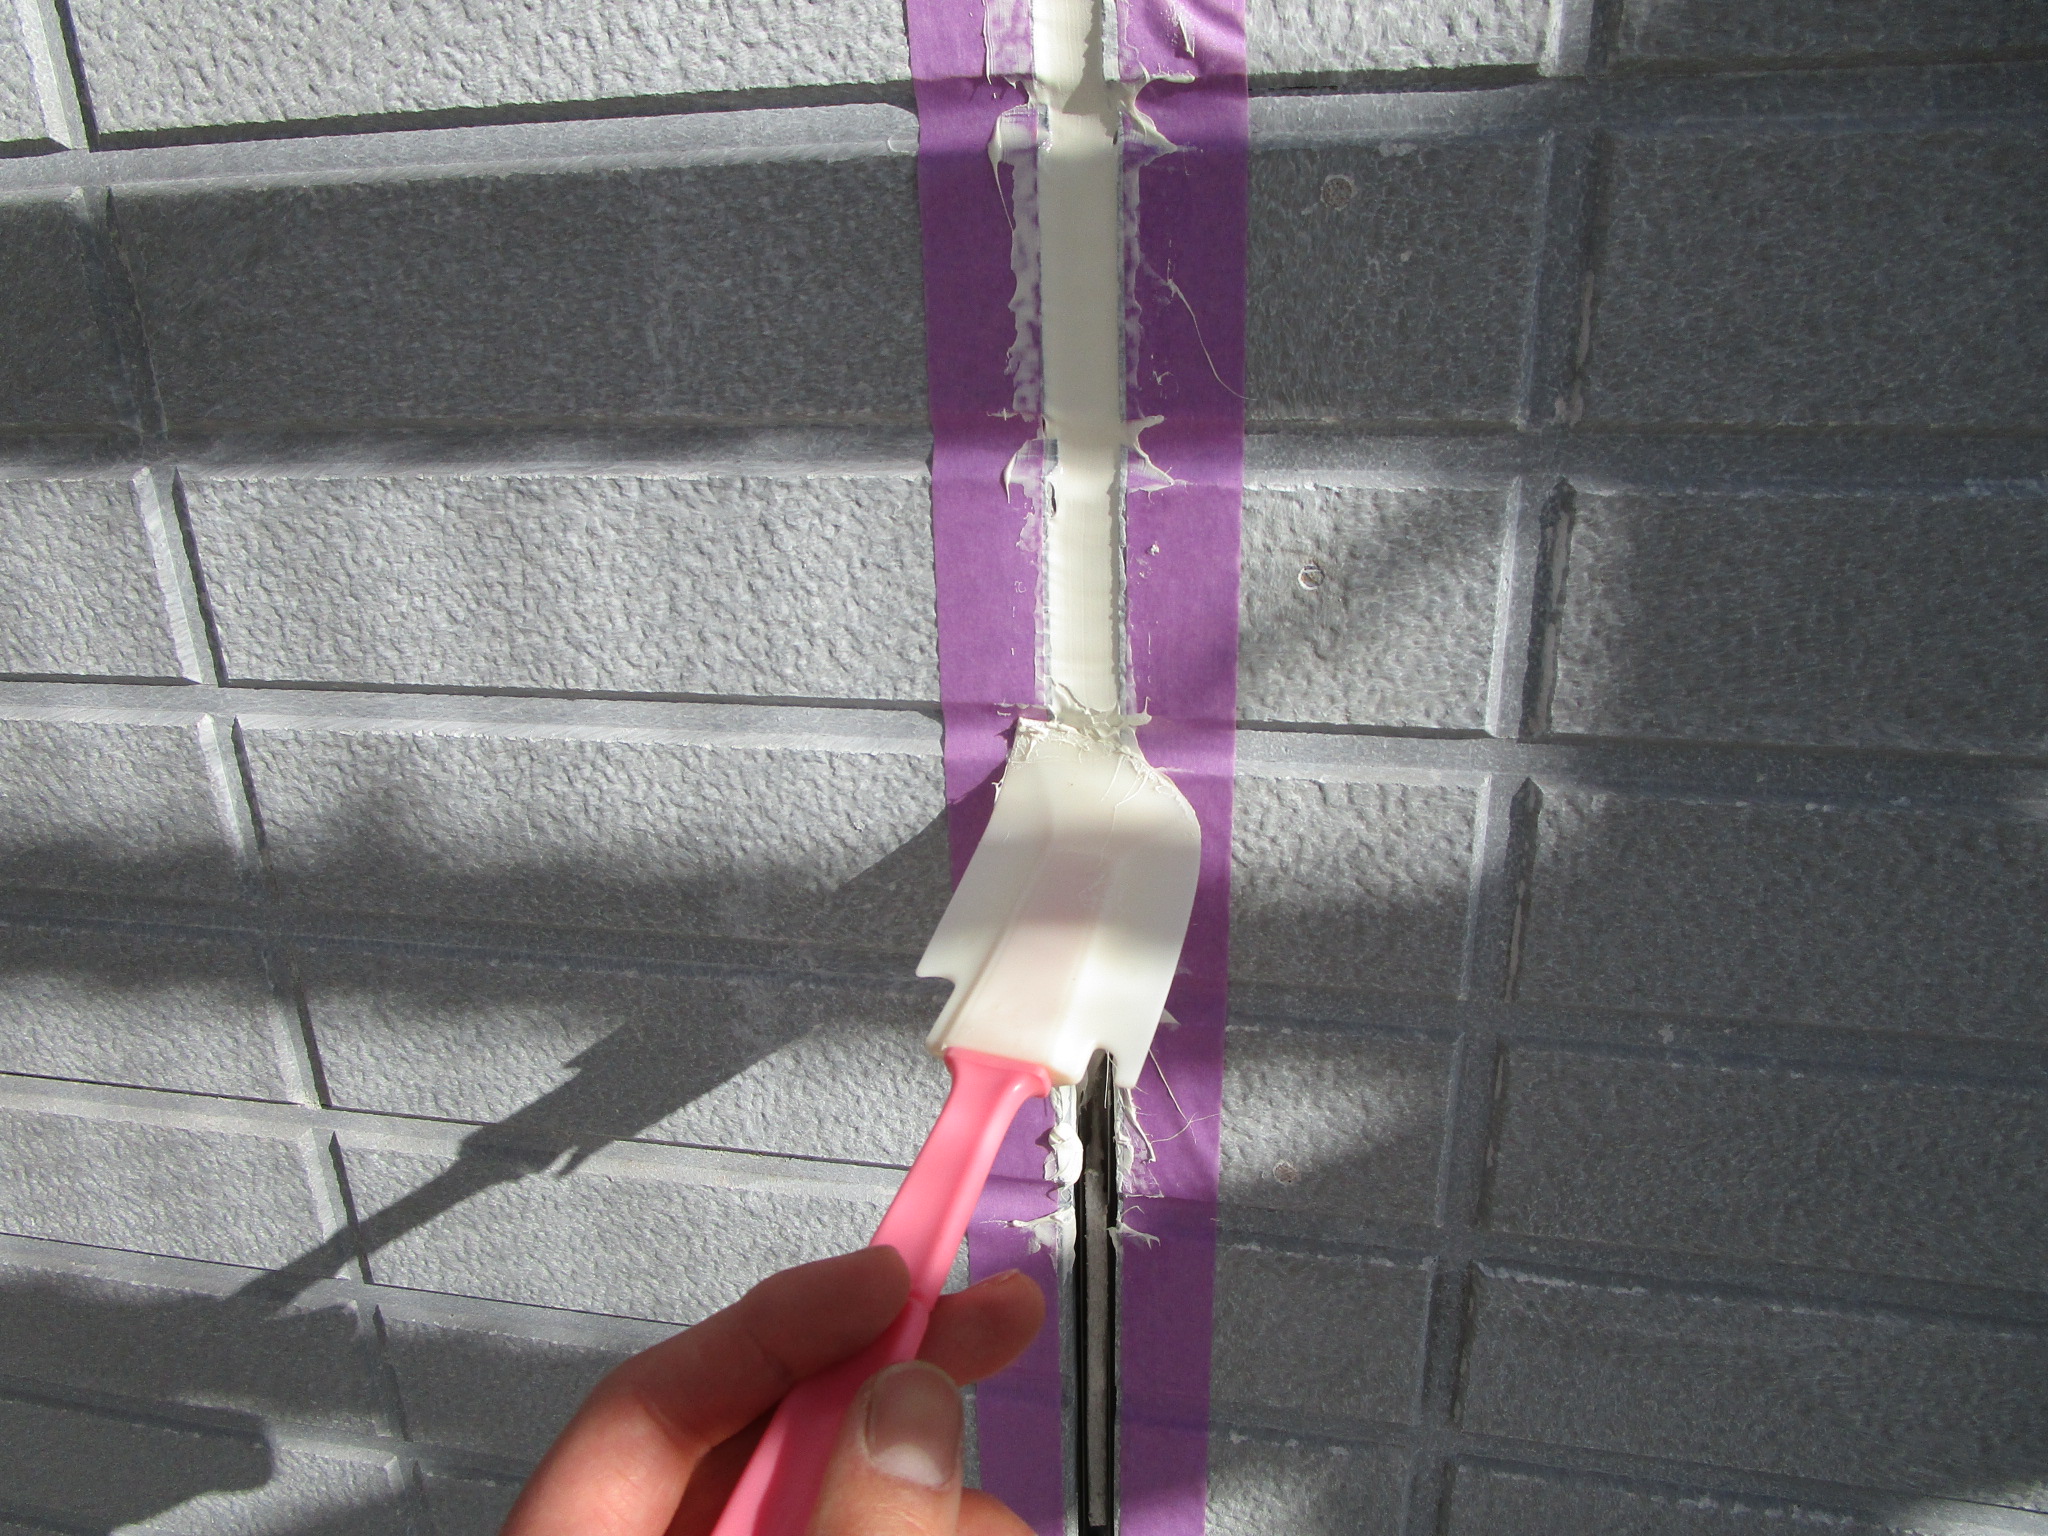
下の画像の様にサイディングの隙間をメーカーに協力して作ってもらった専用充填剤にて埋めます。
この画像は酷くなりすぎの所ですが、、、
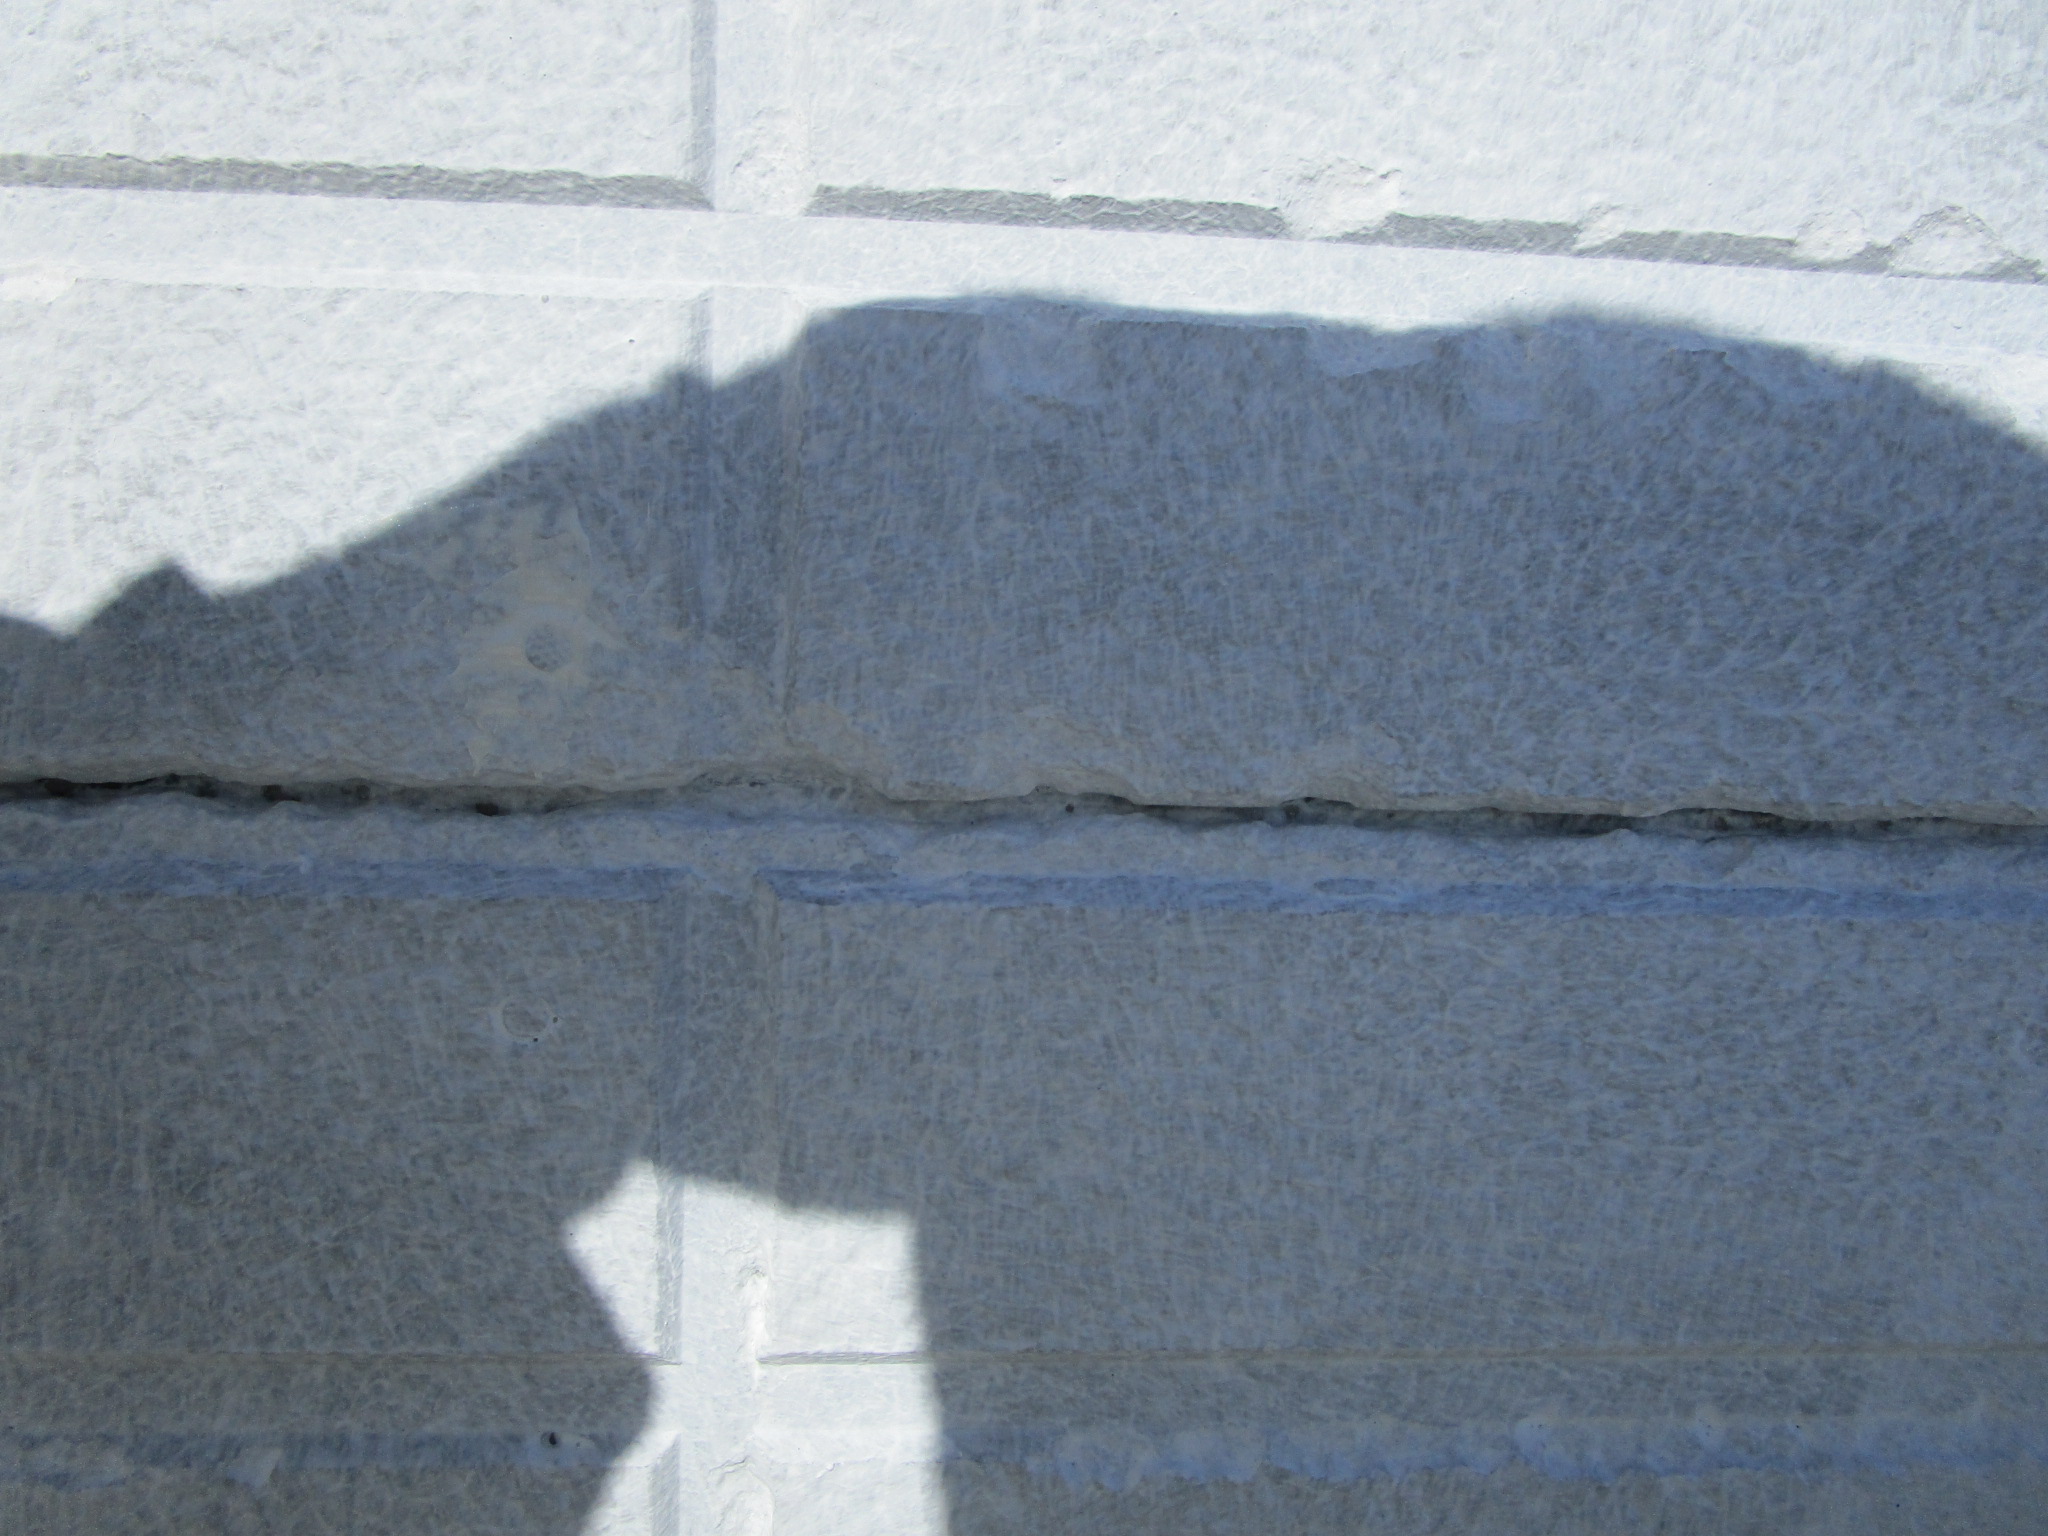
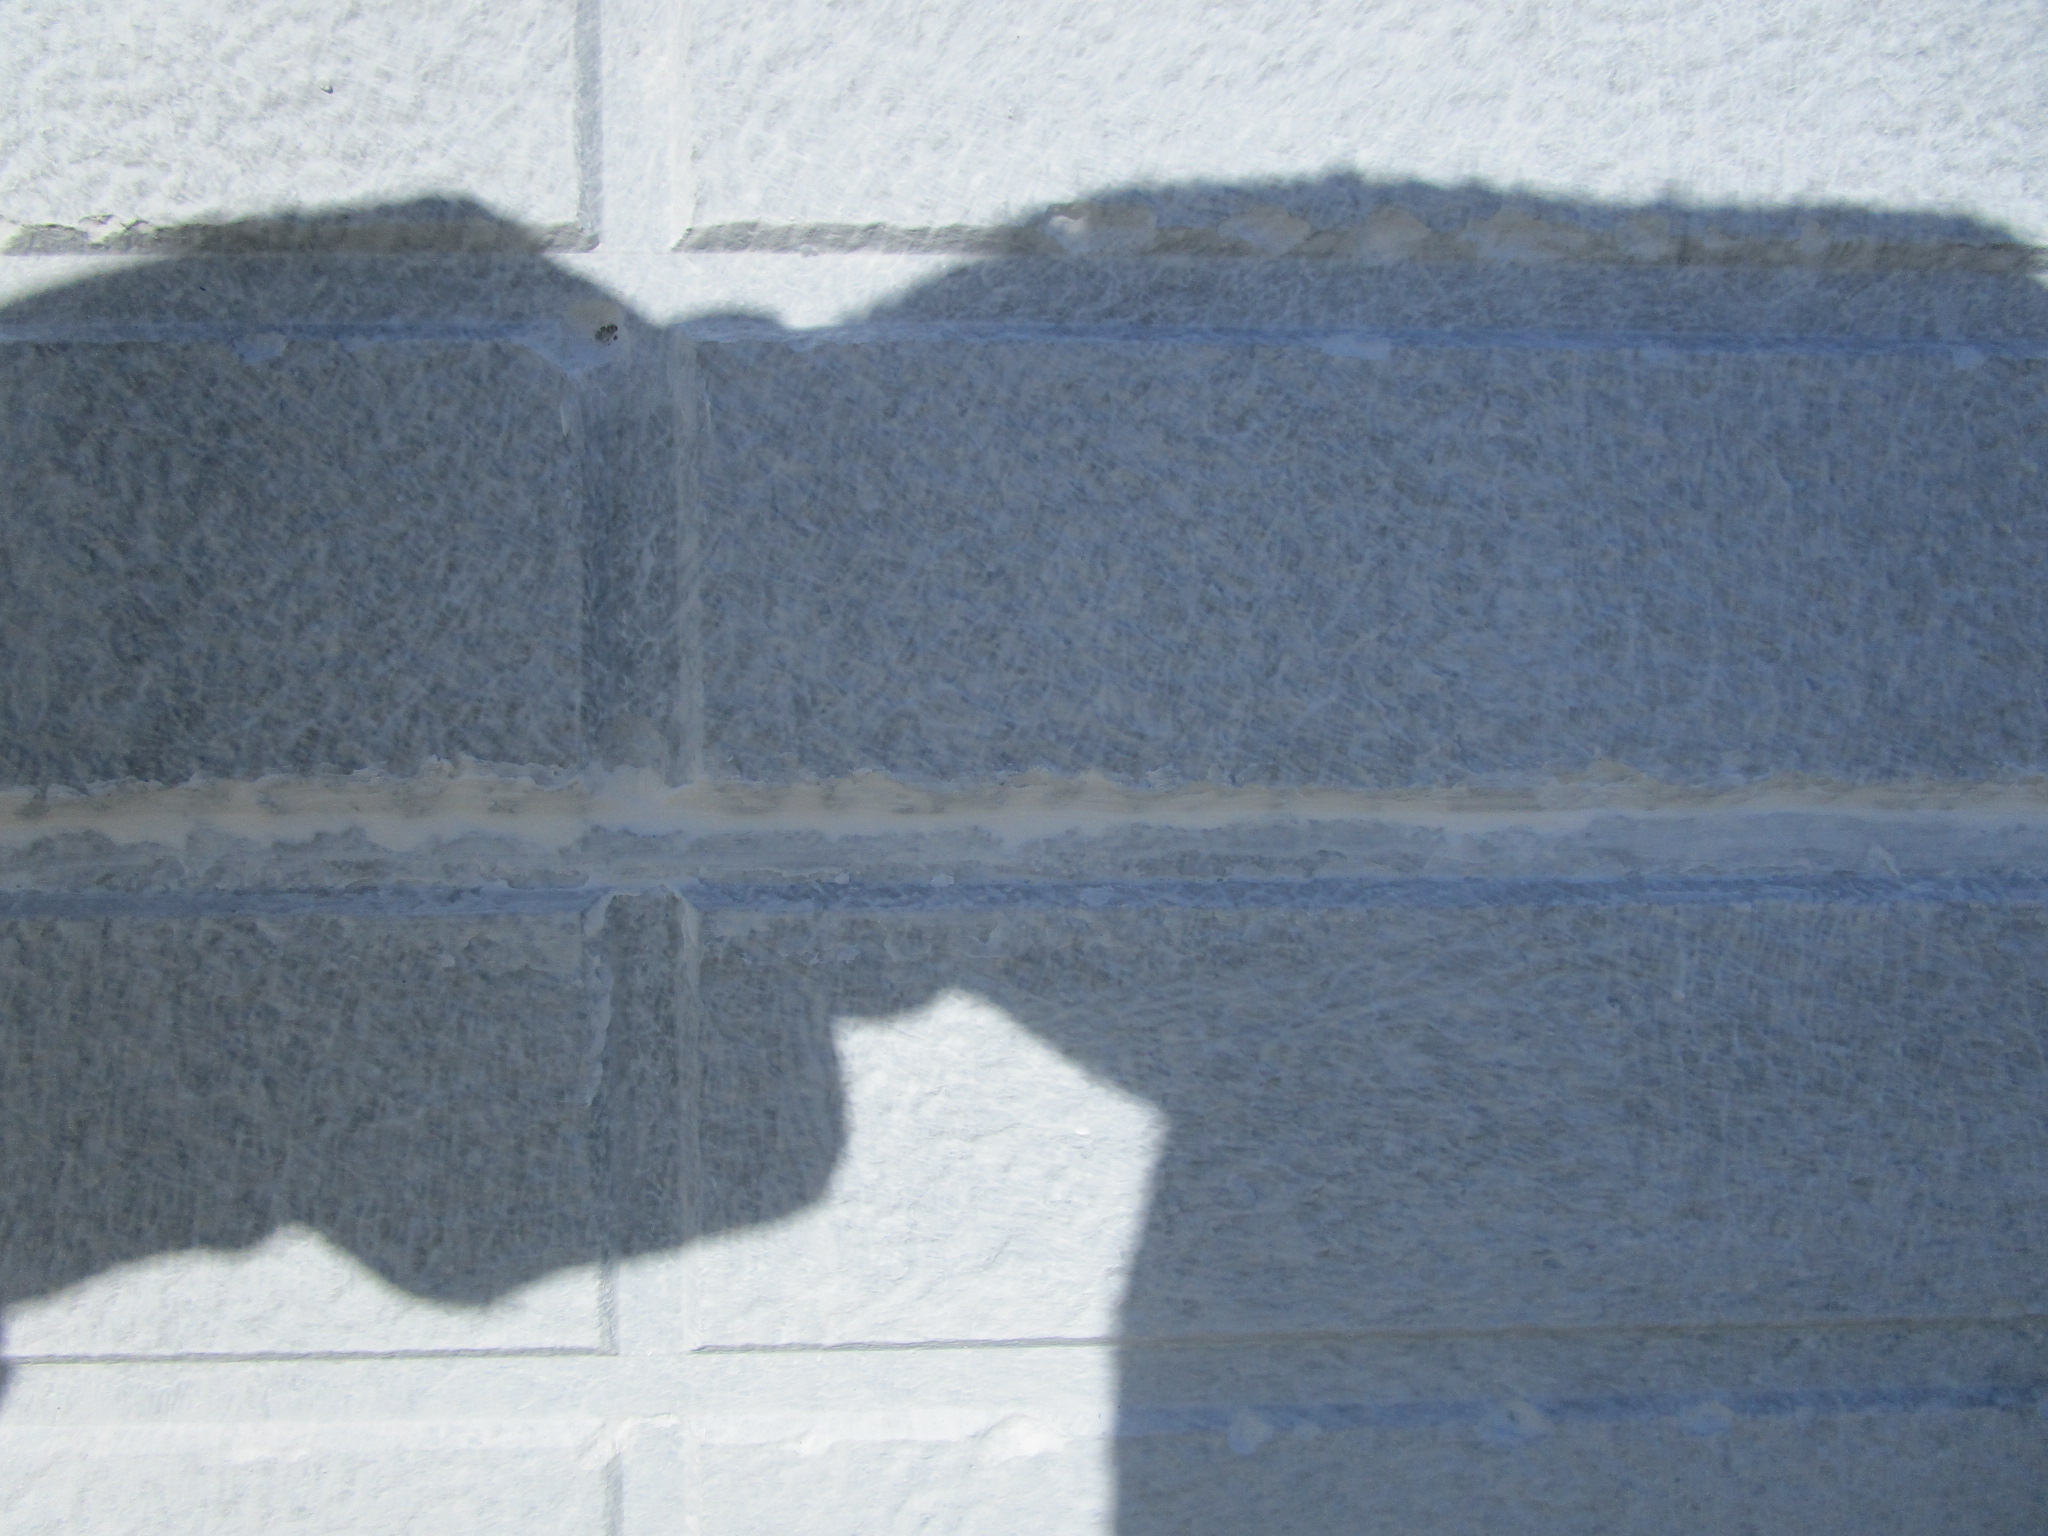
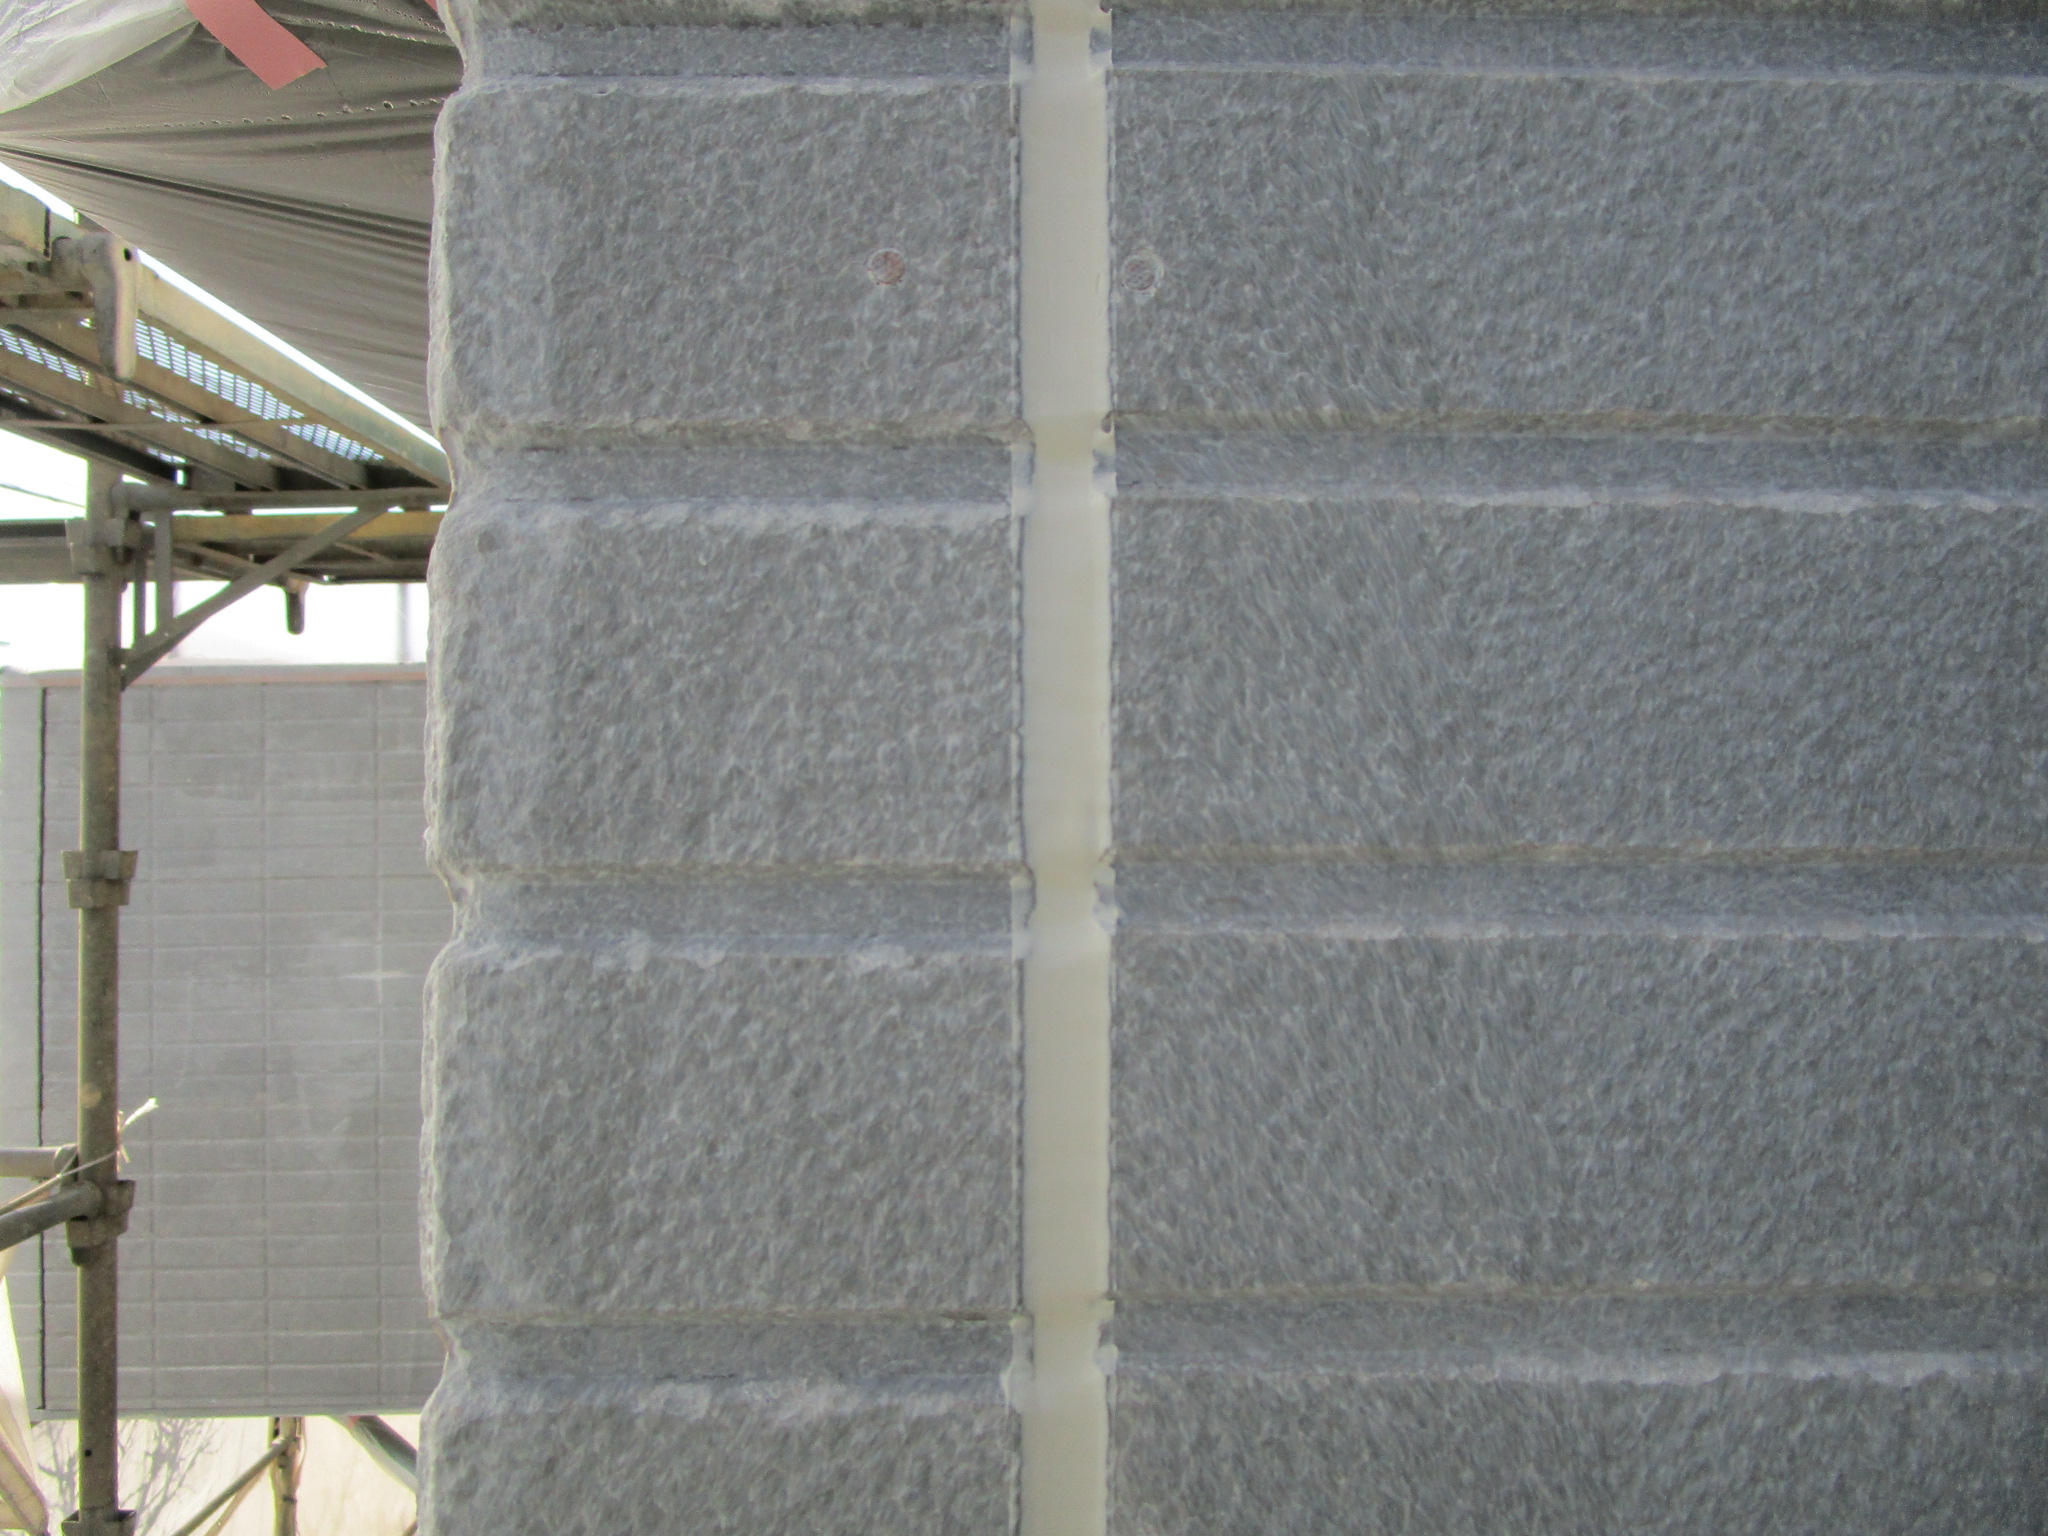
新築時ぴったり隙間の無い様に張り付けて有ったサイディングは紫外線、雨(水分)などにより新築時よりチジミます。そこをちゃんと処理していないと雨水は侵入し、またサイディングがダメになります。
サイディングを止めている釘部分も痩せなど出ていますので全部点検します。
この工程によりもう1段階上の仕上がりと耐久性が期待できます!!
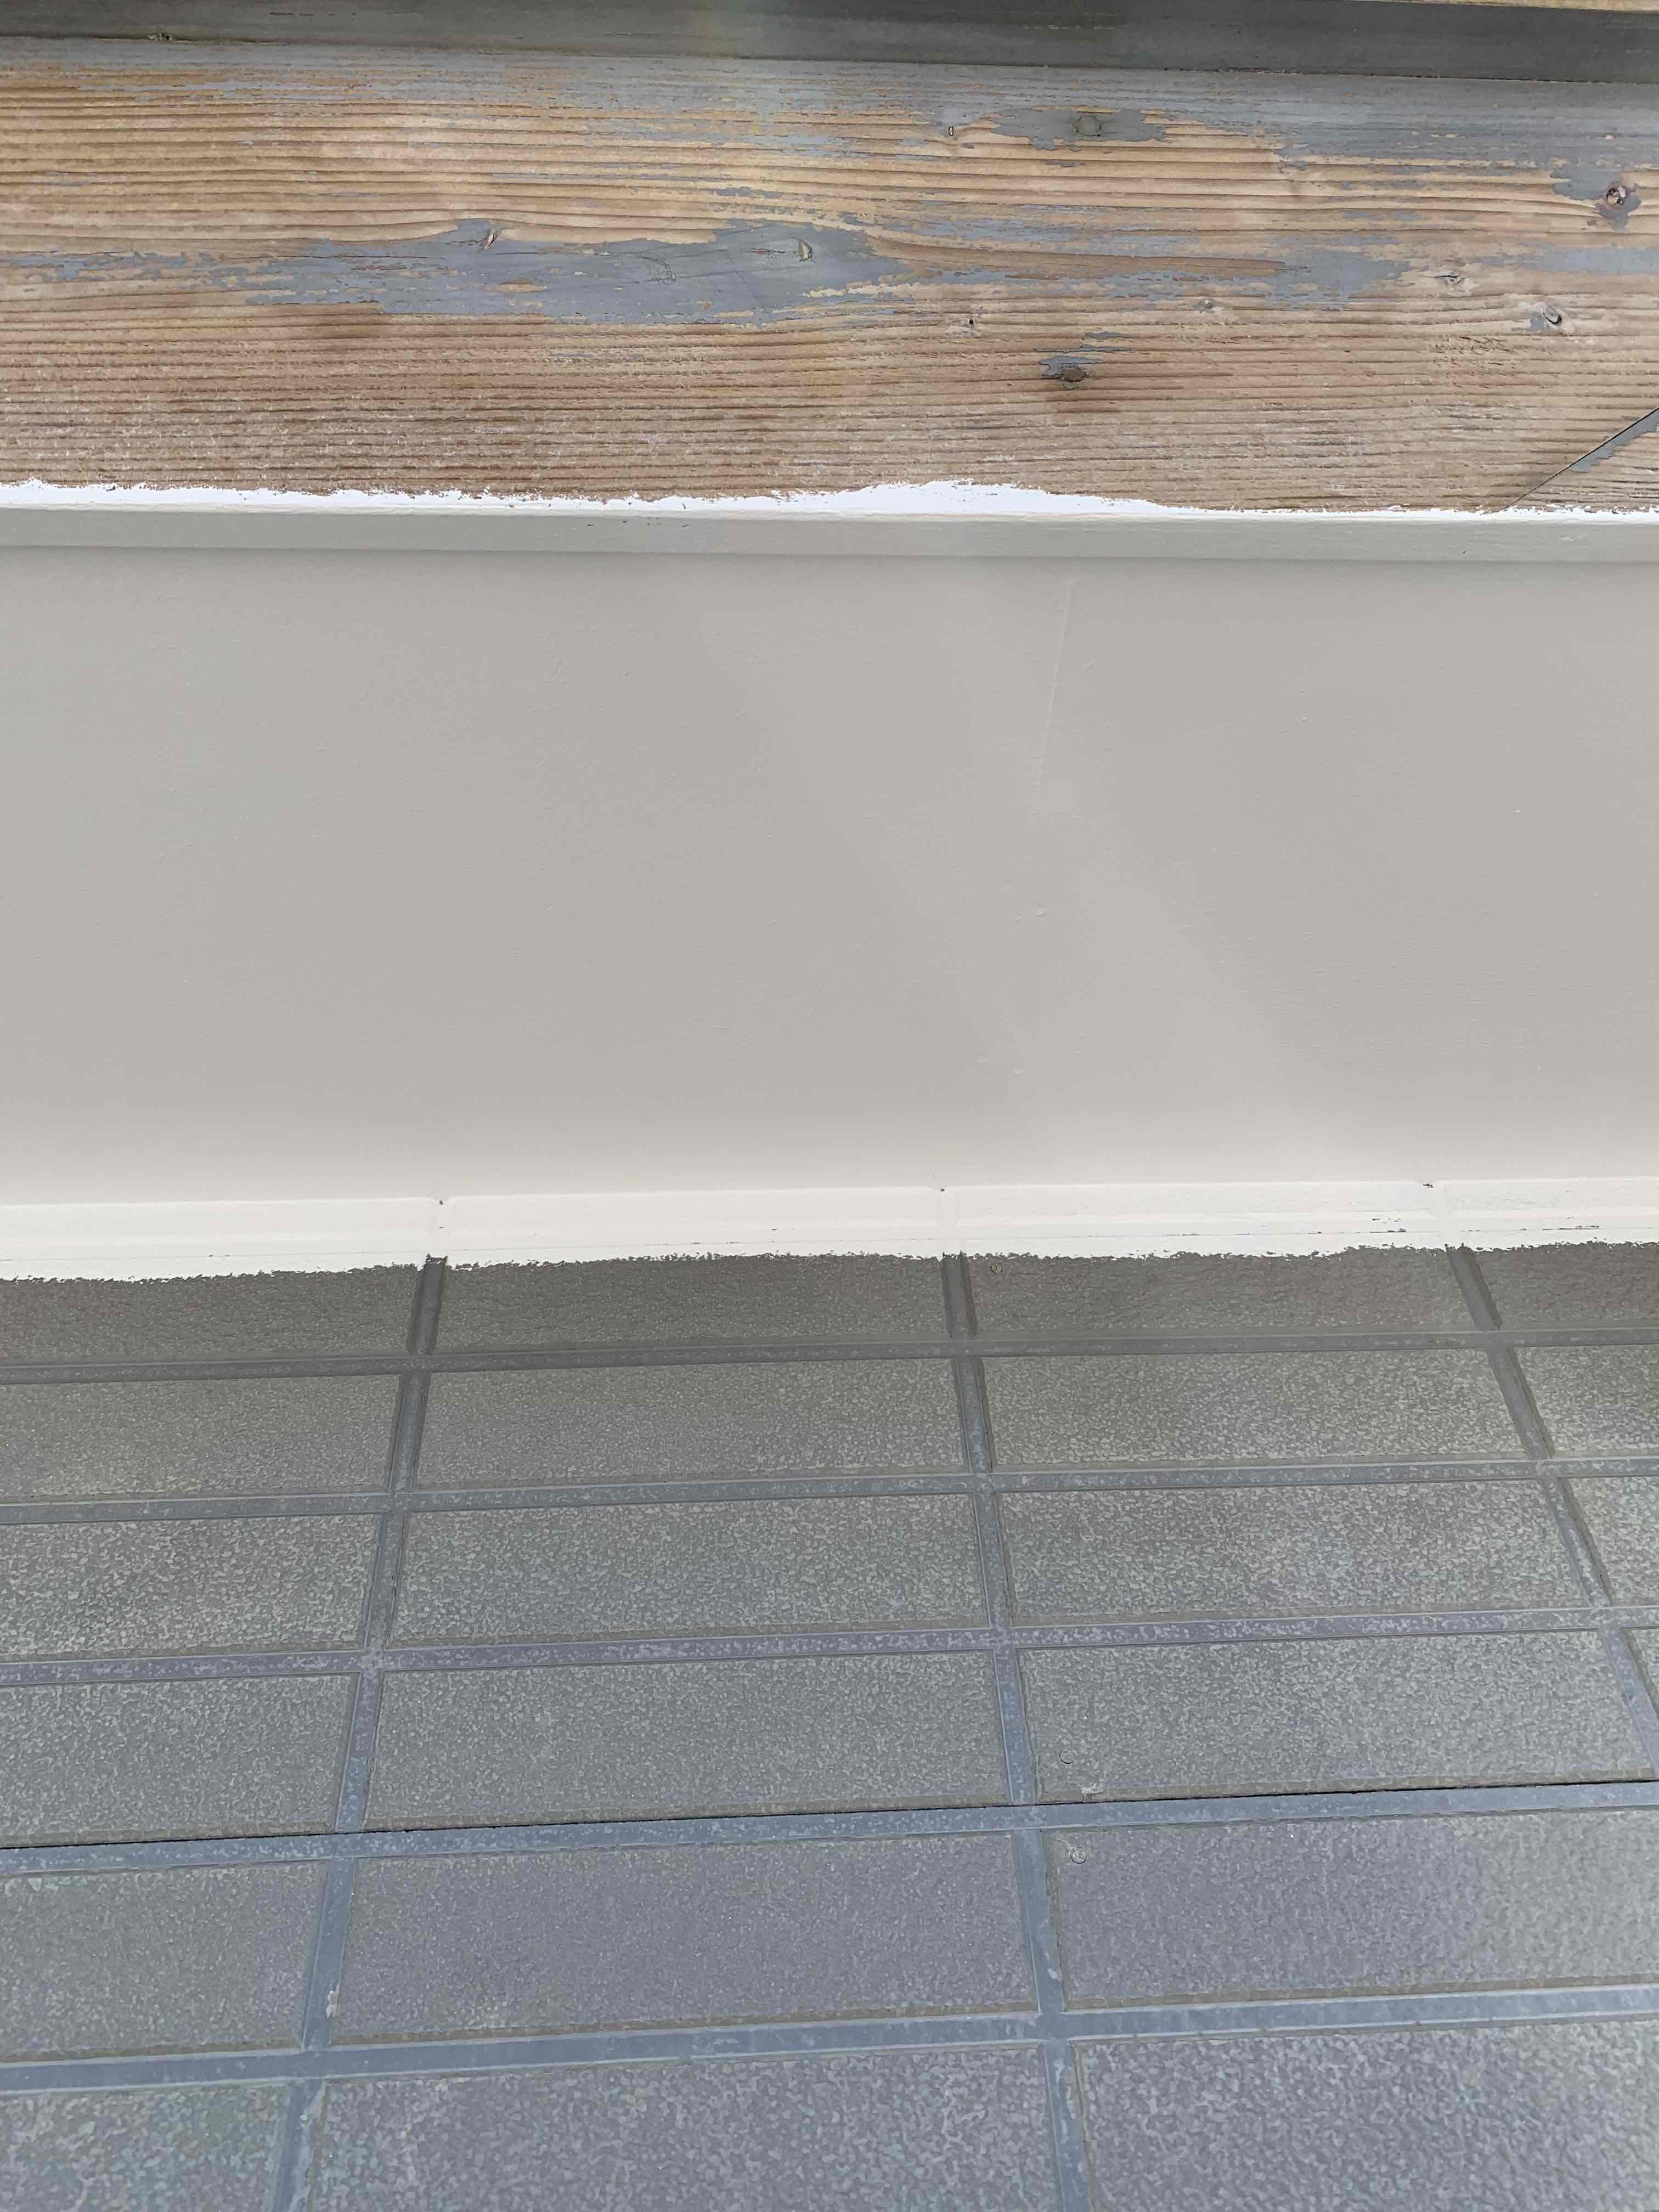
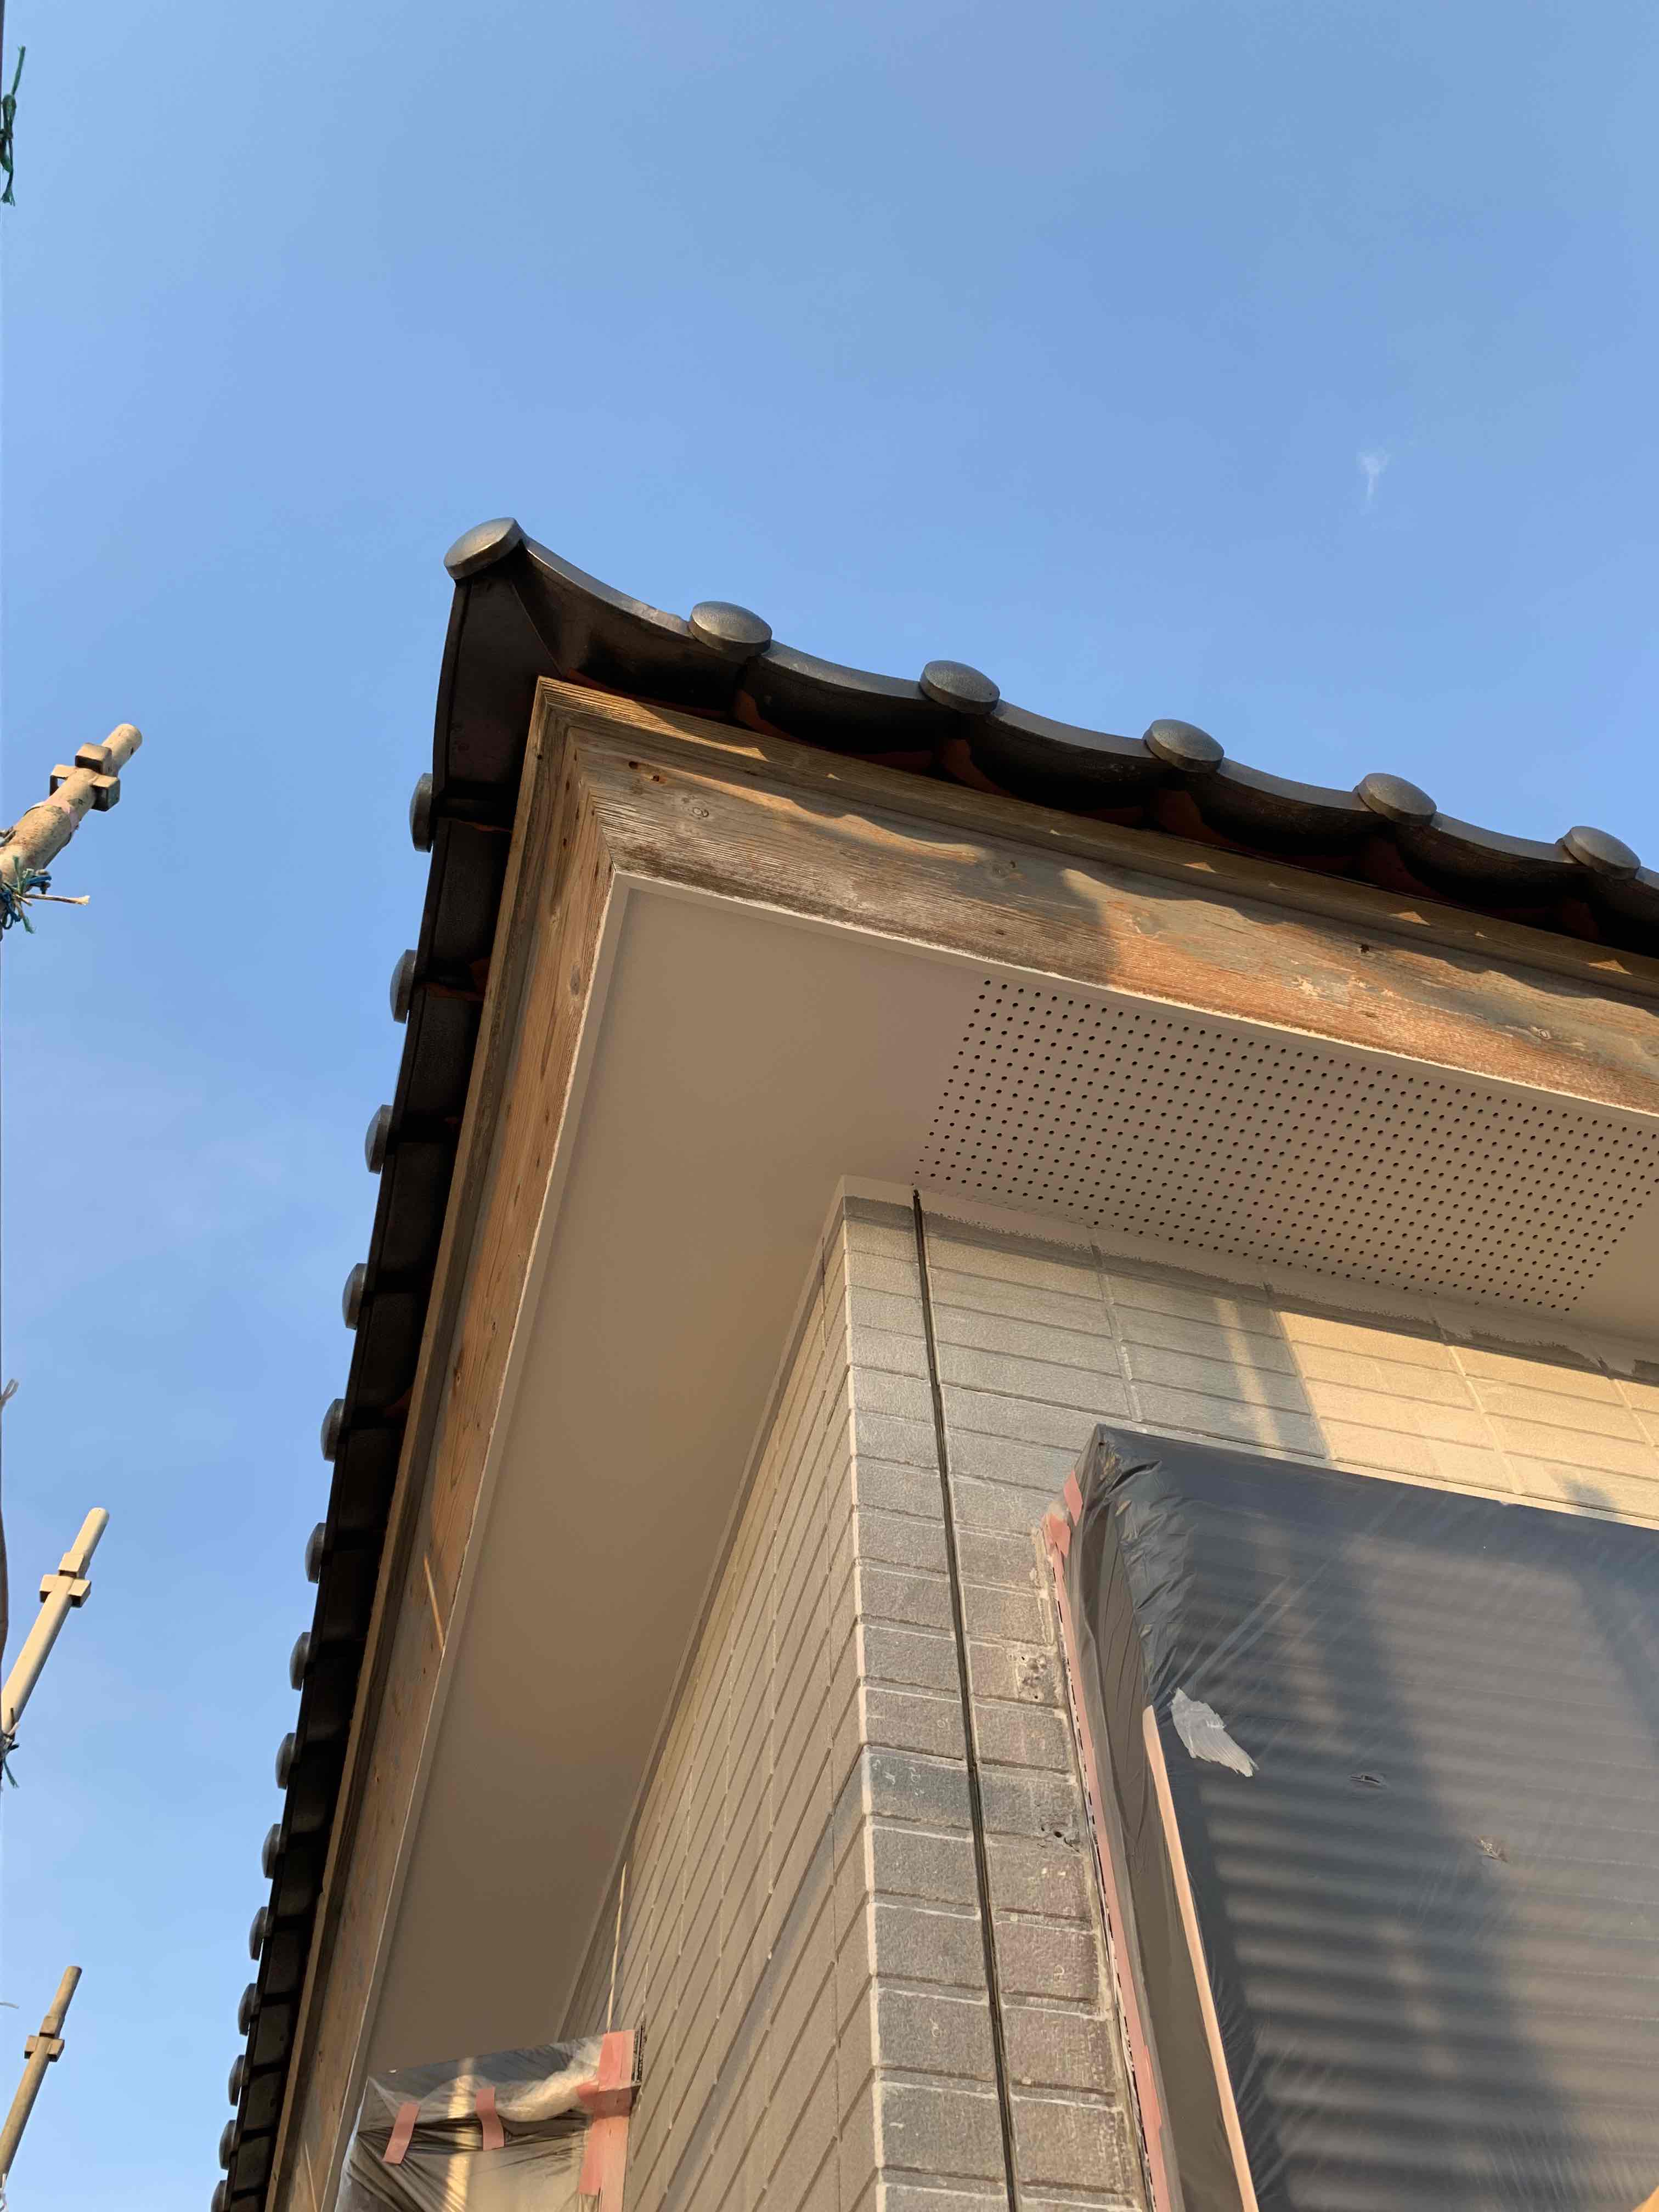
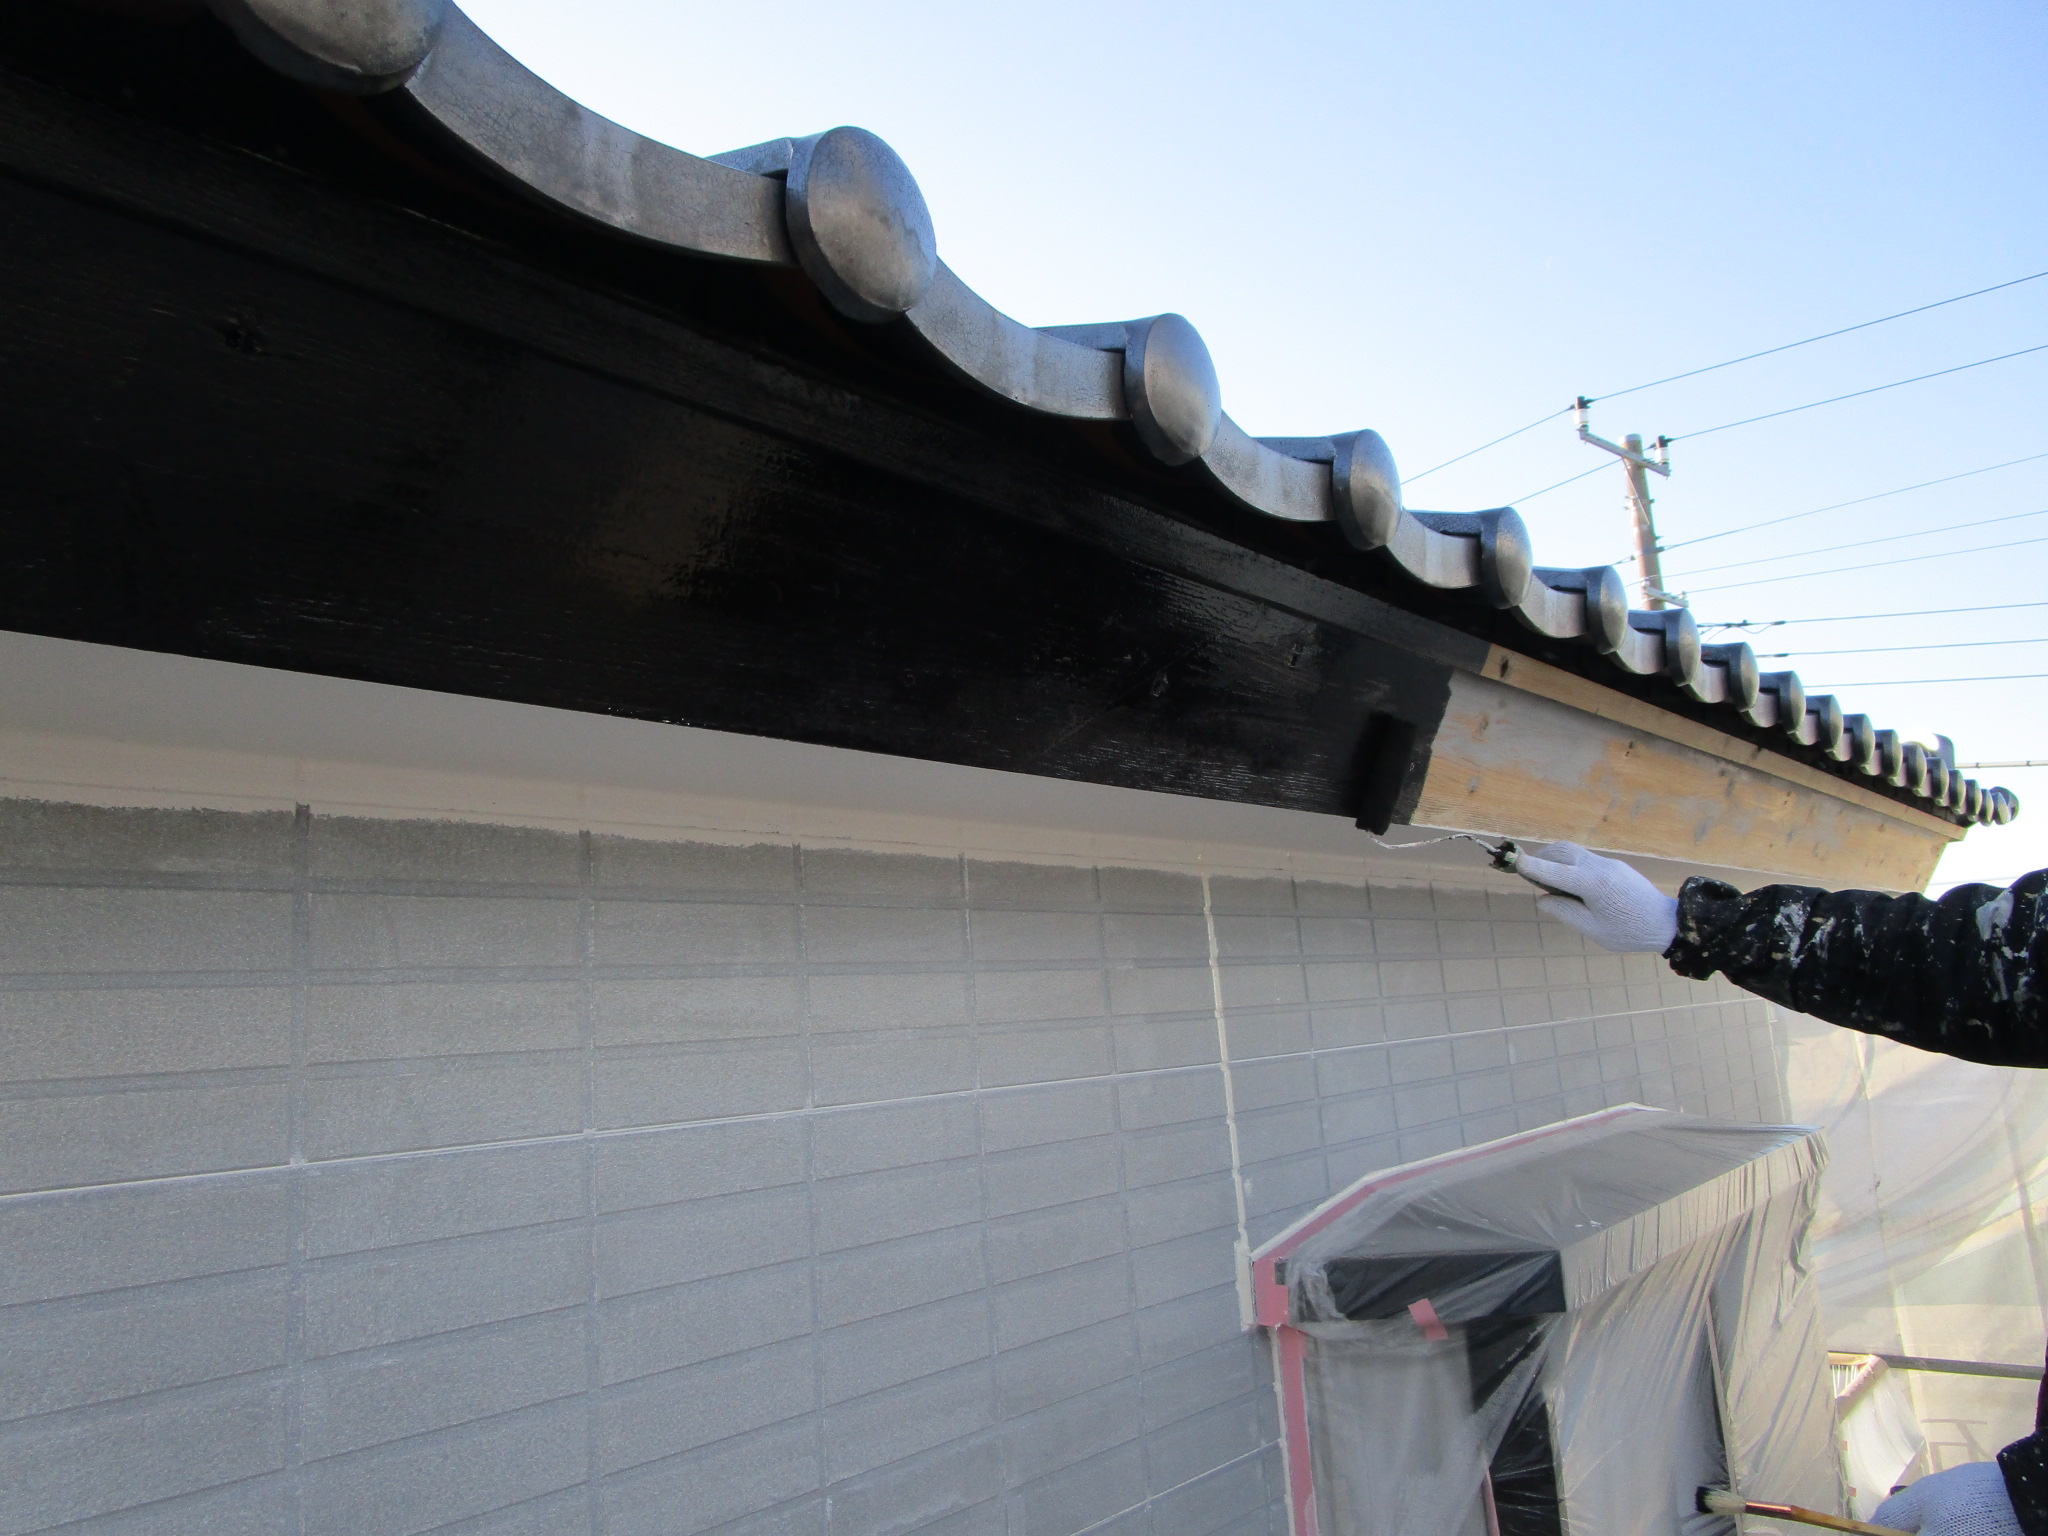
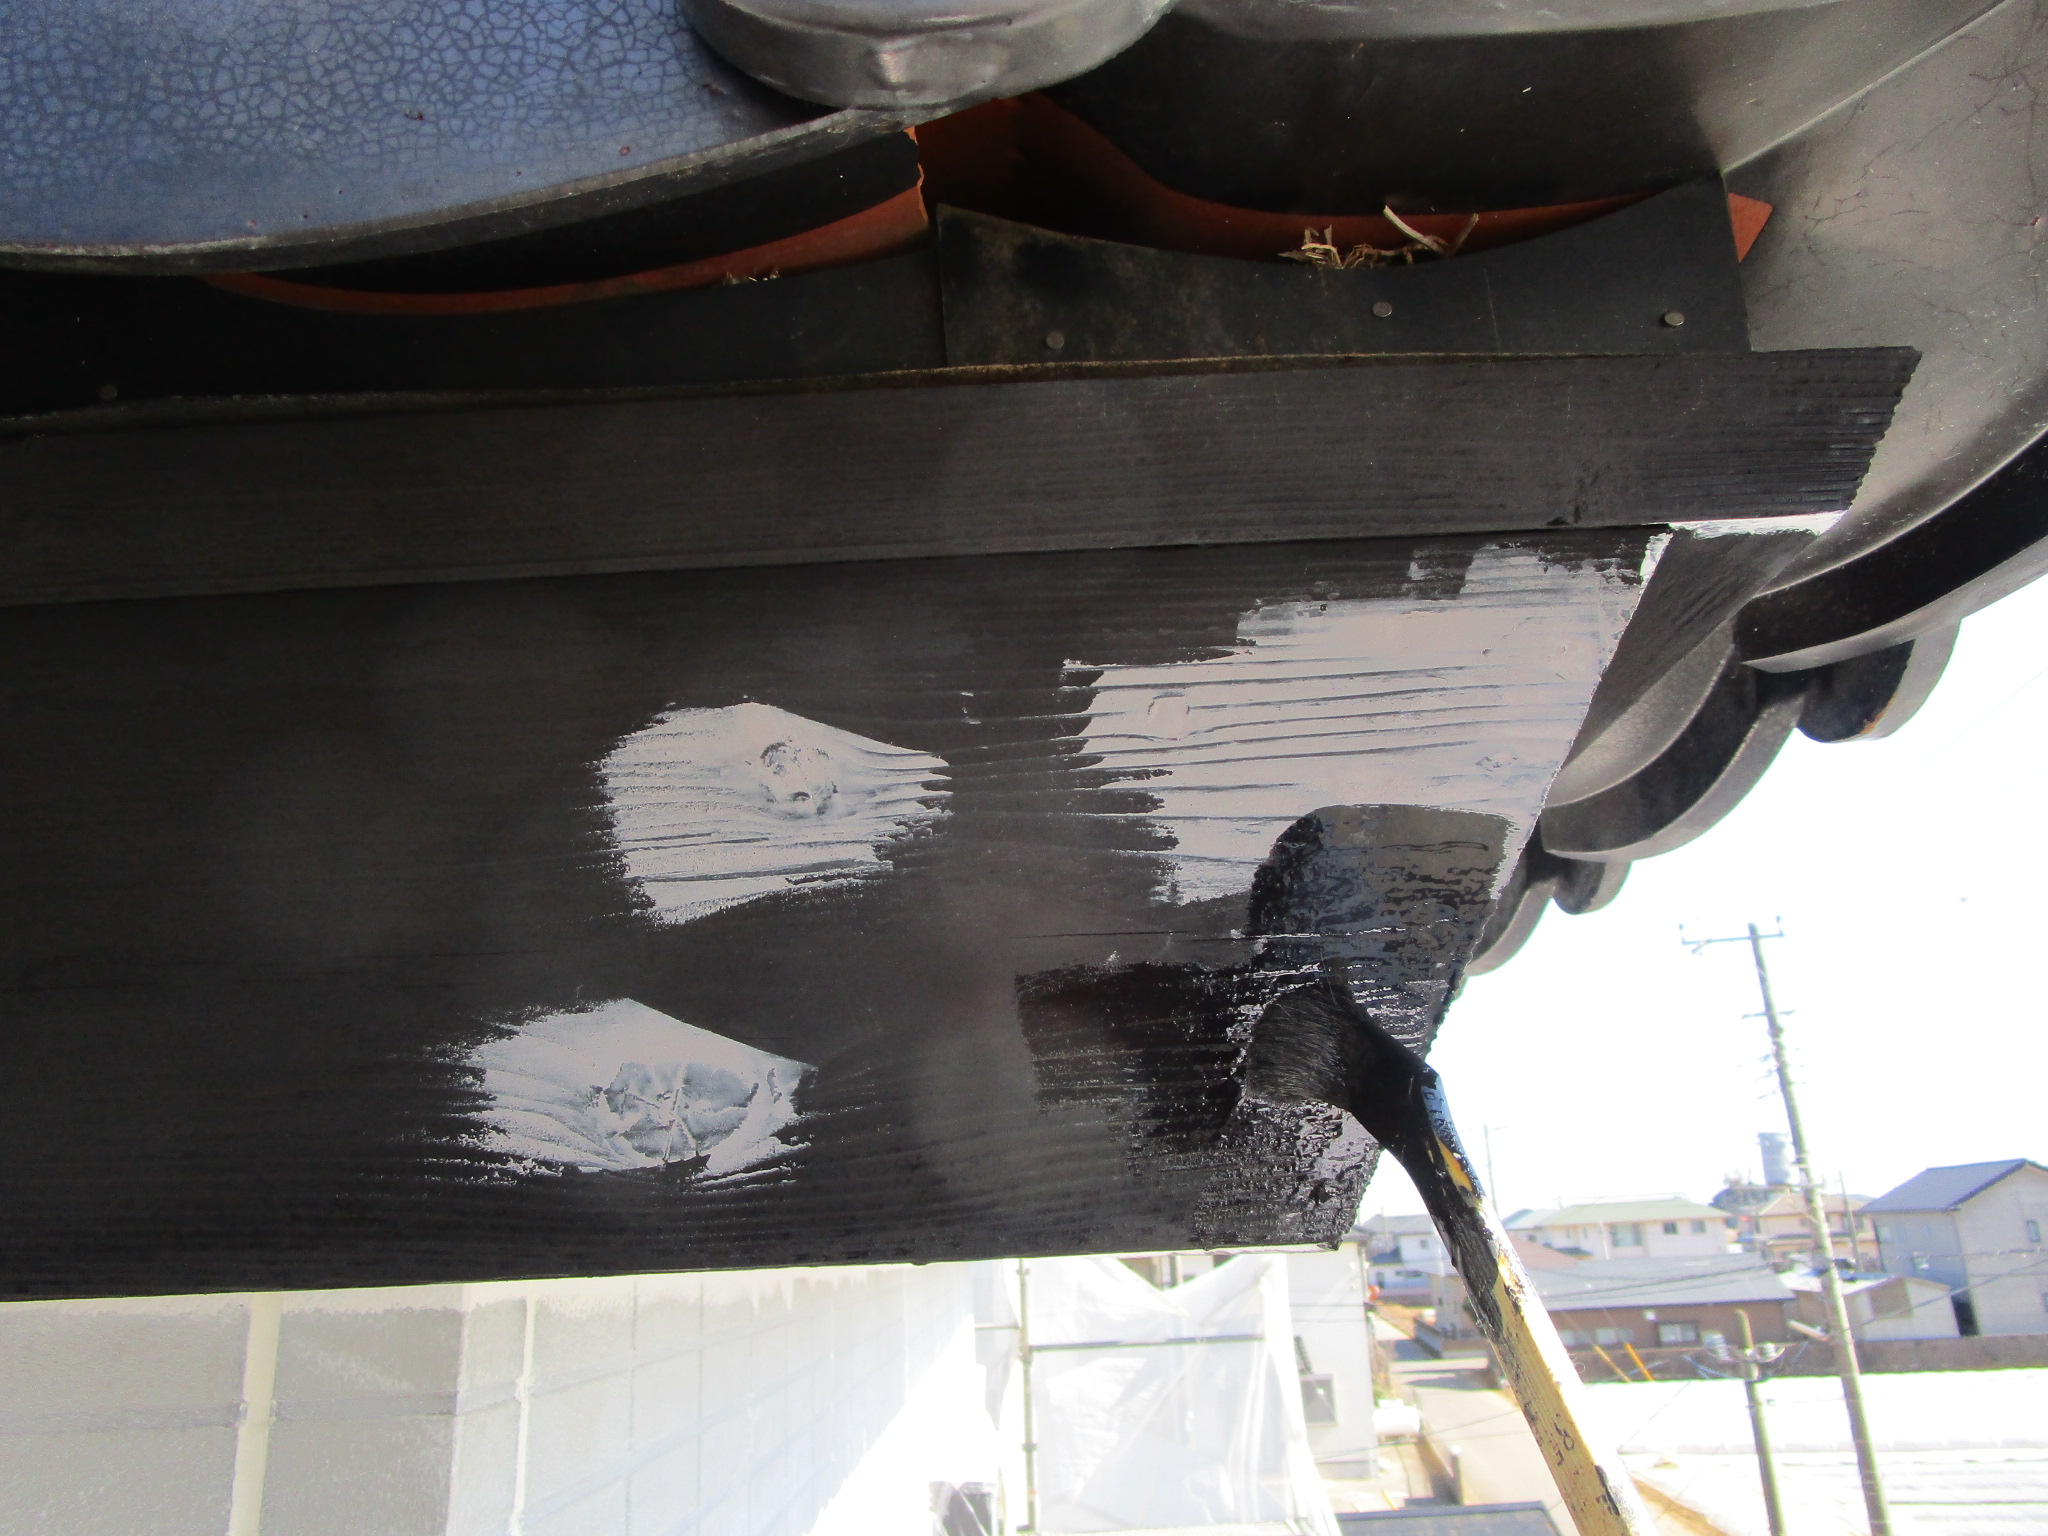
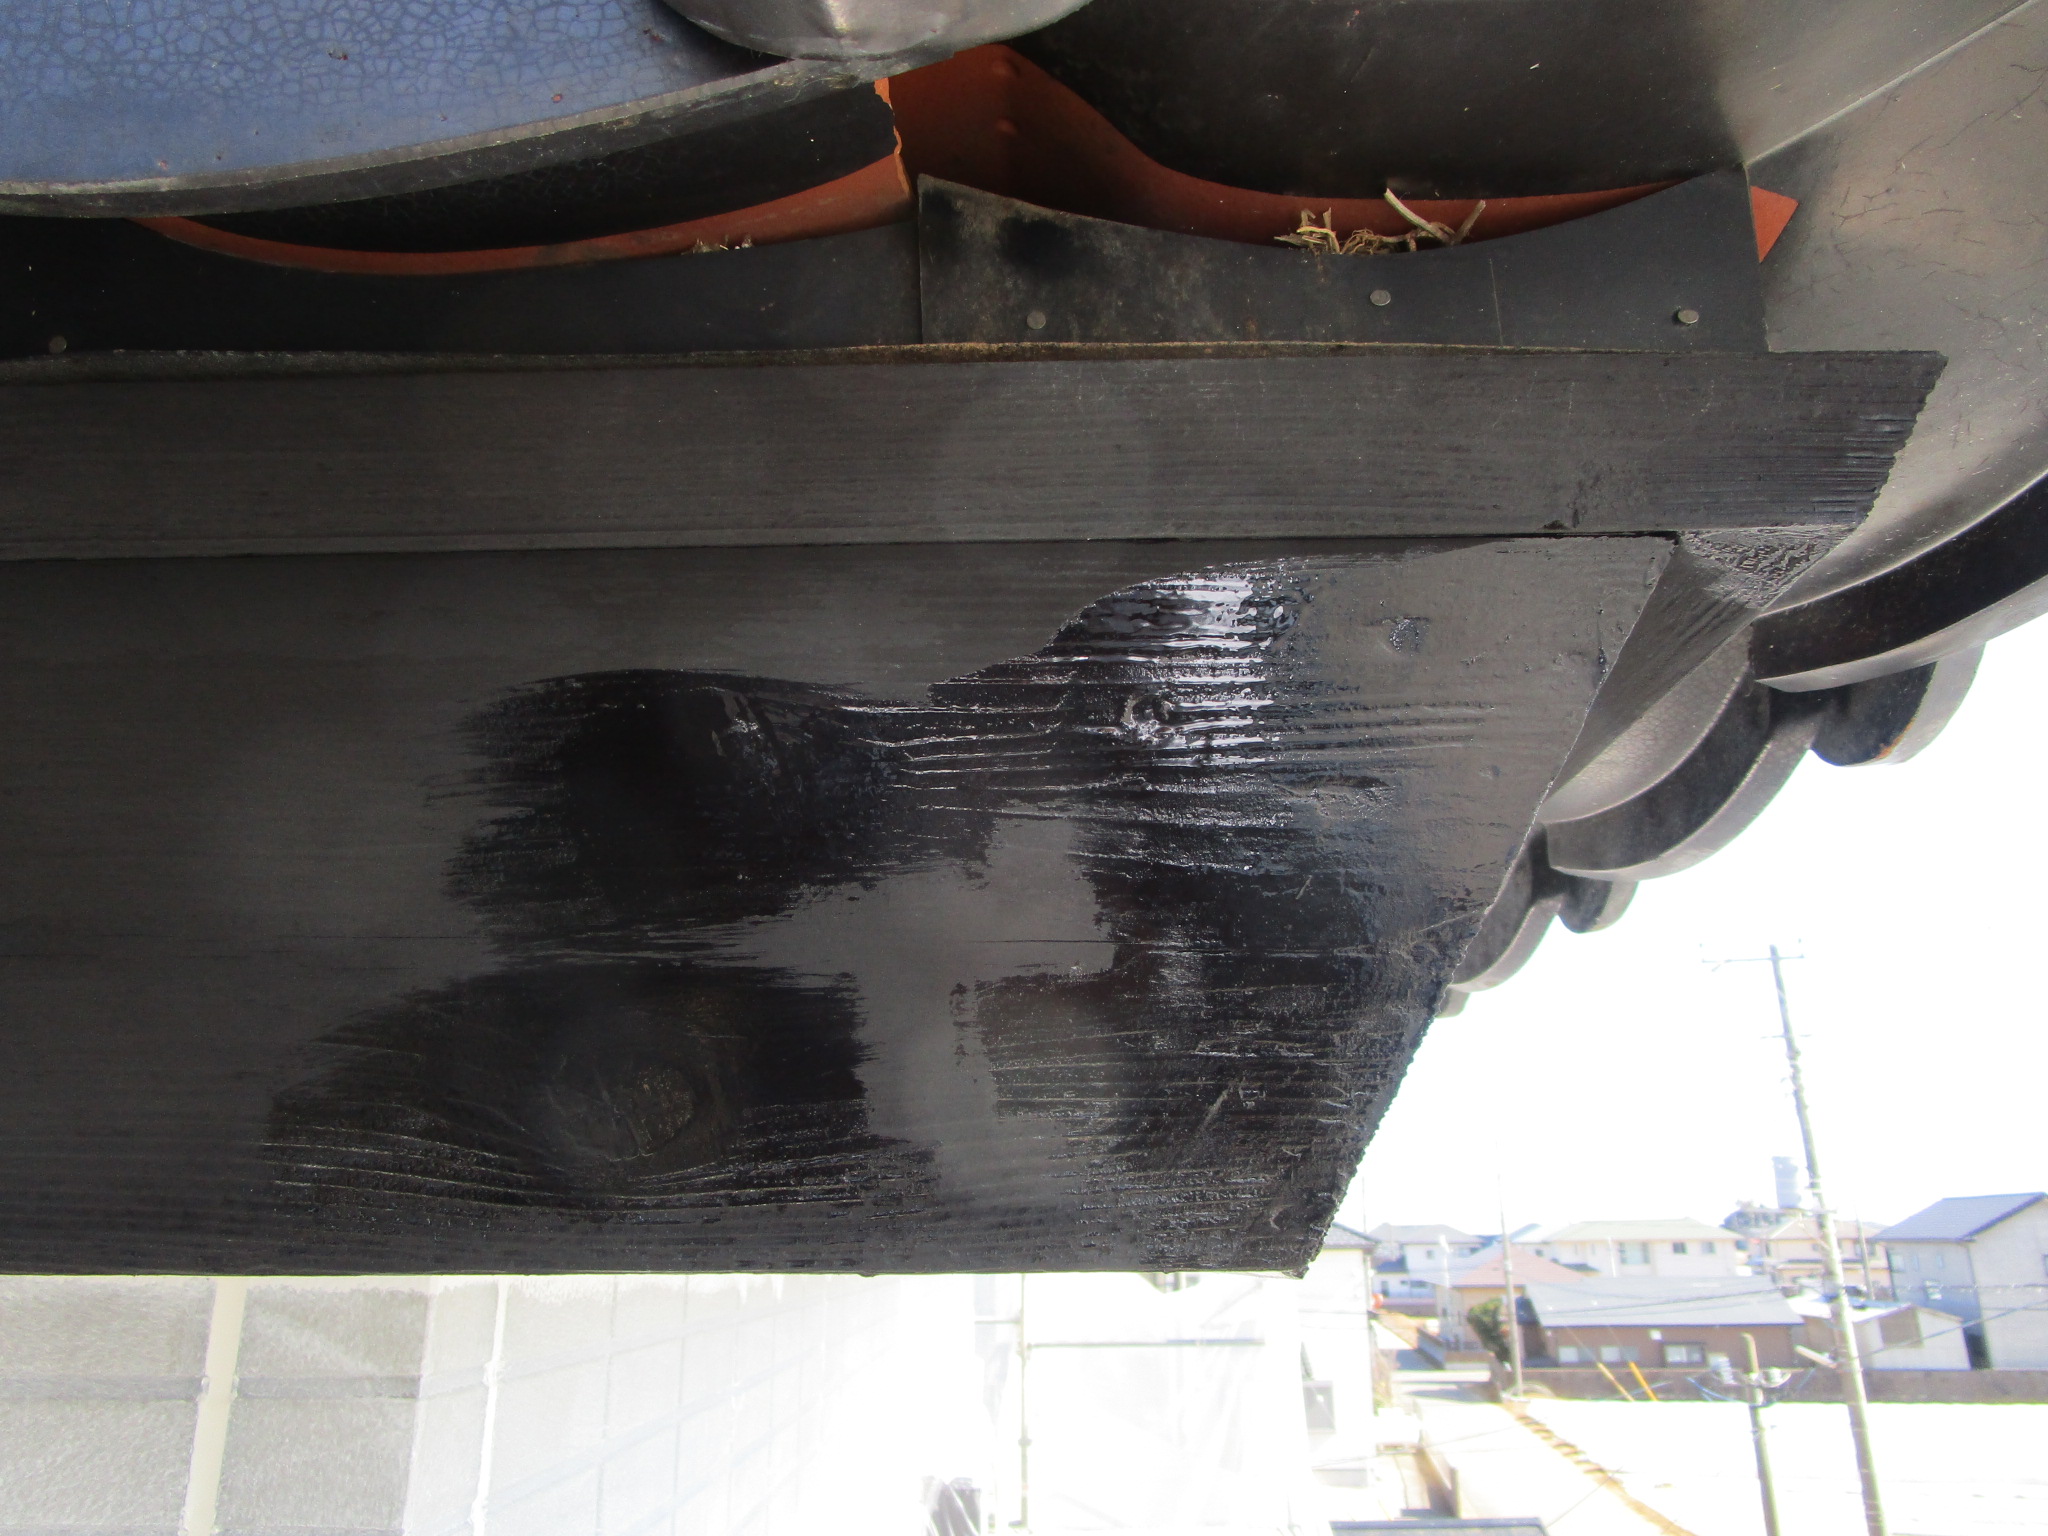
<破風板 下塗り>
木部用の下塗り材塗装します。
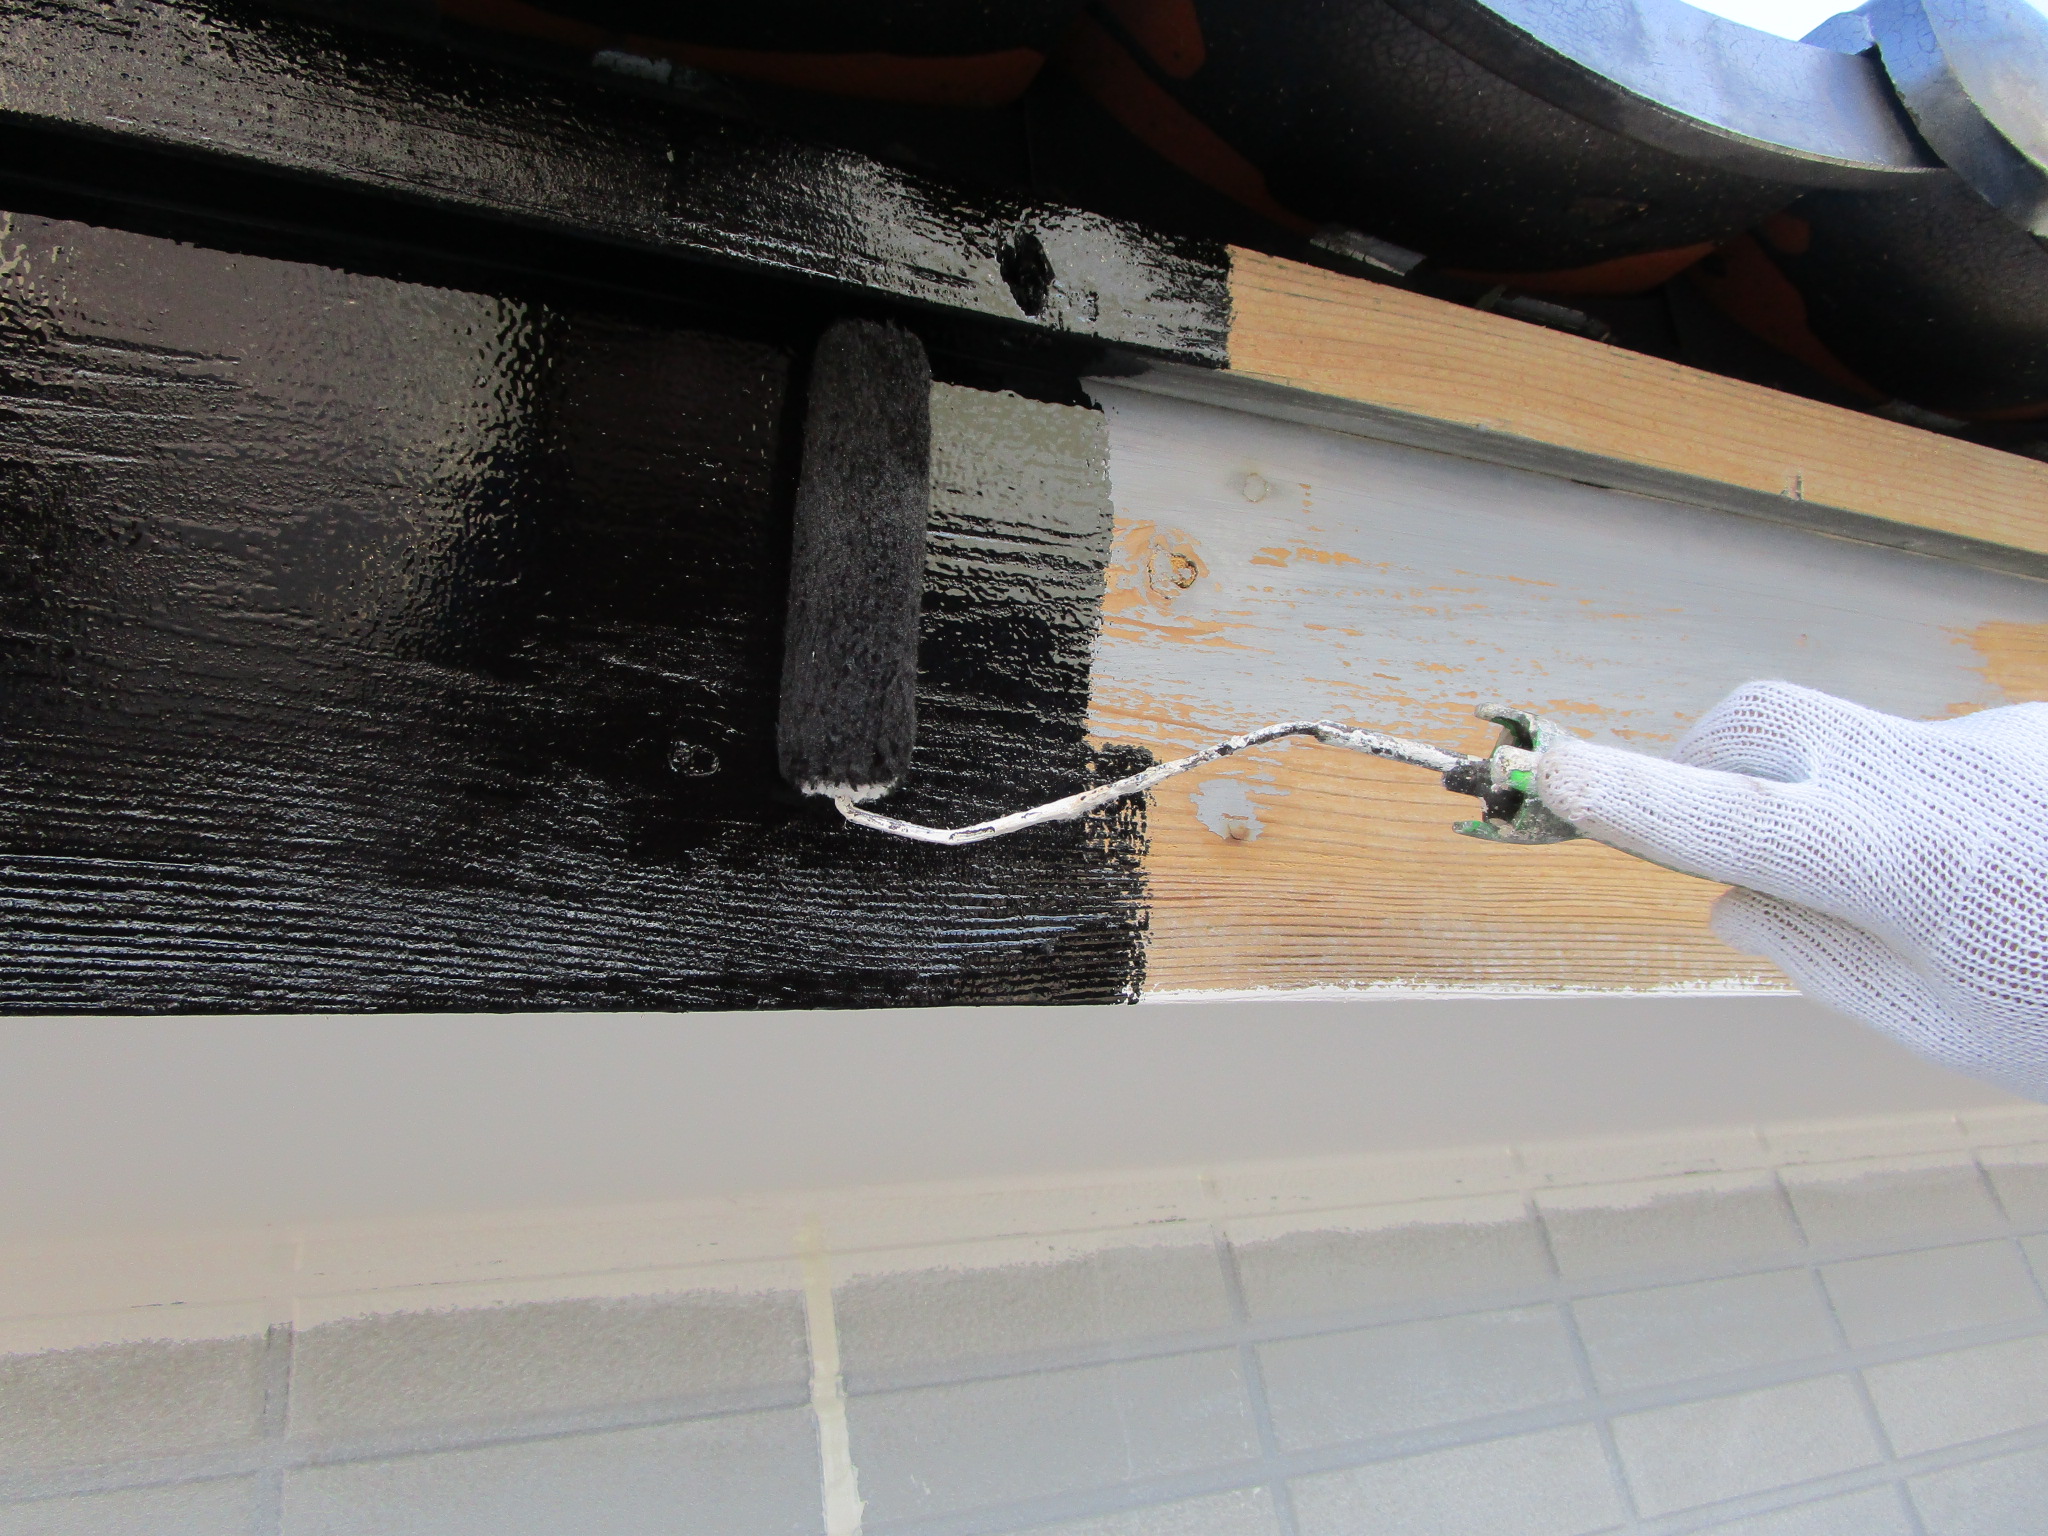

乾燥後、(釘、割れ、繋ぎ部分、木のフシ部分)などをパテ処理します。
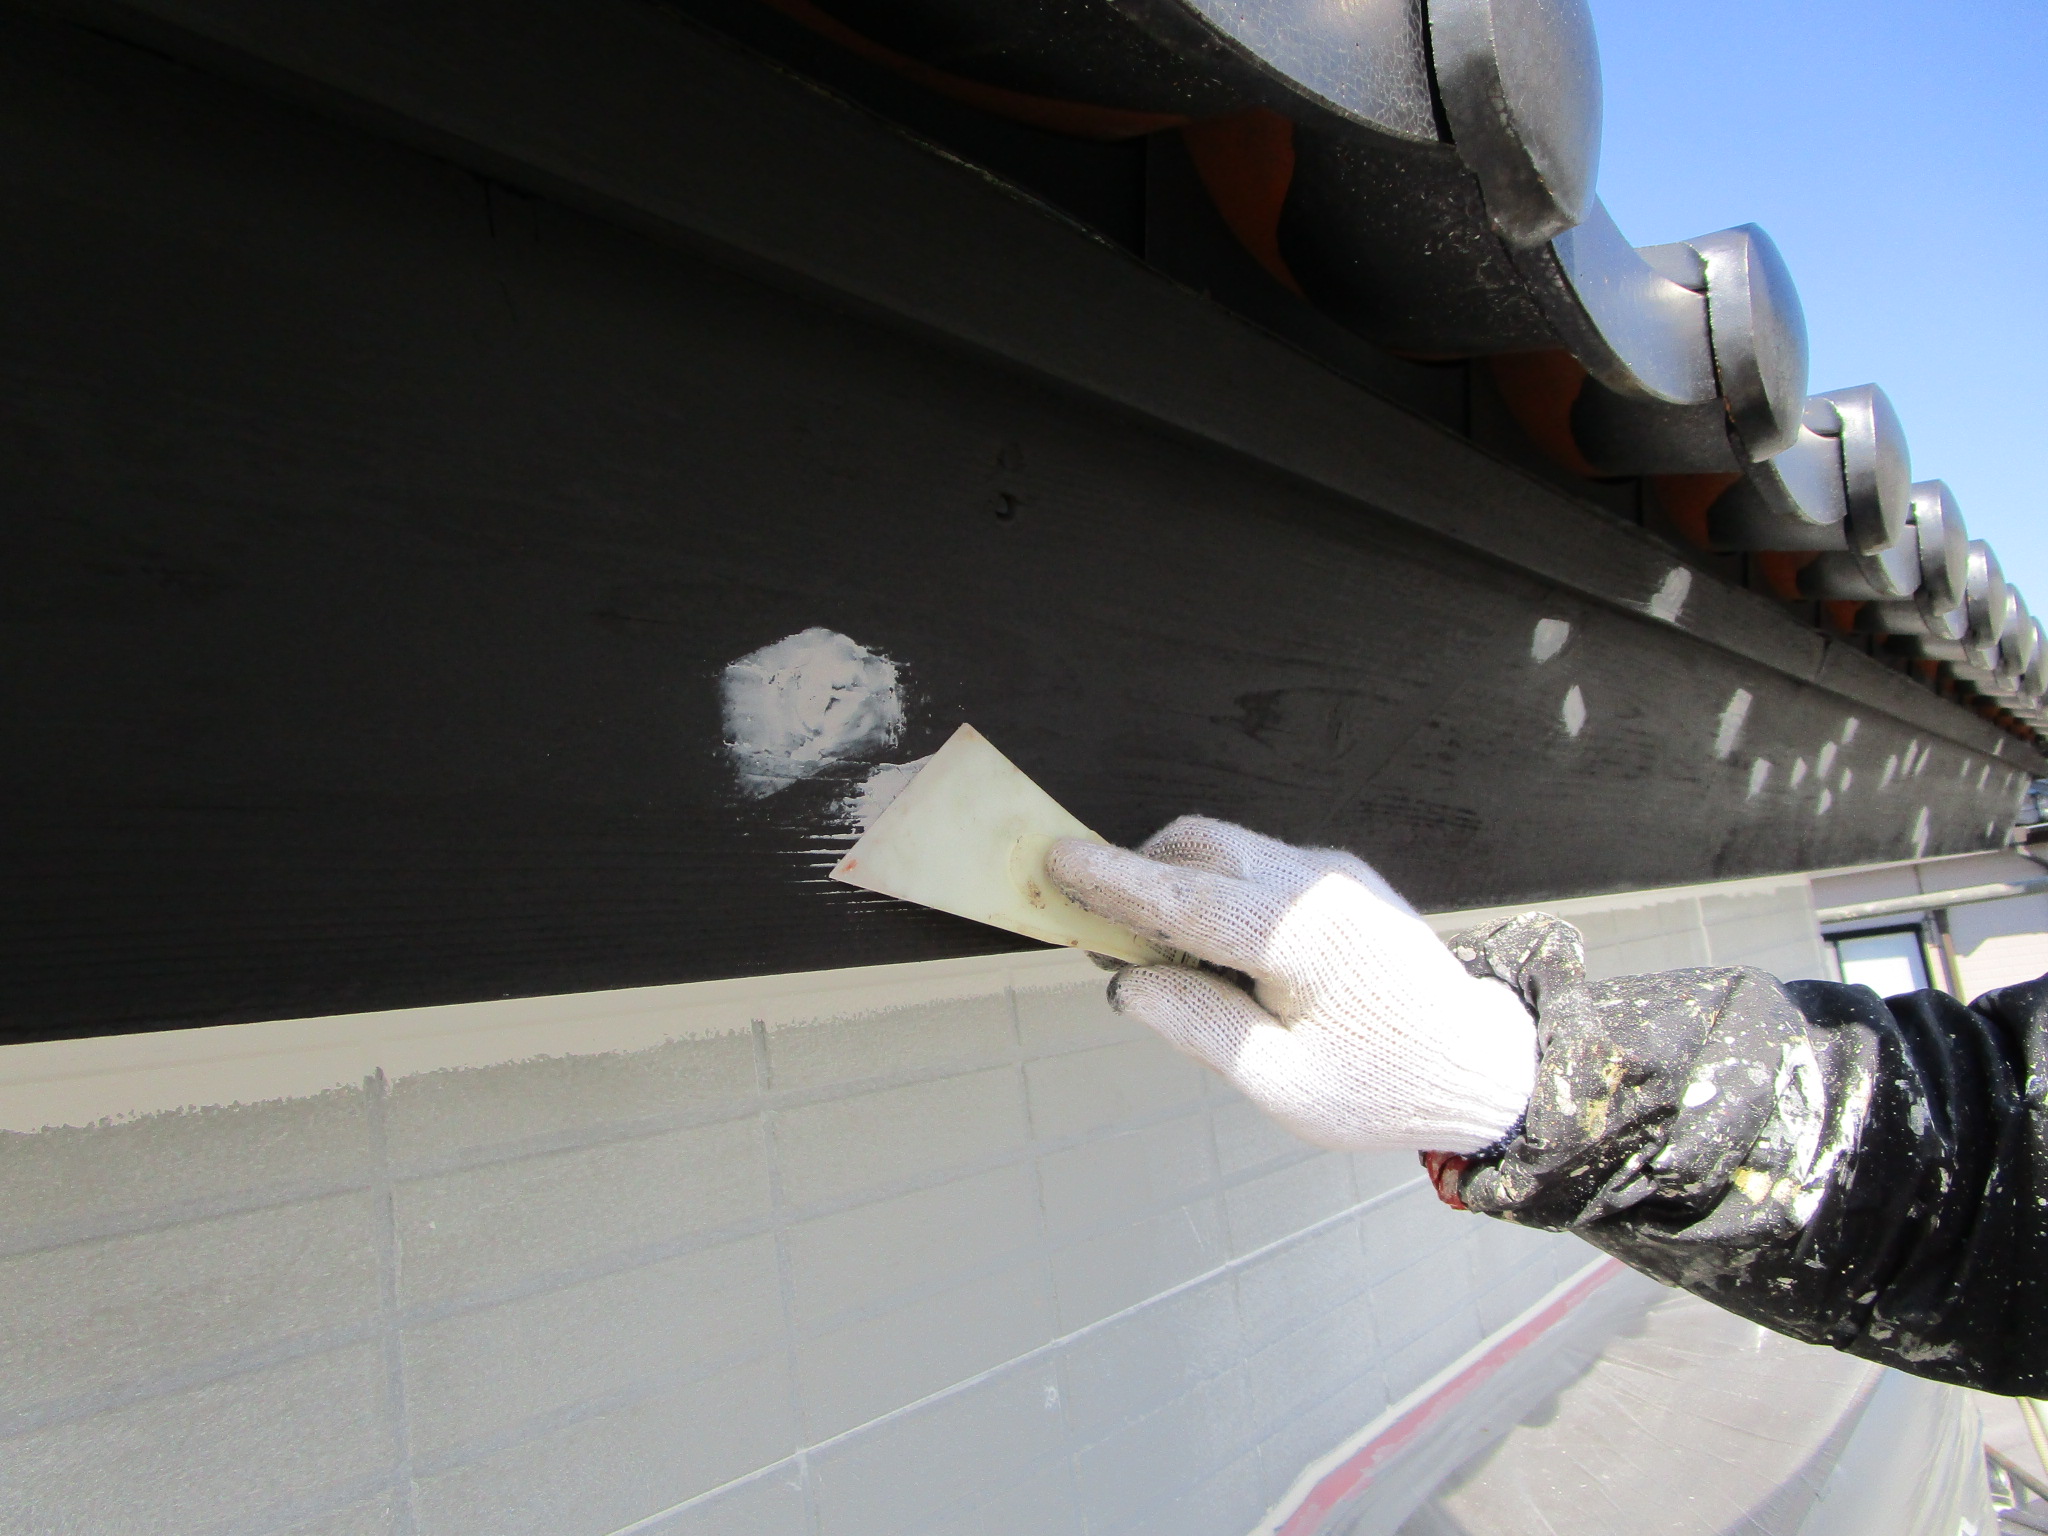
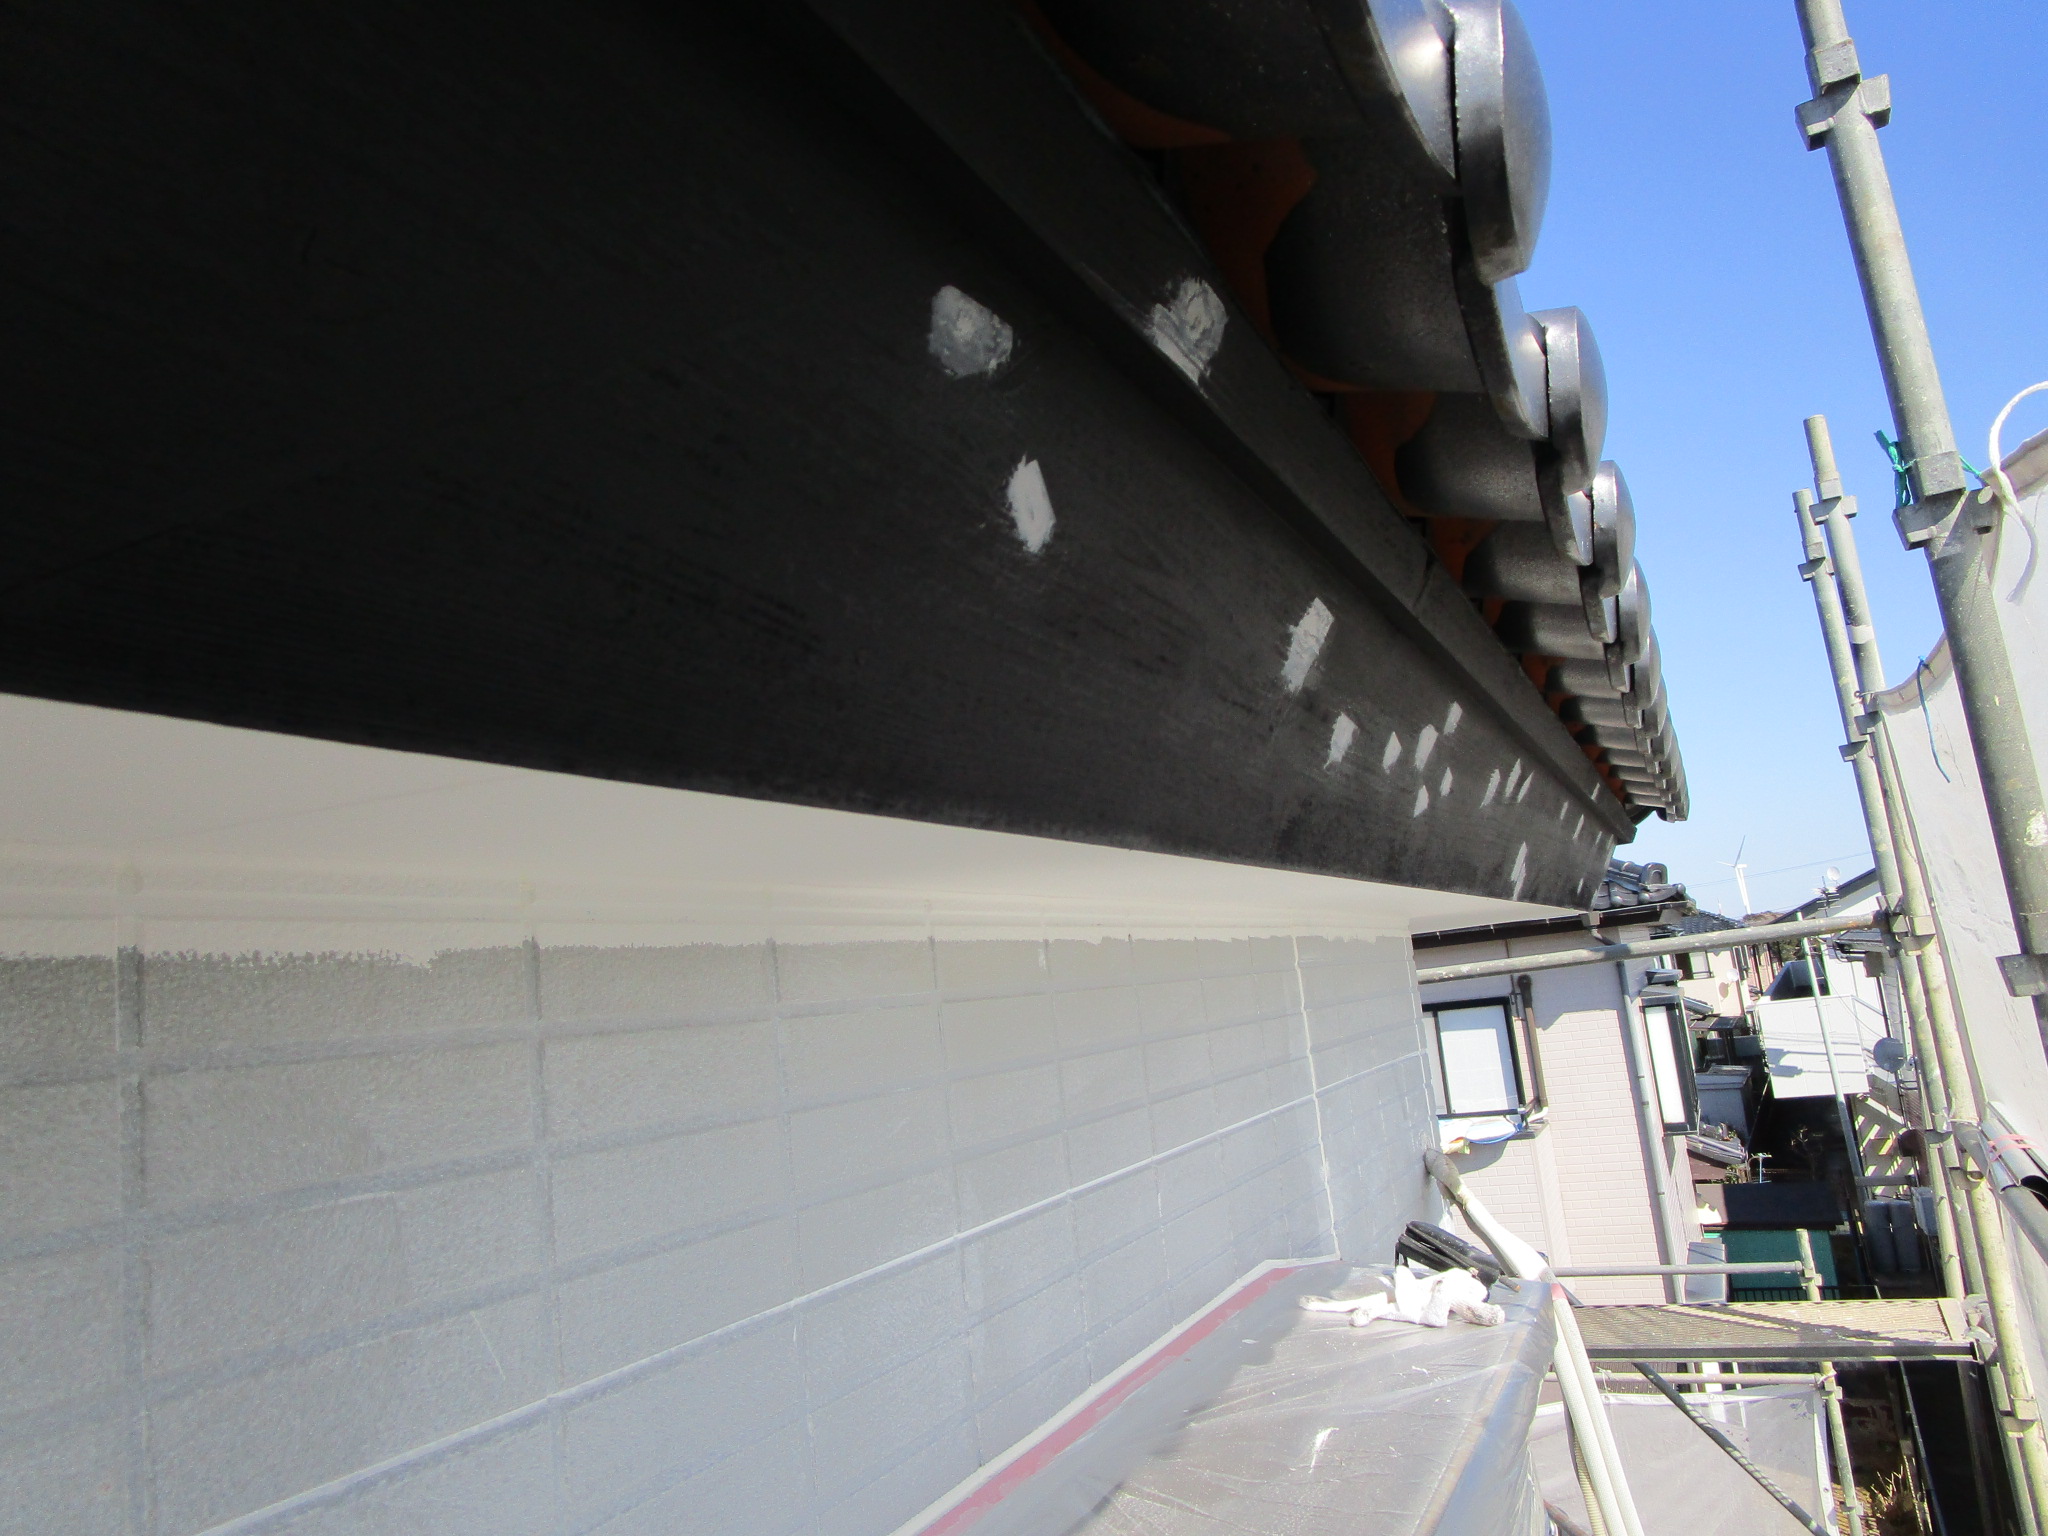
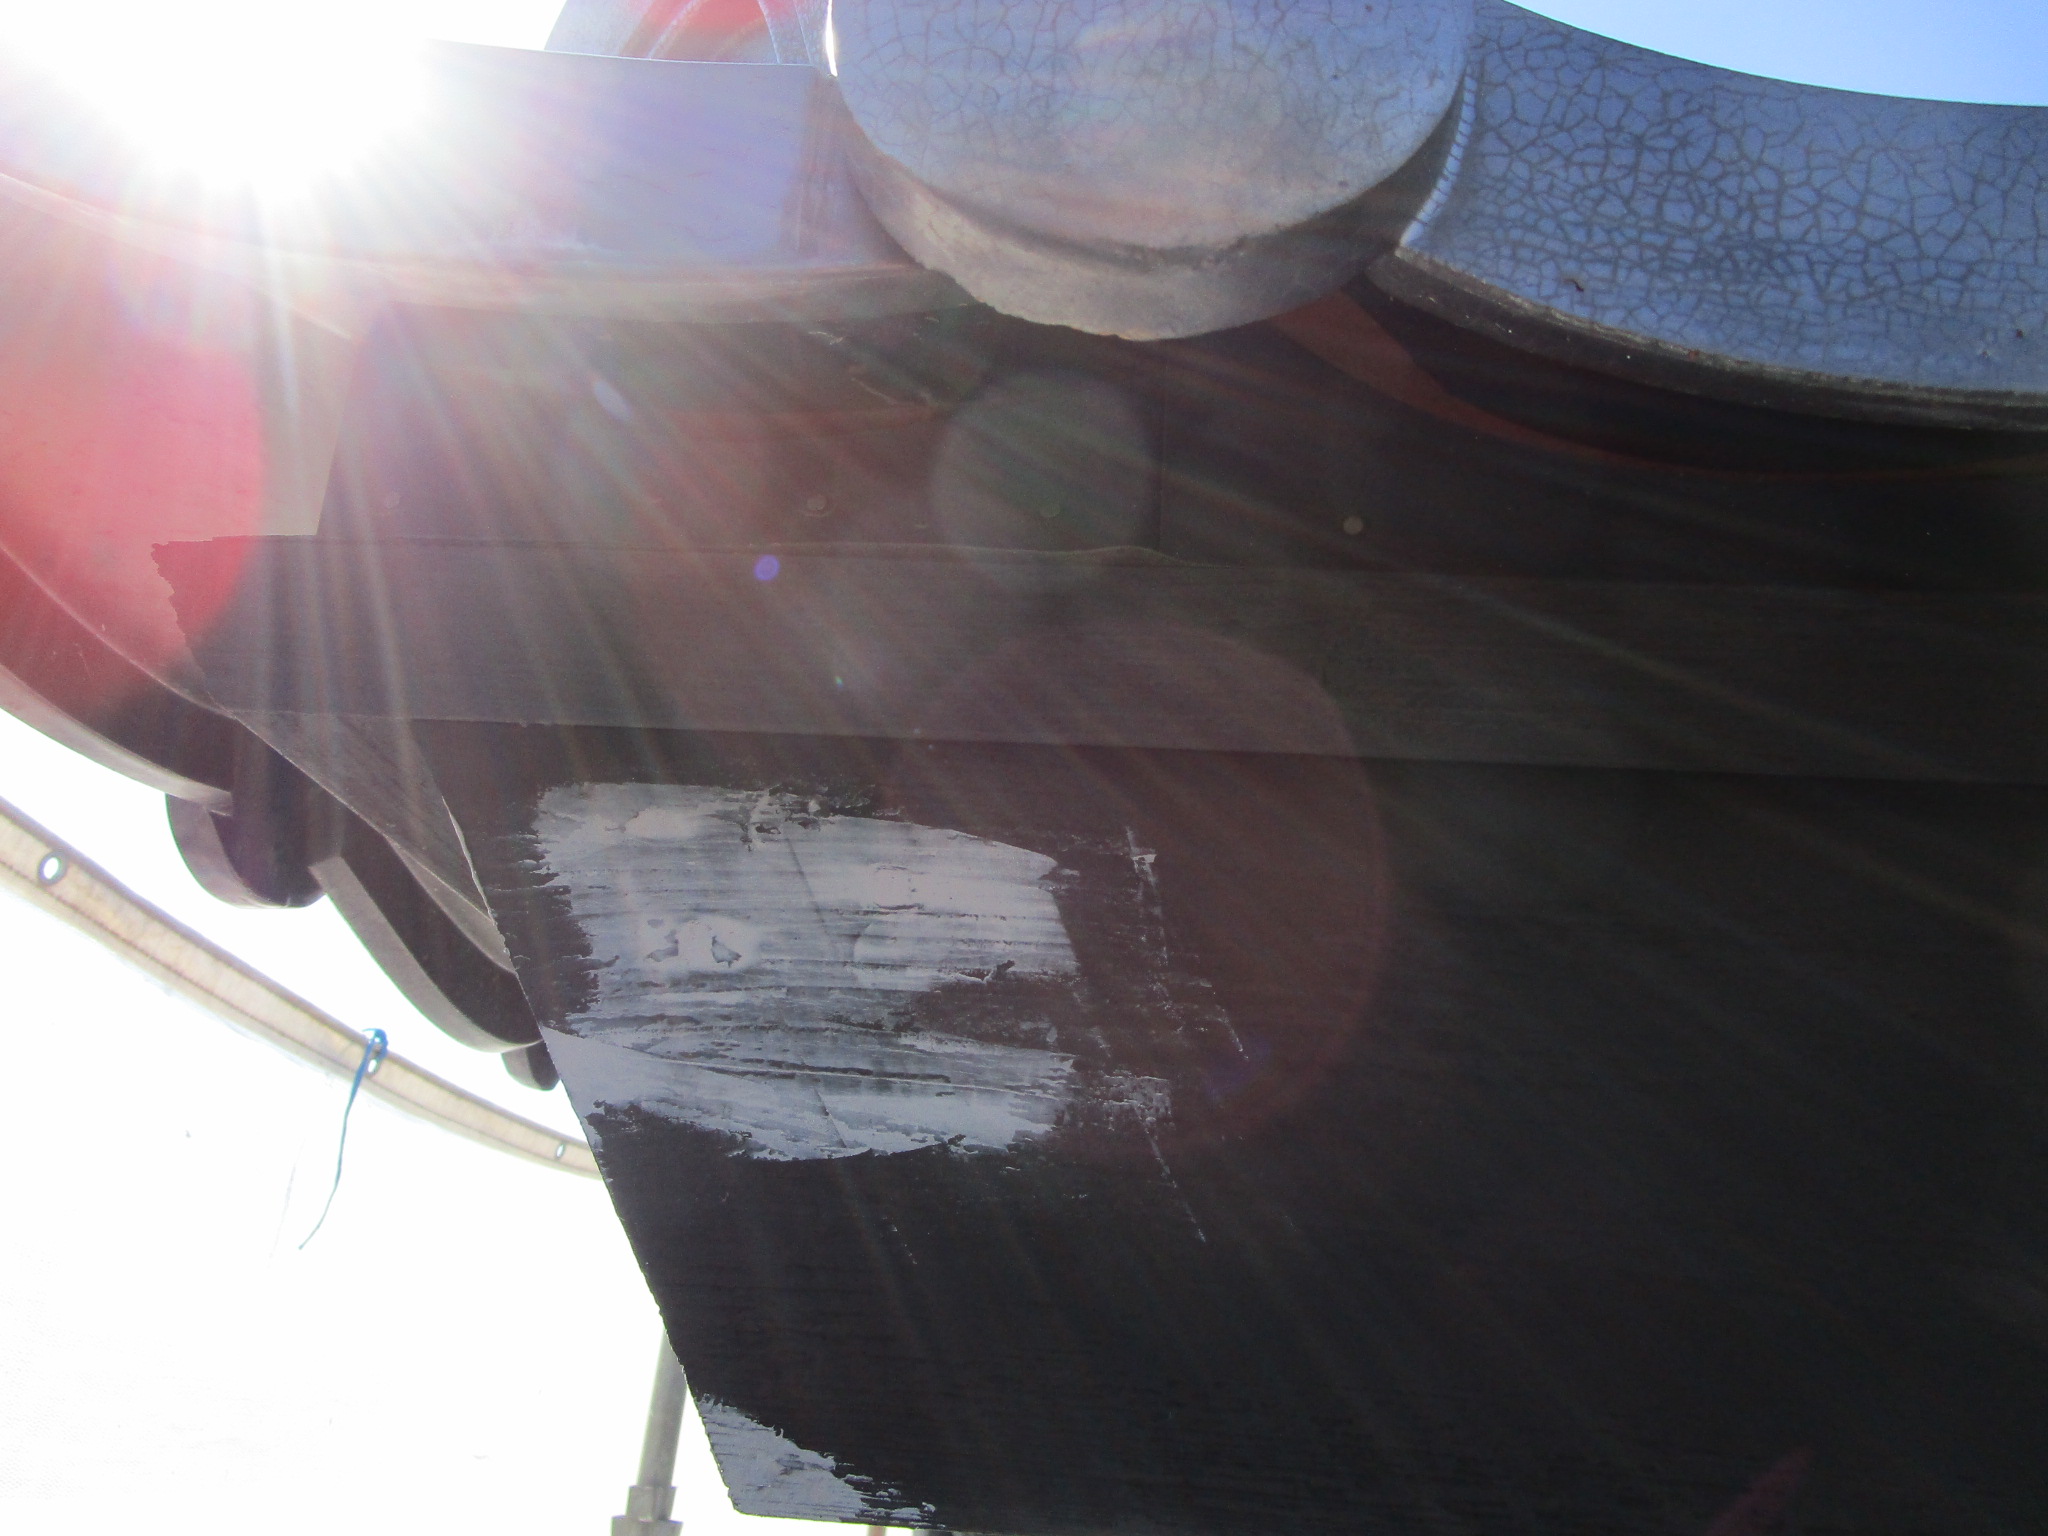
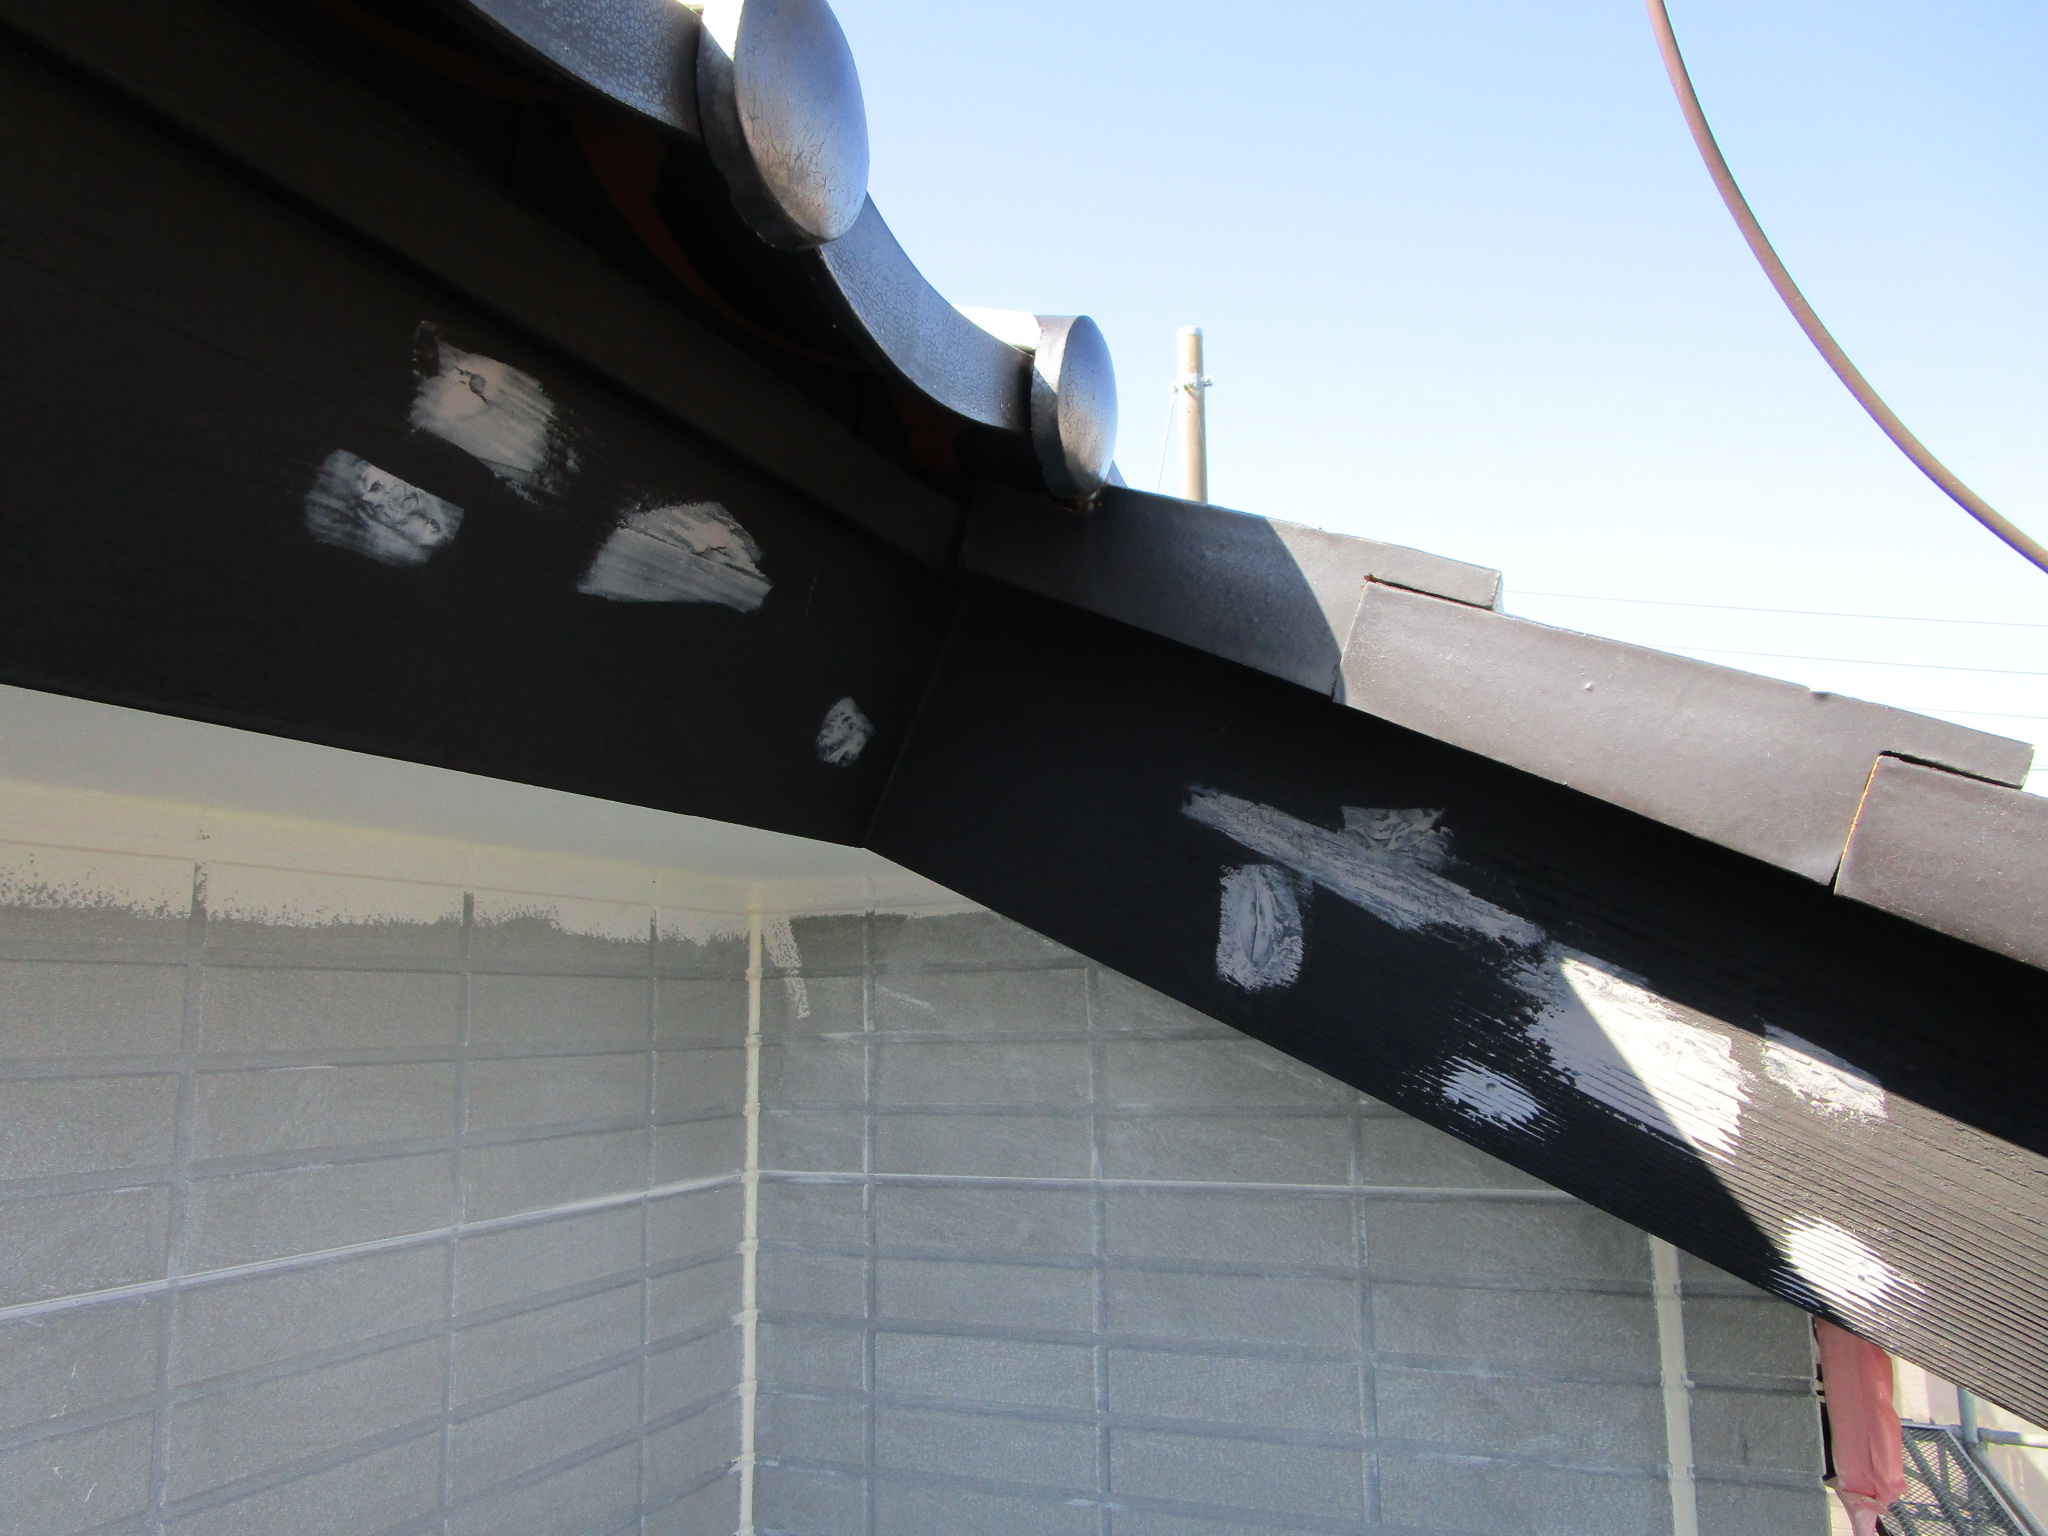

パテ乾燥後、密着向上の為下塗り被せます。
今回はここまでです。