ブログblog
外壁塗装/コーキング打ち直し その他塗装 旭市 U様邸 ⑥
-
2022.02.20
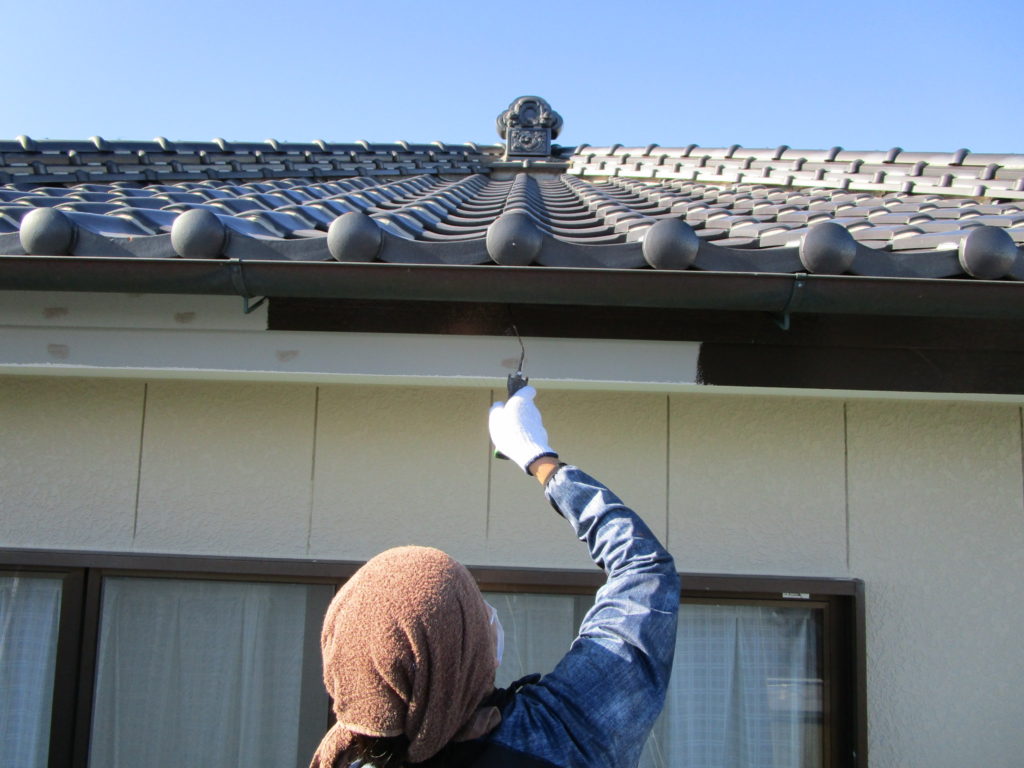
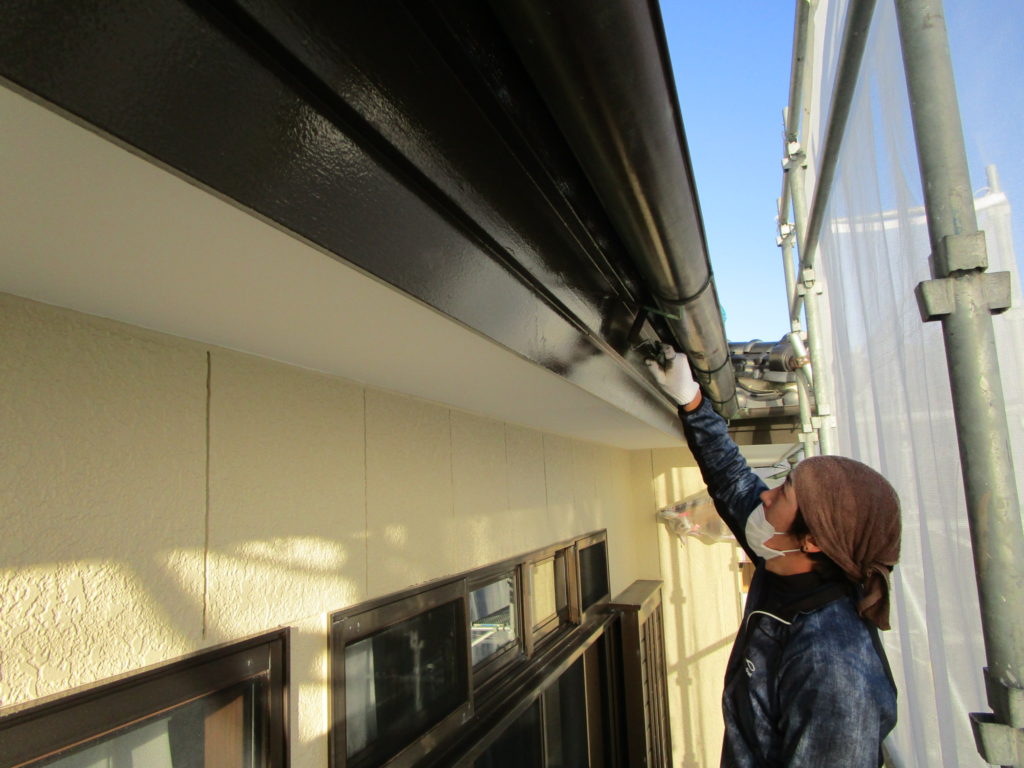
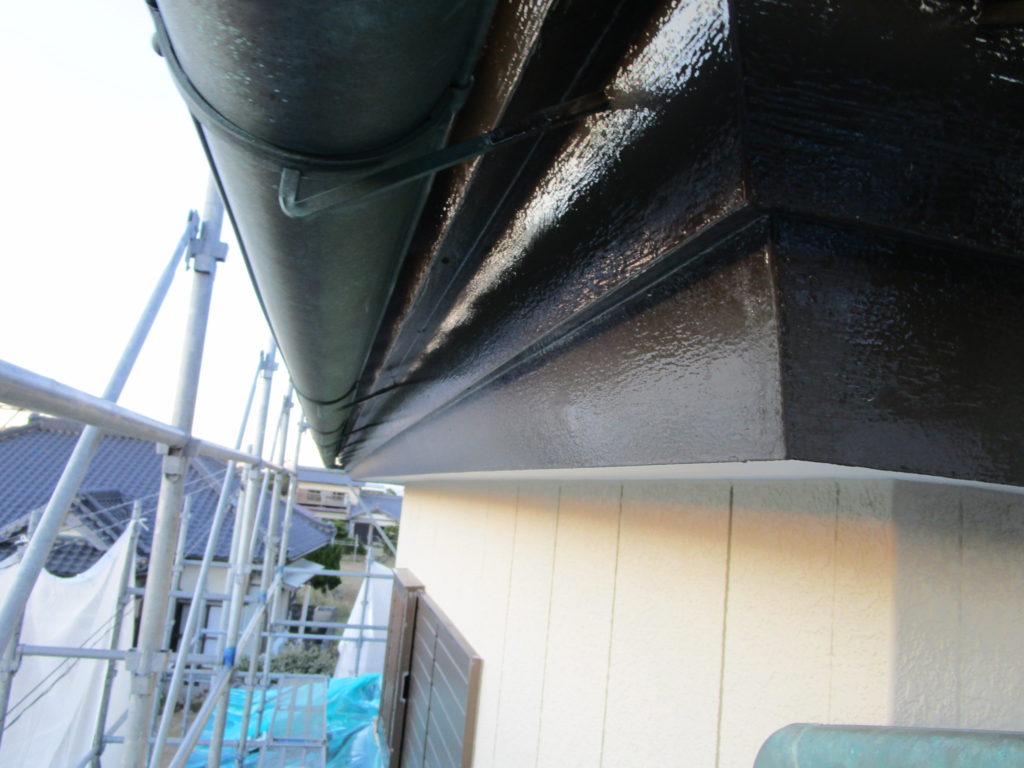
破風板塗装に入ります。
<破風板 中塗り/上塗り>
前回、パテ処理まで終了しておりますので中塗り/上塗りに入っていきます。

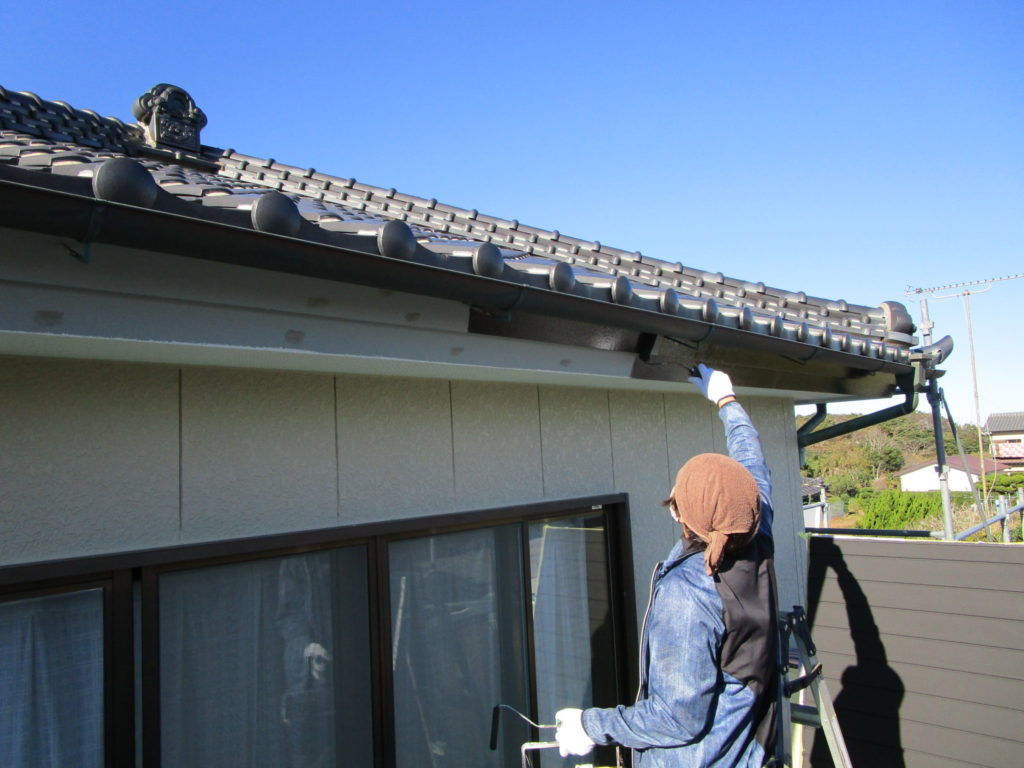
上塗り
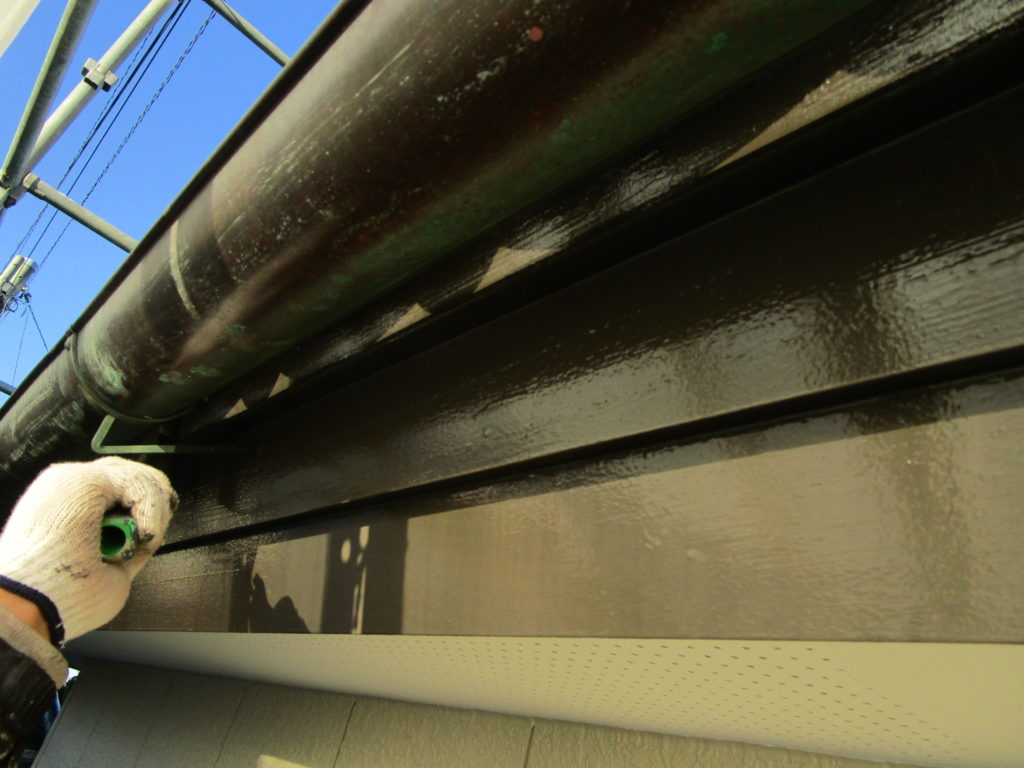
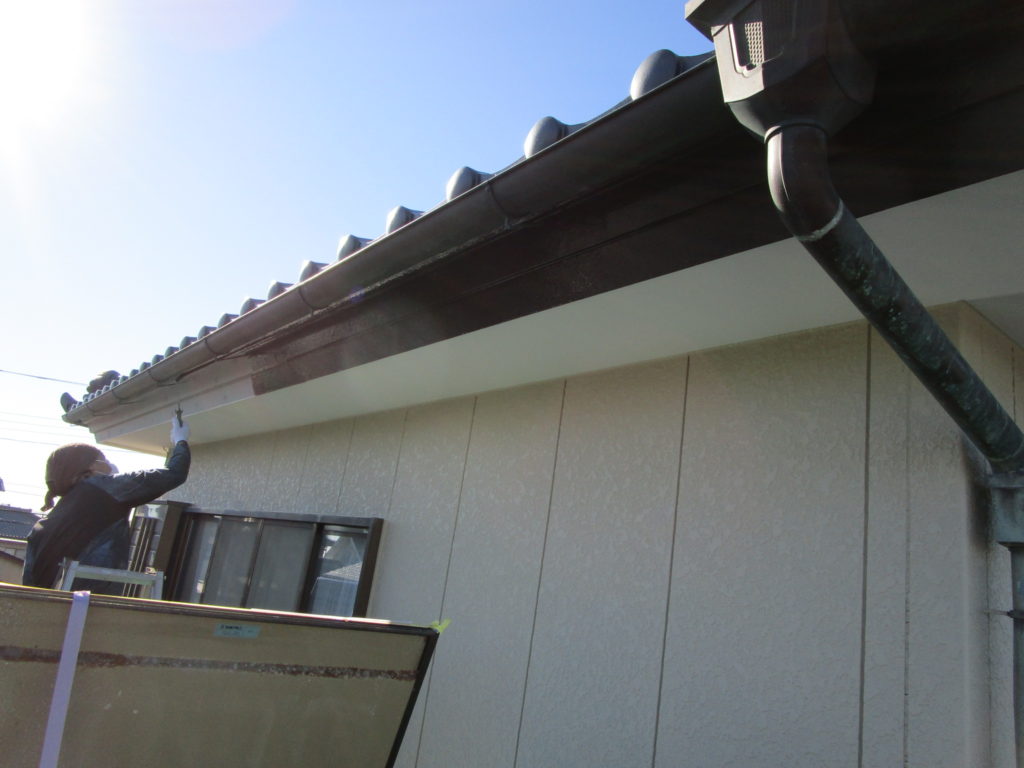
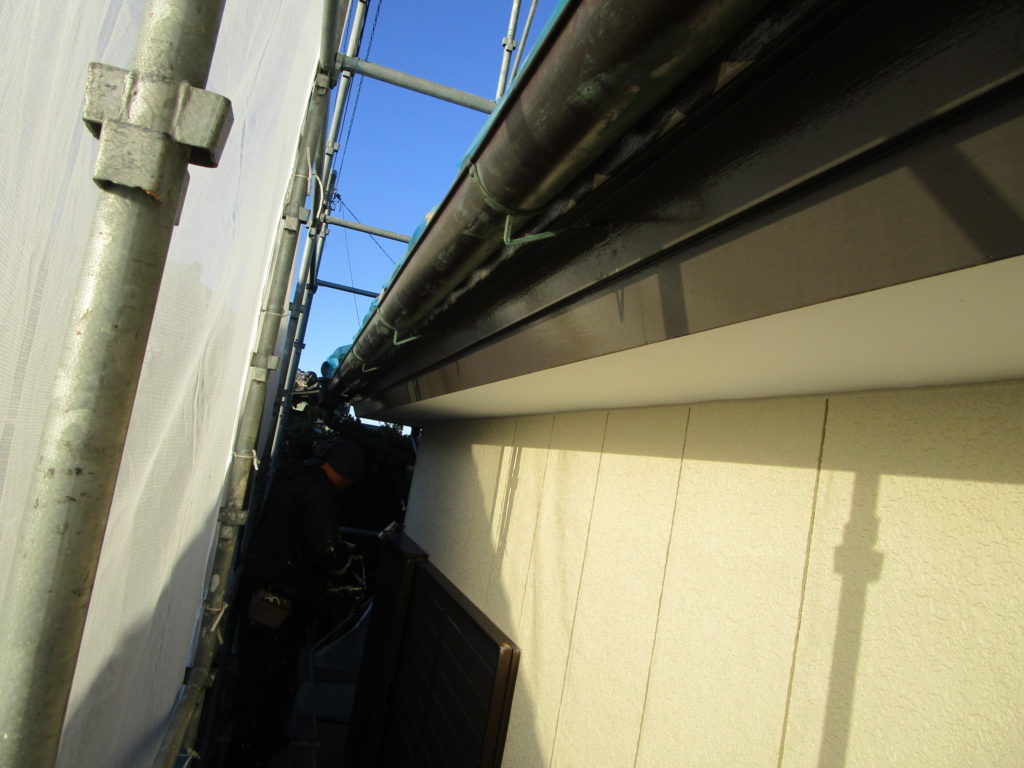
破風板 完成
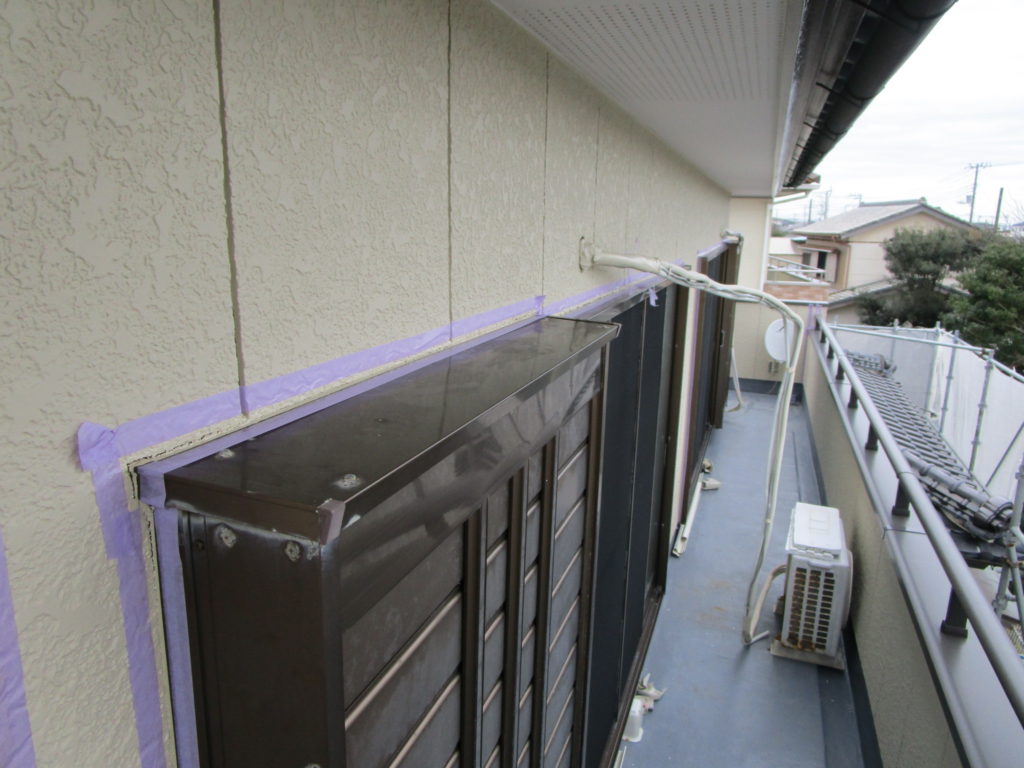
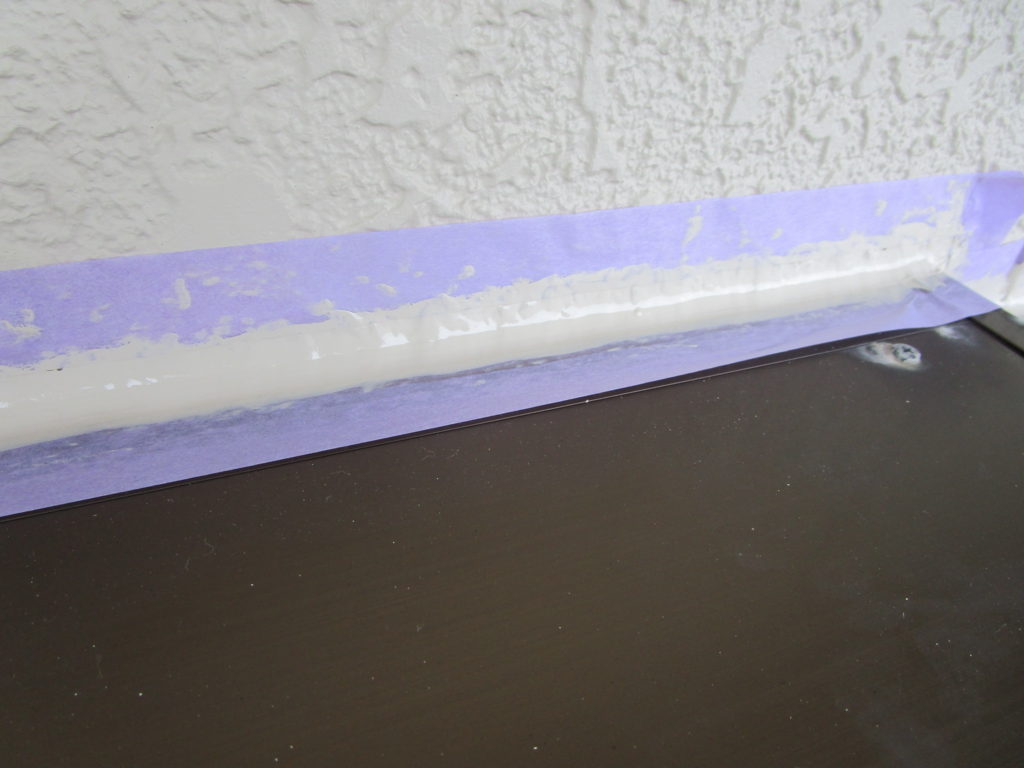
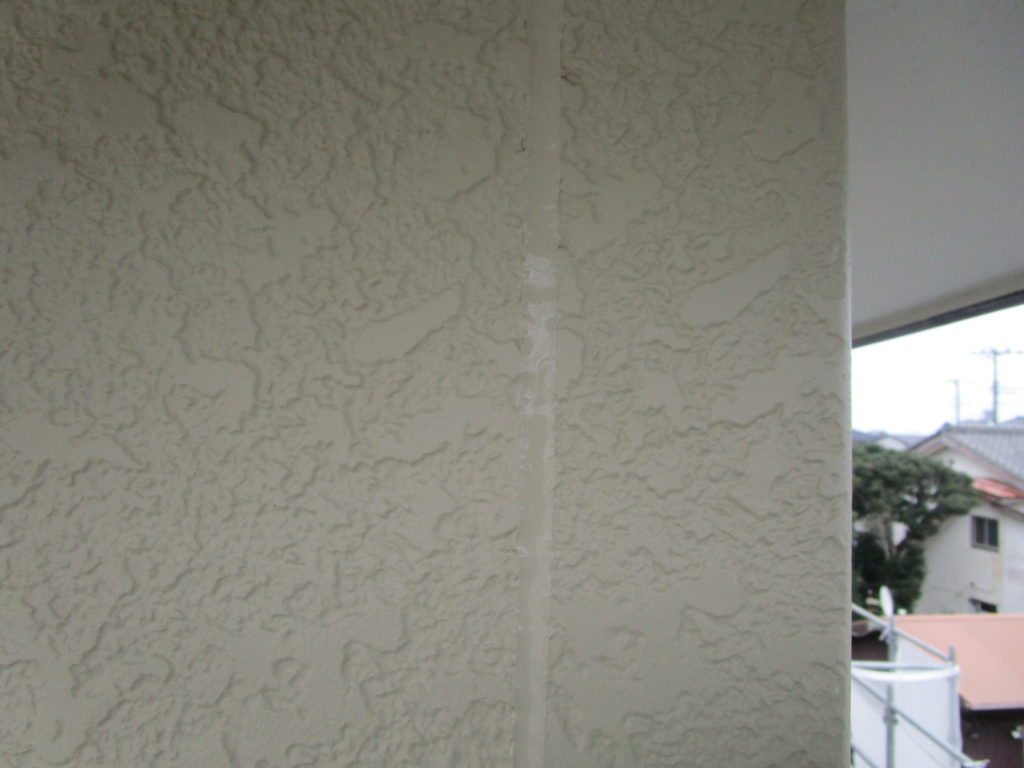
コーキング/シーリング作業に掛かります。
まず既存の古いコーキング撤去しましてマスキング→シーラー塗布→新規コーキング打ち込みとなります。
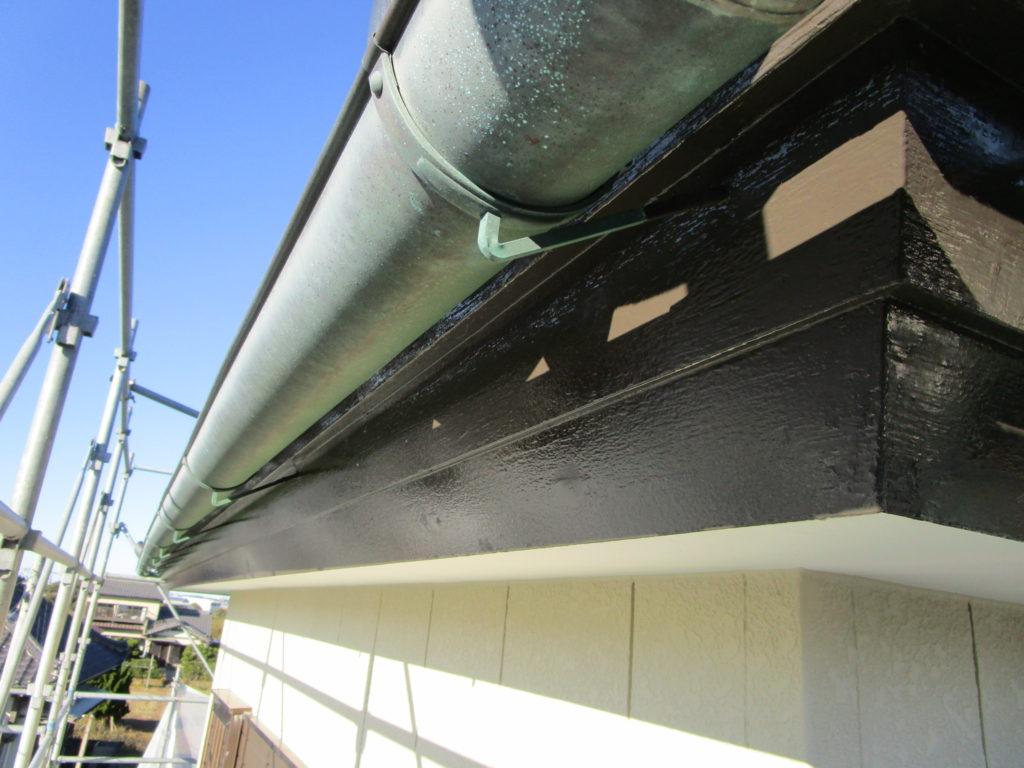
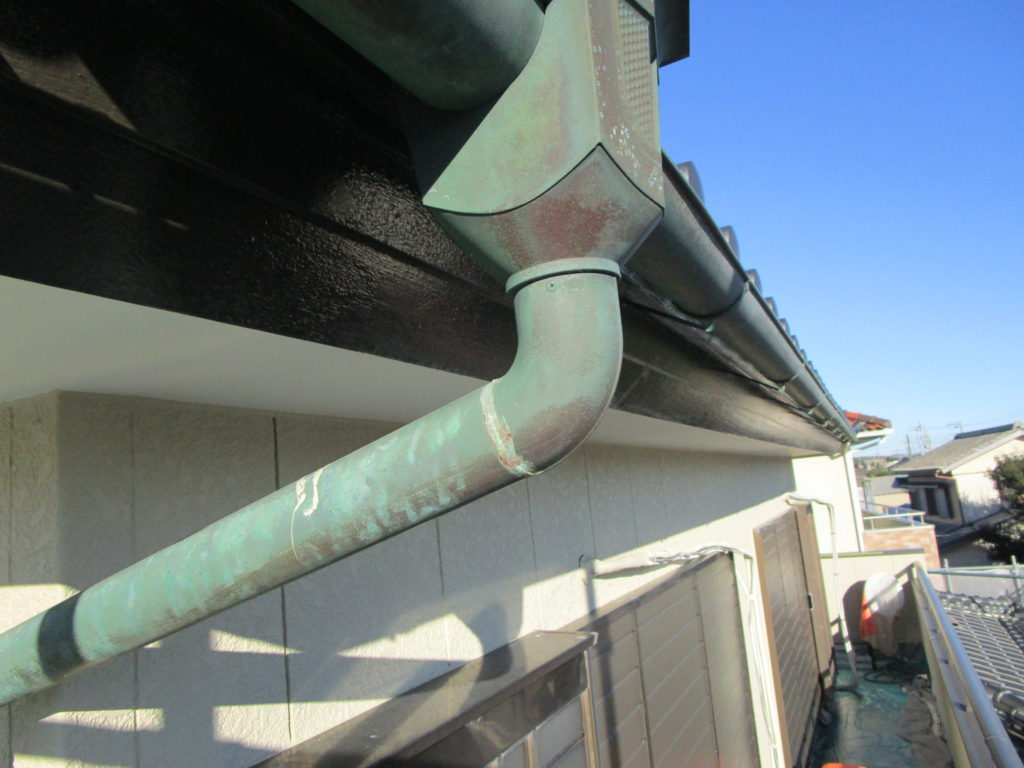
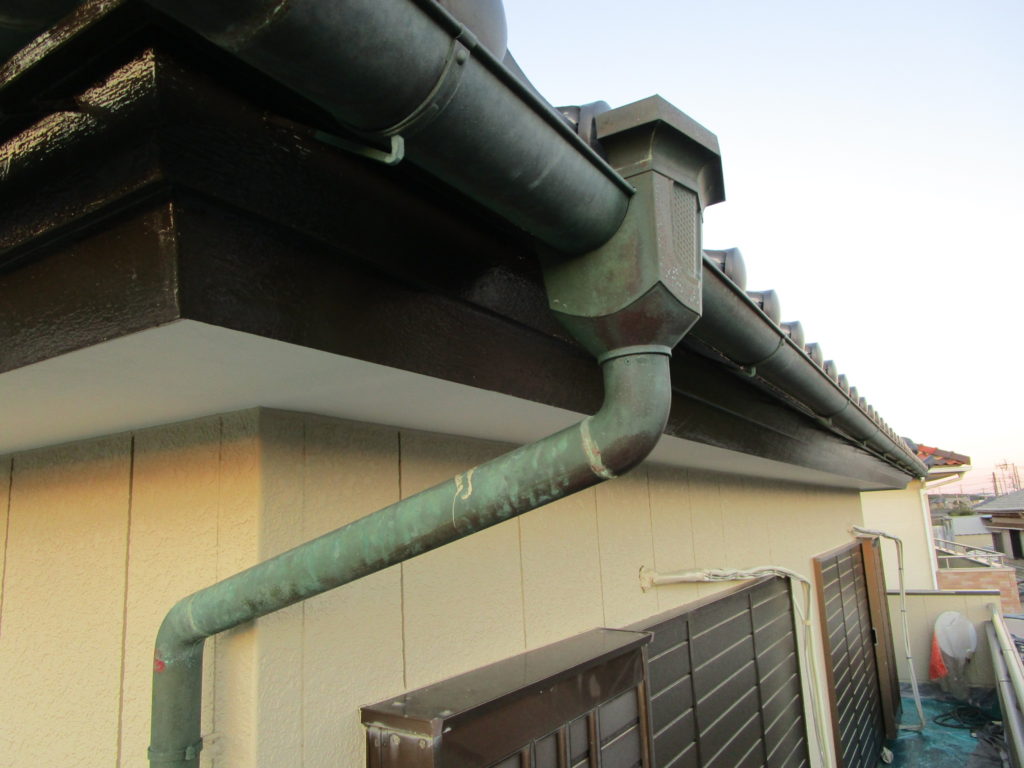
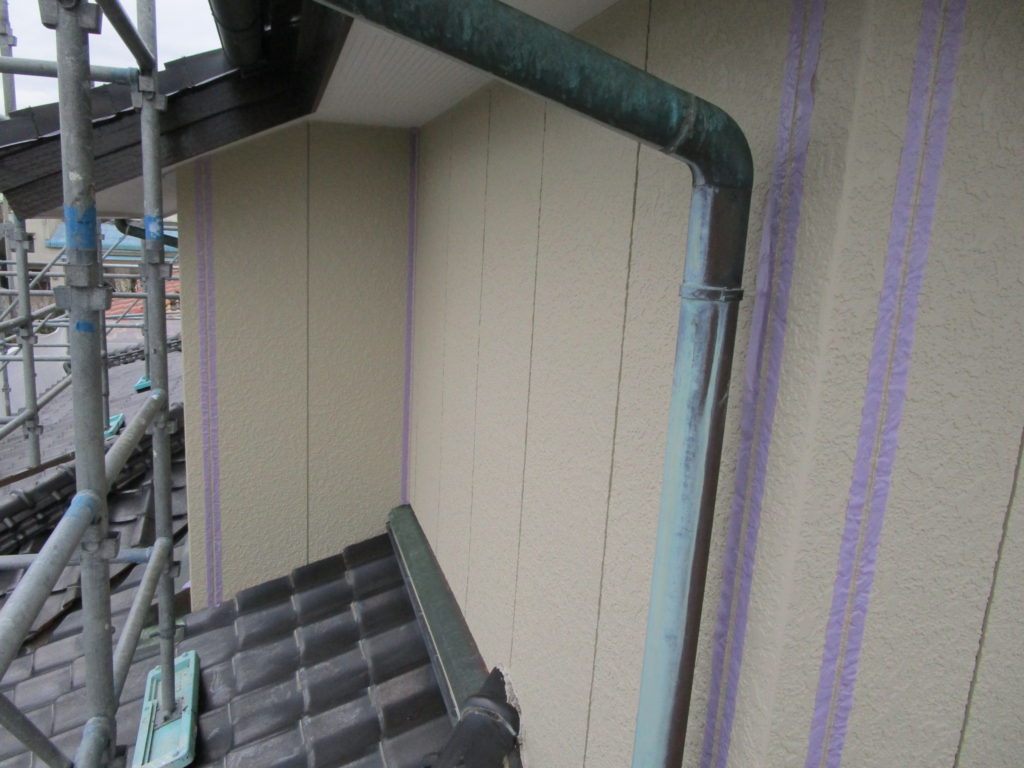
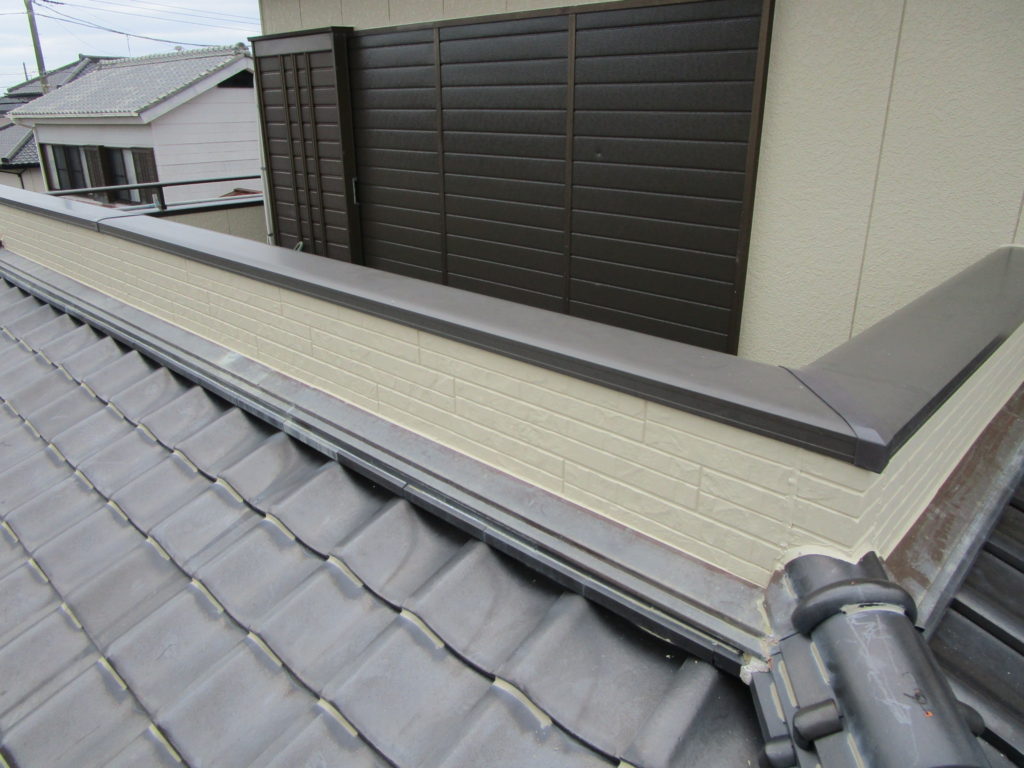
通常は雨樋外して施工するのですが今回は雨樋外しません。というか外れません!
銅製の雨樋で・無理に外すと破損の恐れ有 ・再度取り付け時のジョイントパーツが無い為です!
幸い外さなくても全ての箇所問題なく施工できるの今回は外さず施工します。
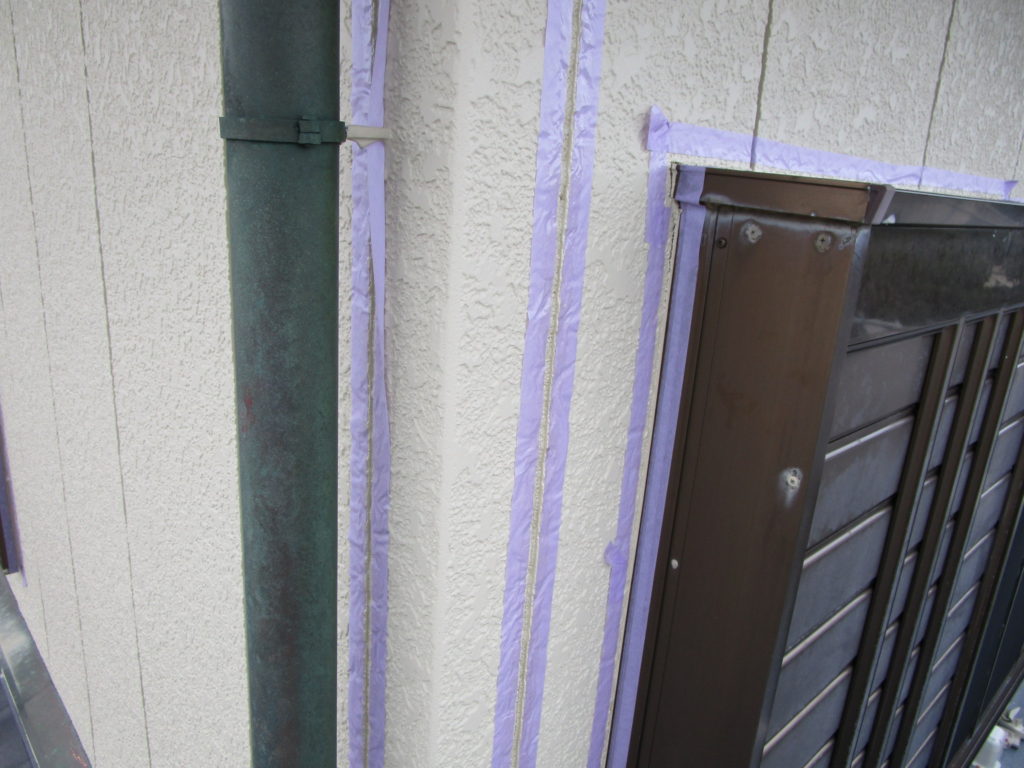
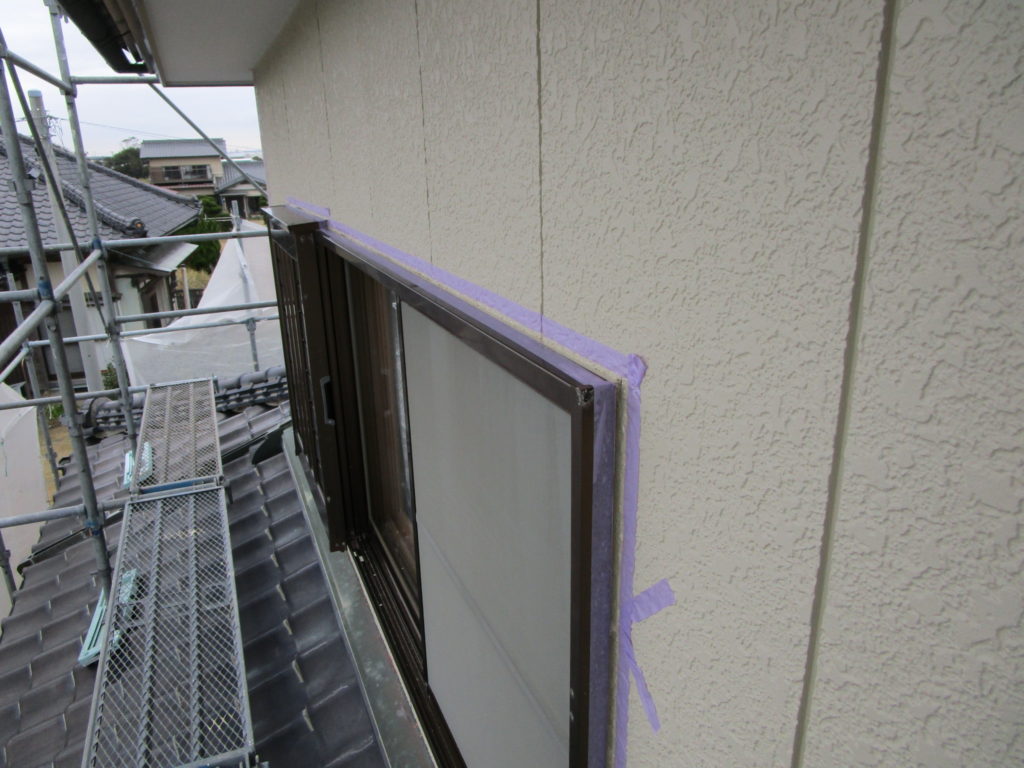

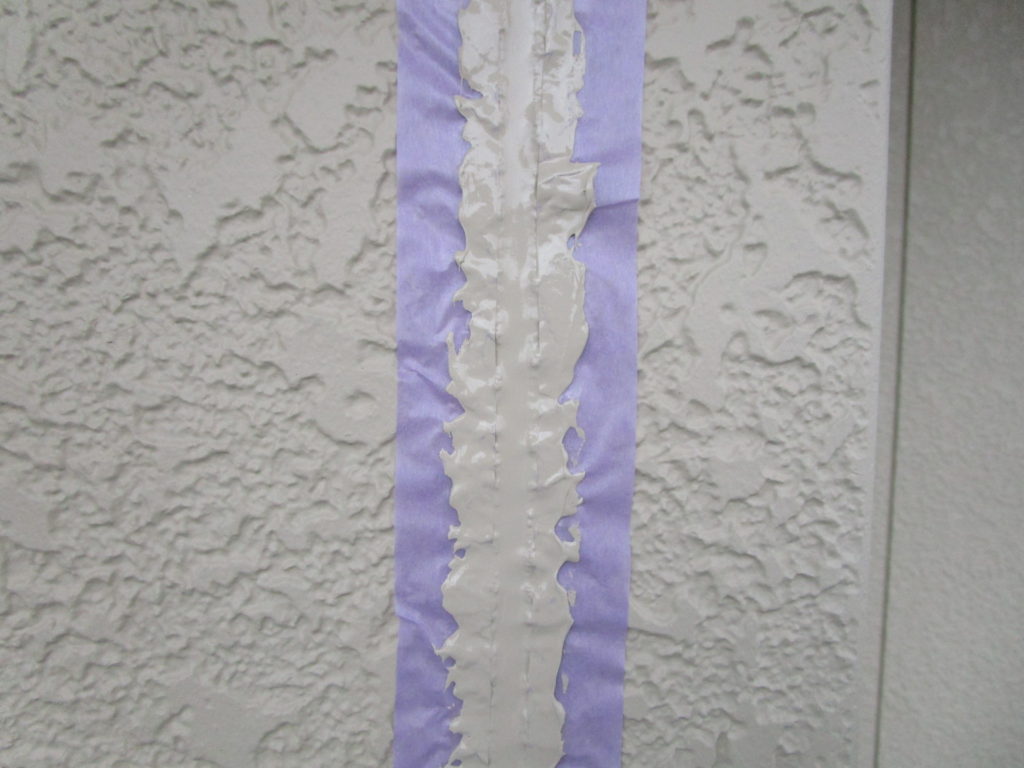
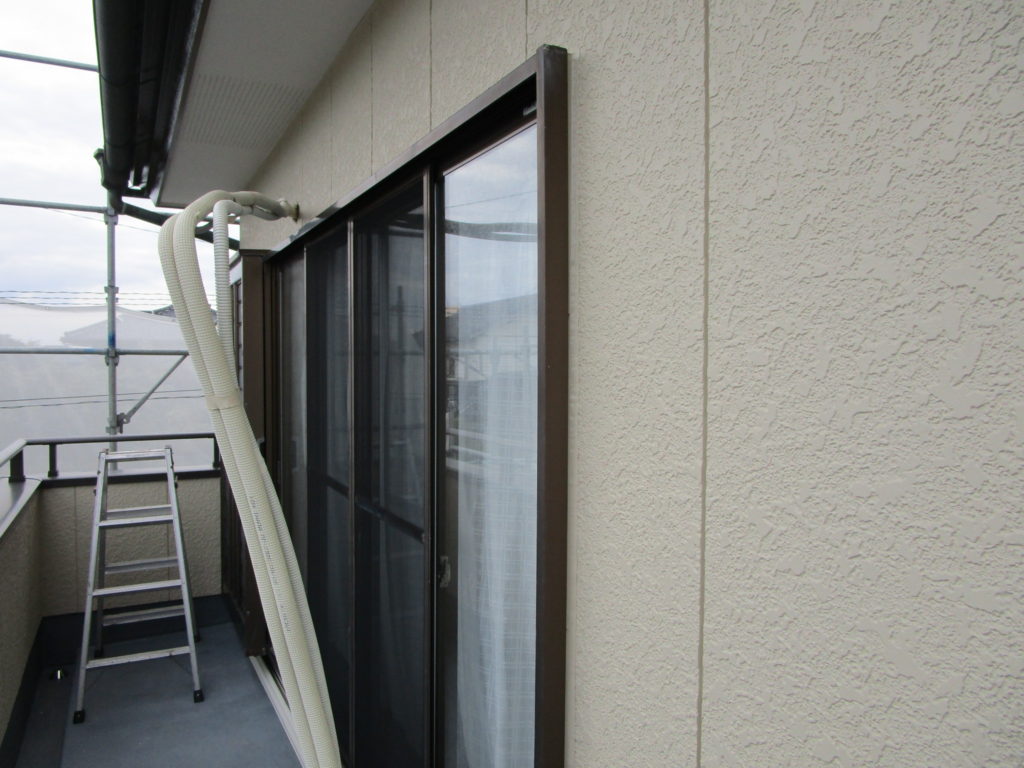
窓周りは劣化で無くなっておりました。
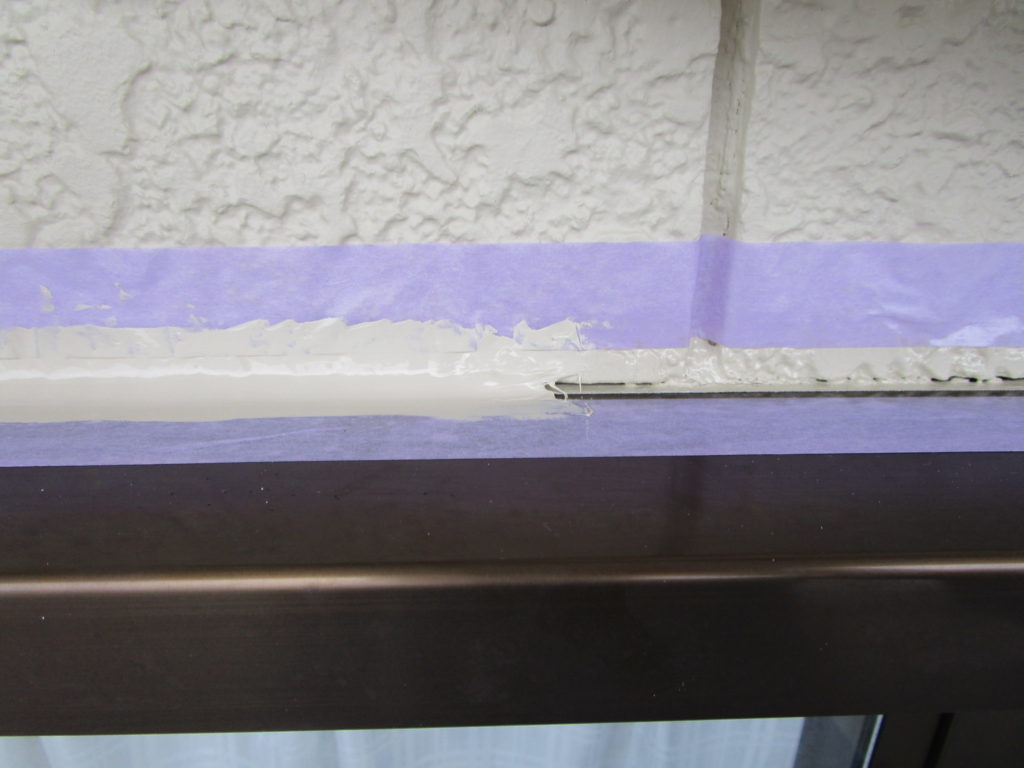
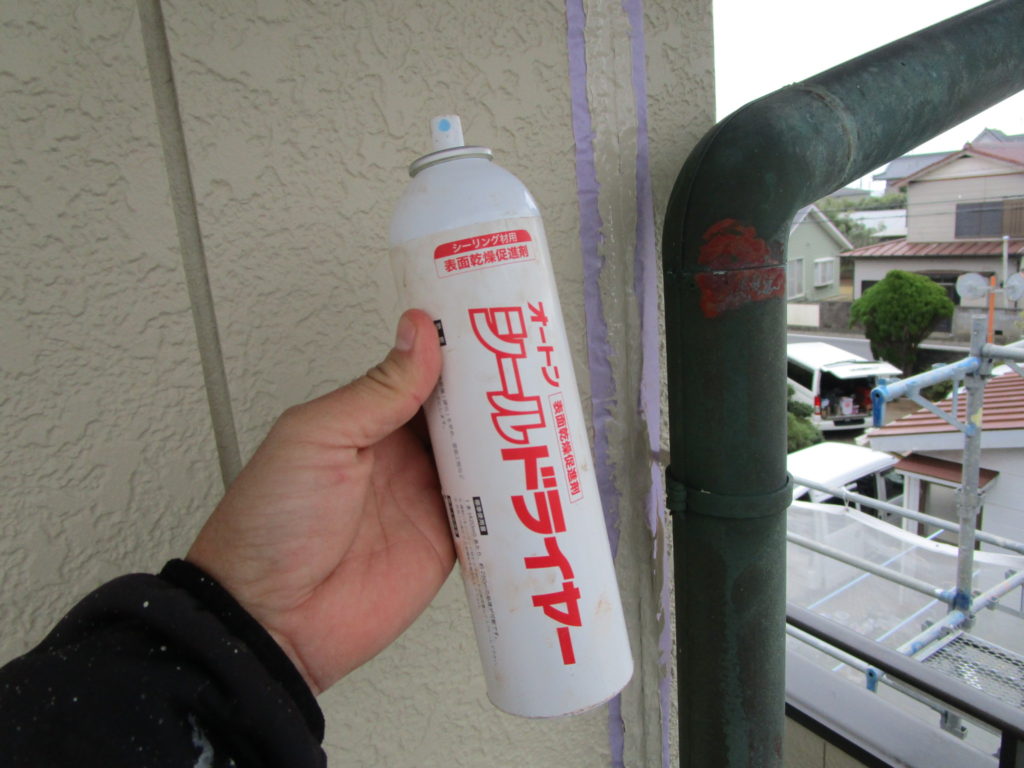
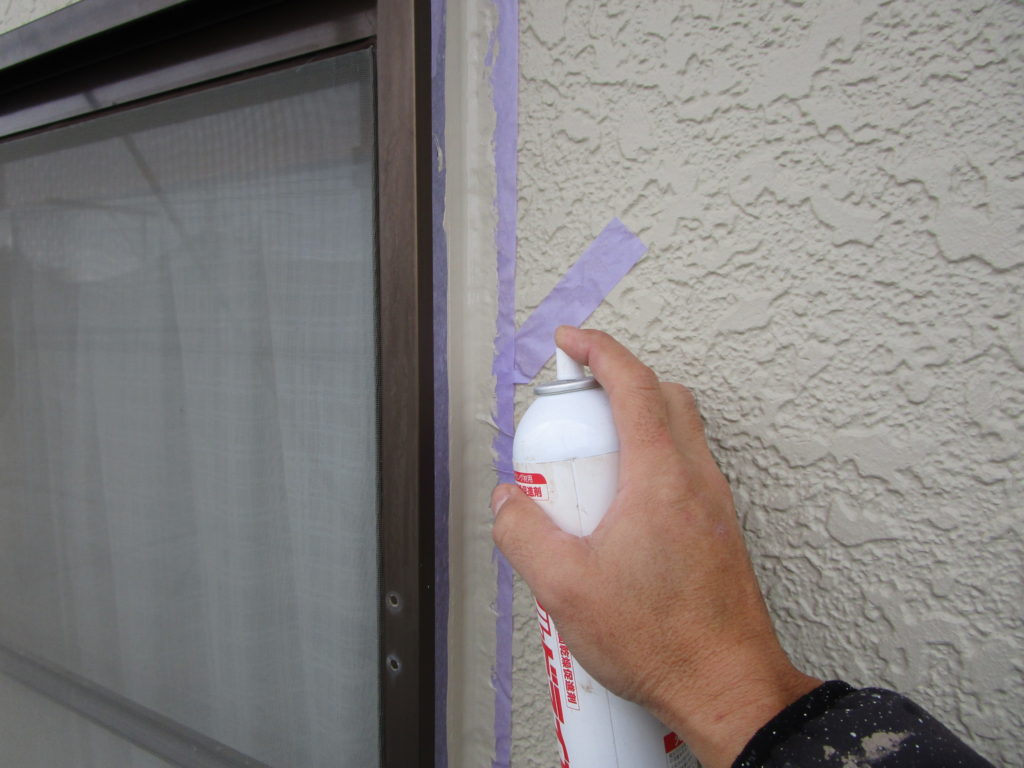
ゴミ付着防止の為、オートンシールドライヤー表面に塗布し表面硬化を速めます。
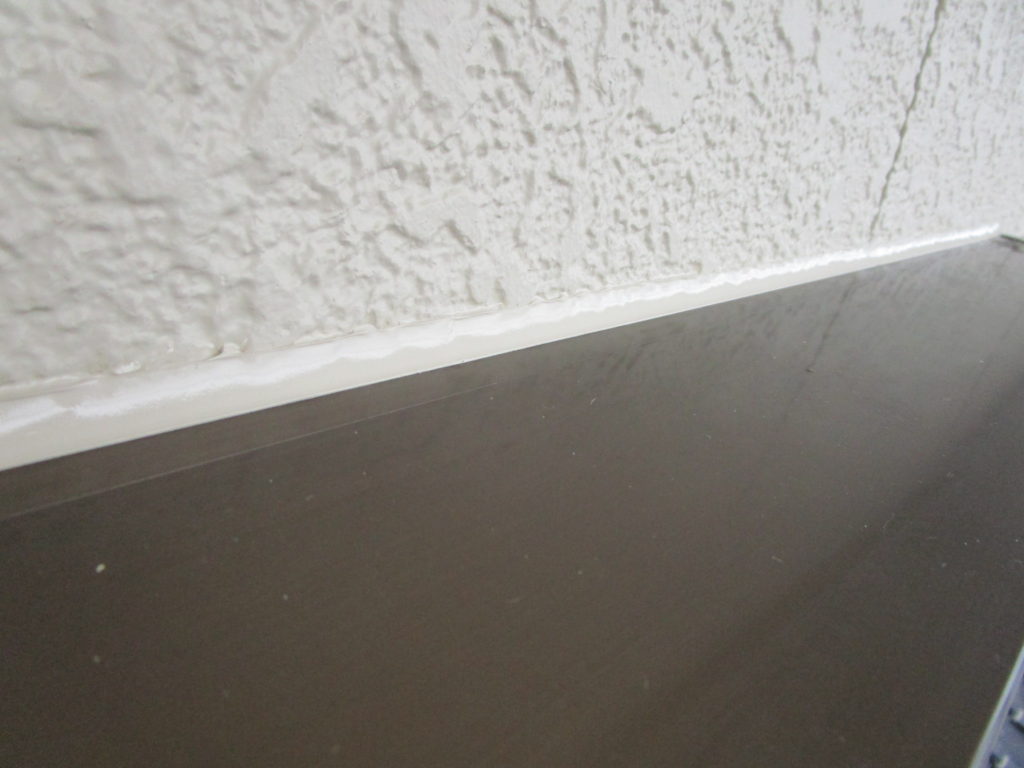
コーキング 完成

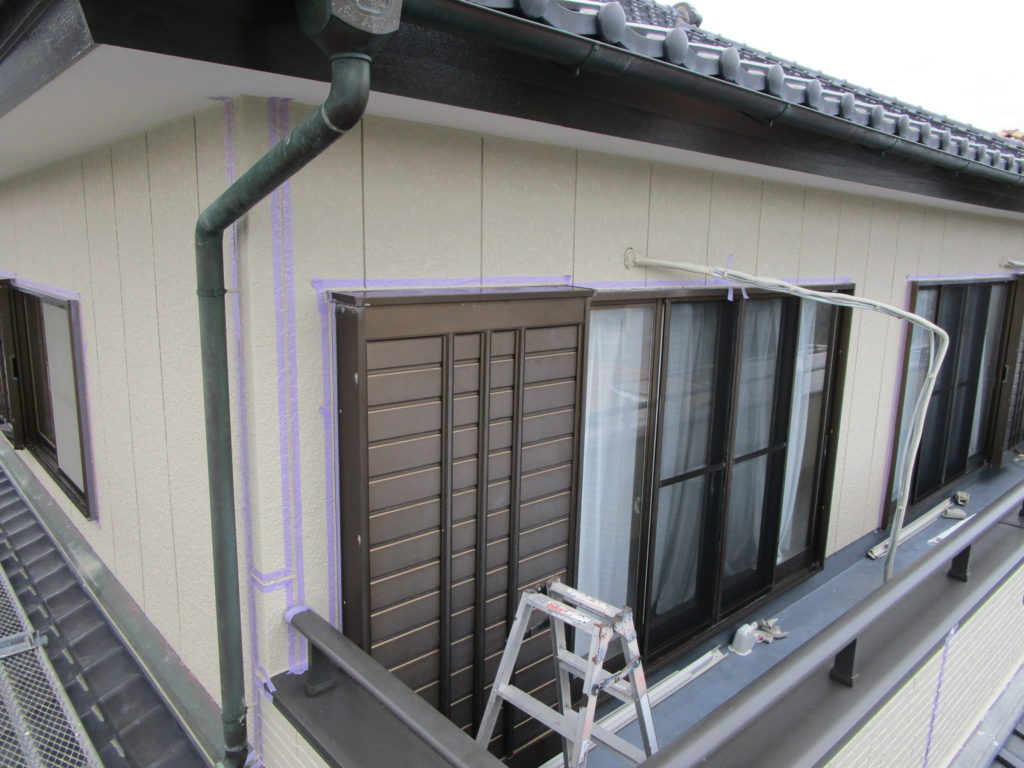
窓周りも全て完璧に施工します。
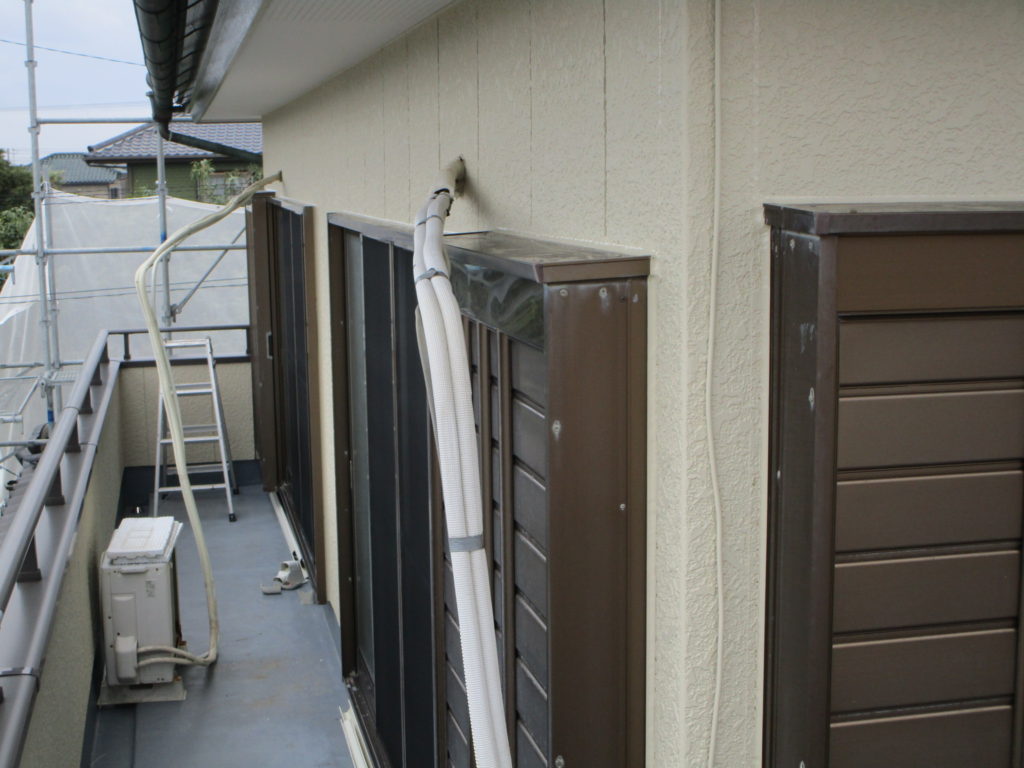
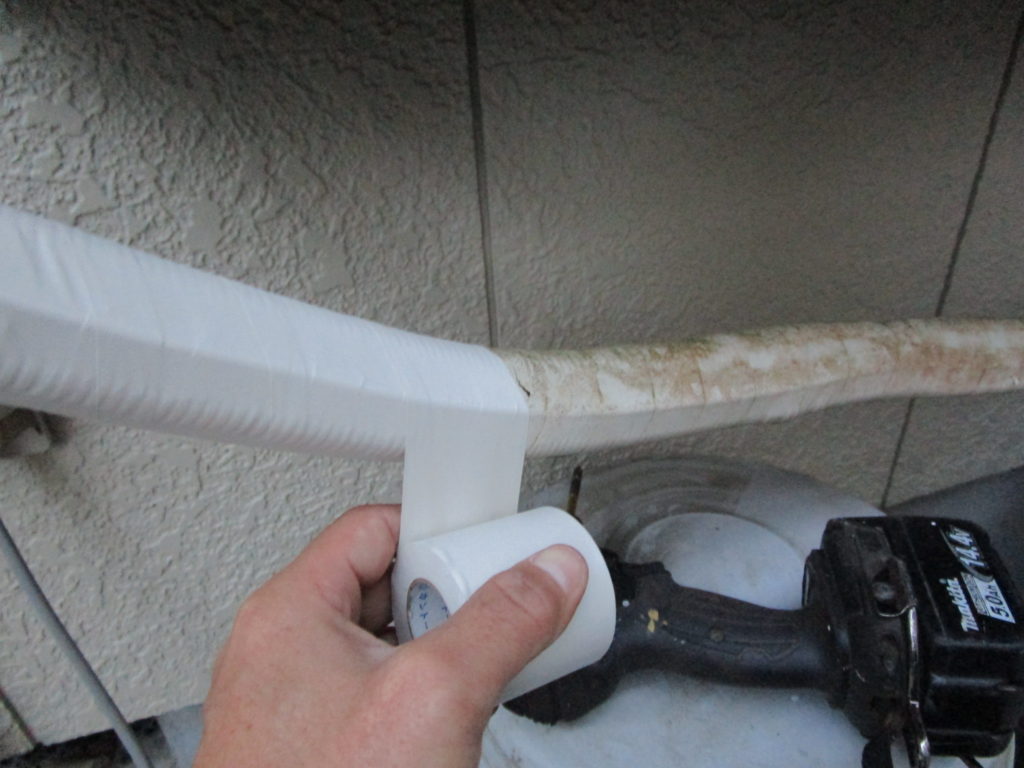
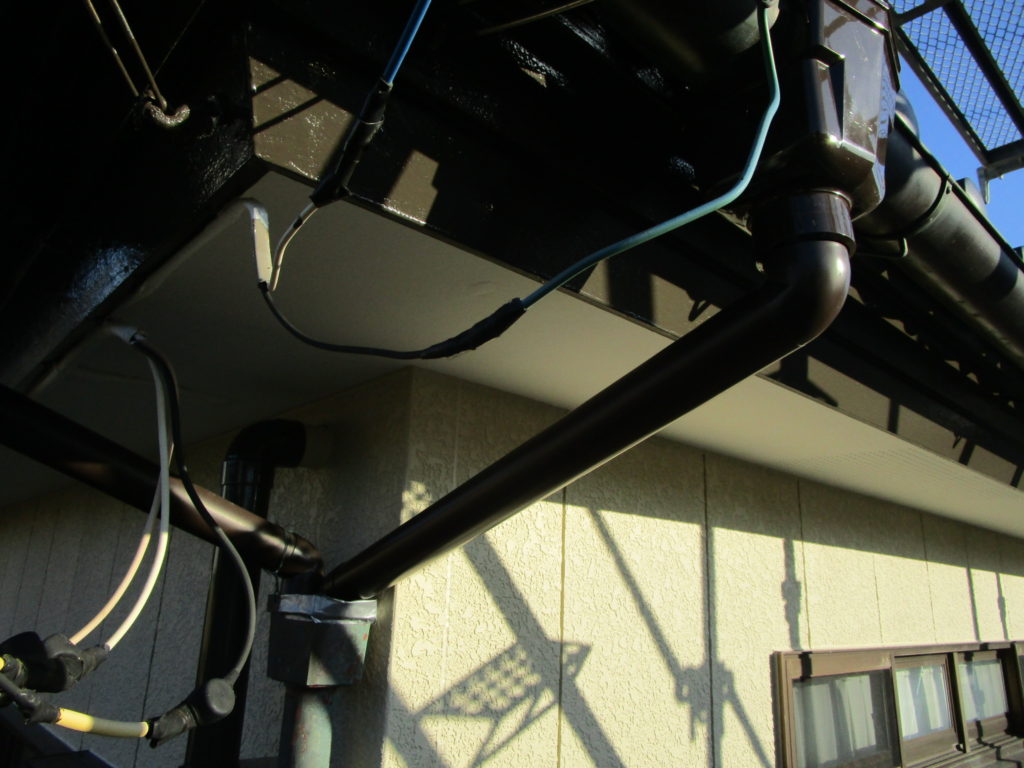
塗装物が大体目途が出ましたのでエアコンホースなどの取り付けします。
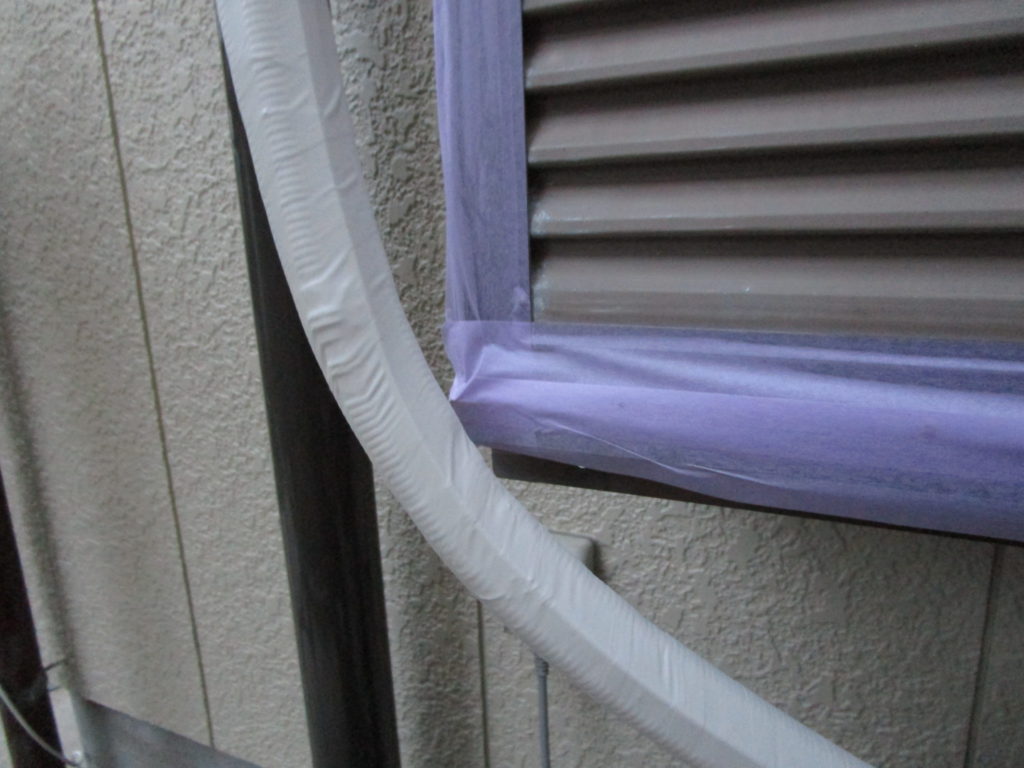
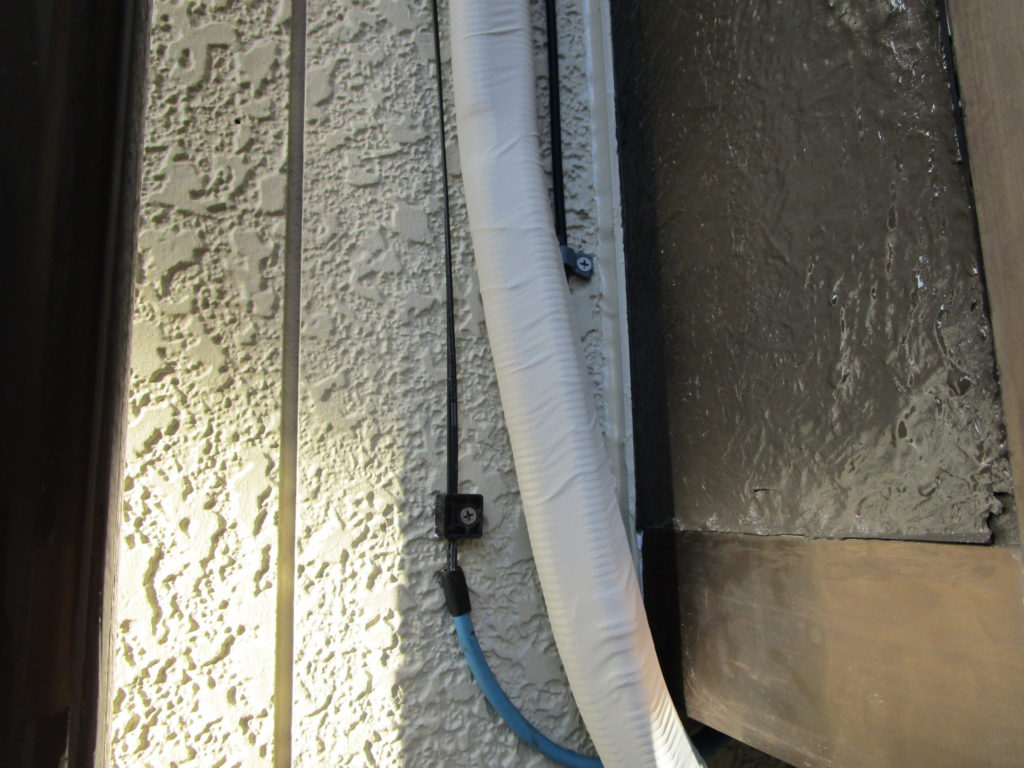
大体の建物がそうなのですがこのように劣化でエアコンホースボロボロなので綺麗にエアコンホーステープ巻き直します。
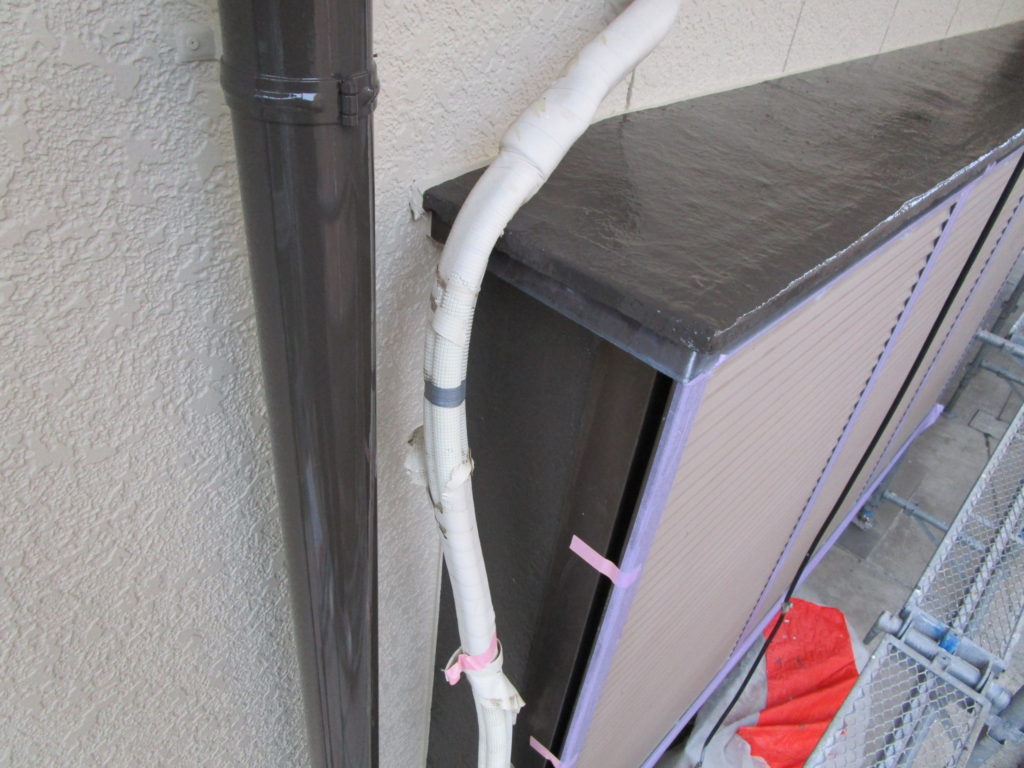
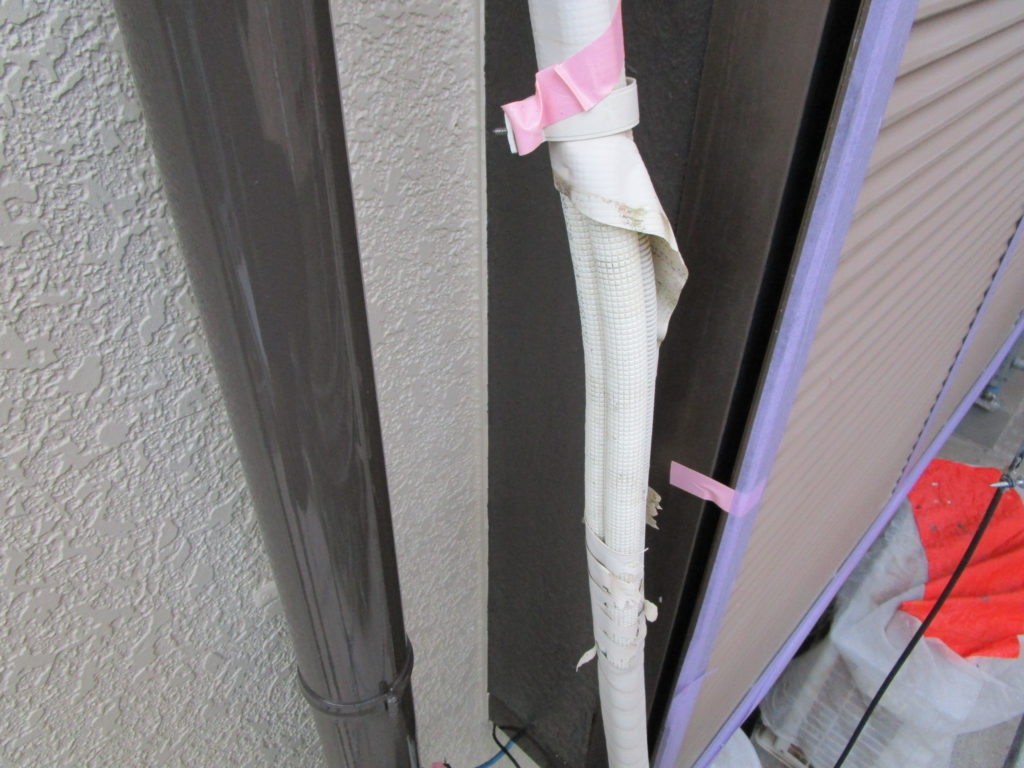
配線などのビス類も全てステンレスビスに交換です。

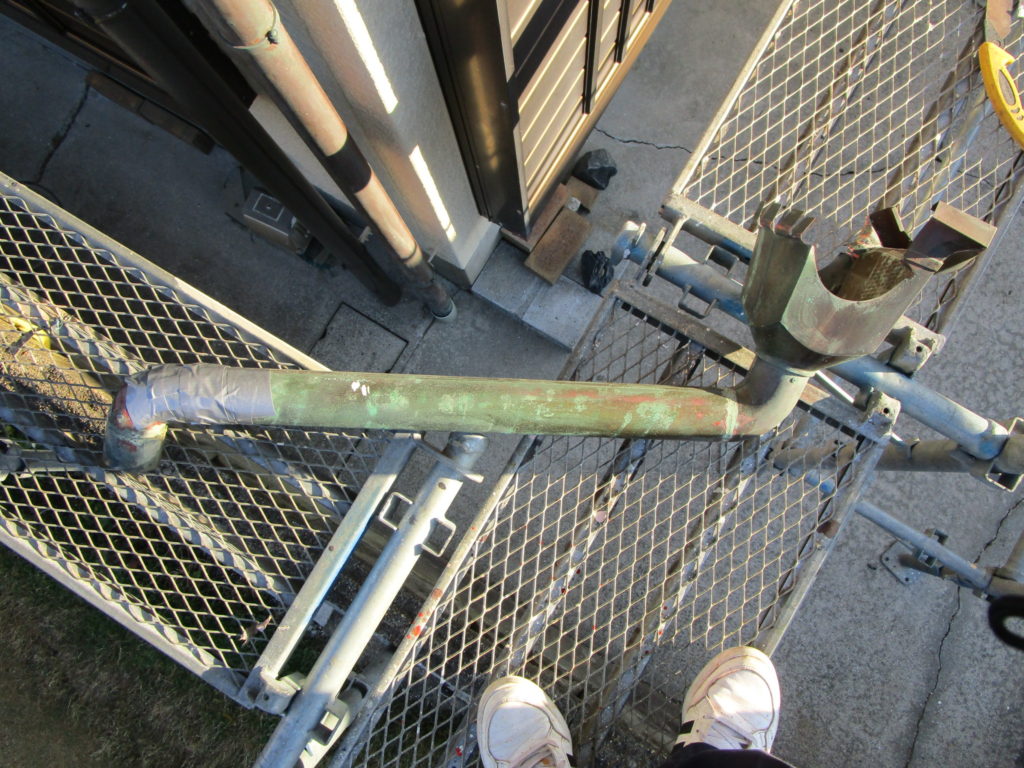
壊れた雨樋補修 U様邸の雨樋は銅製で修復可能なのですが施主様と相談の結果、今回は樹脂製の雨樋パーツで作り直します。
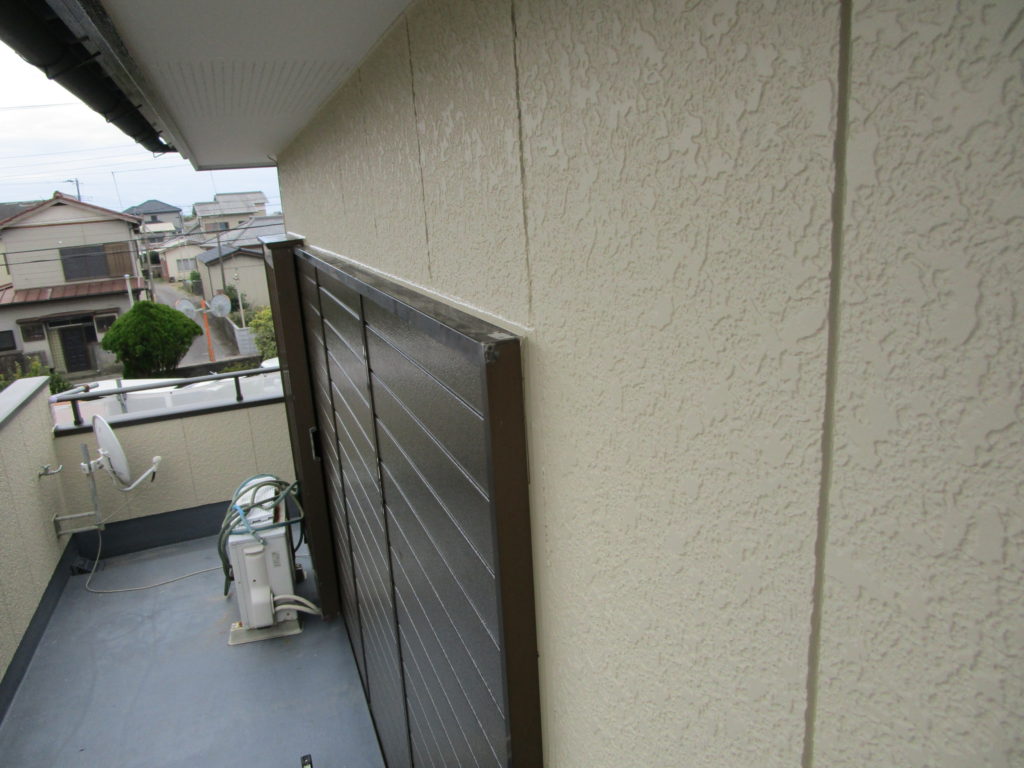
塗装のタッチアップなど最終確認して最後お家の周り清掃させて頂きまして終了になります。
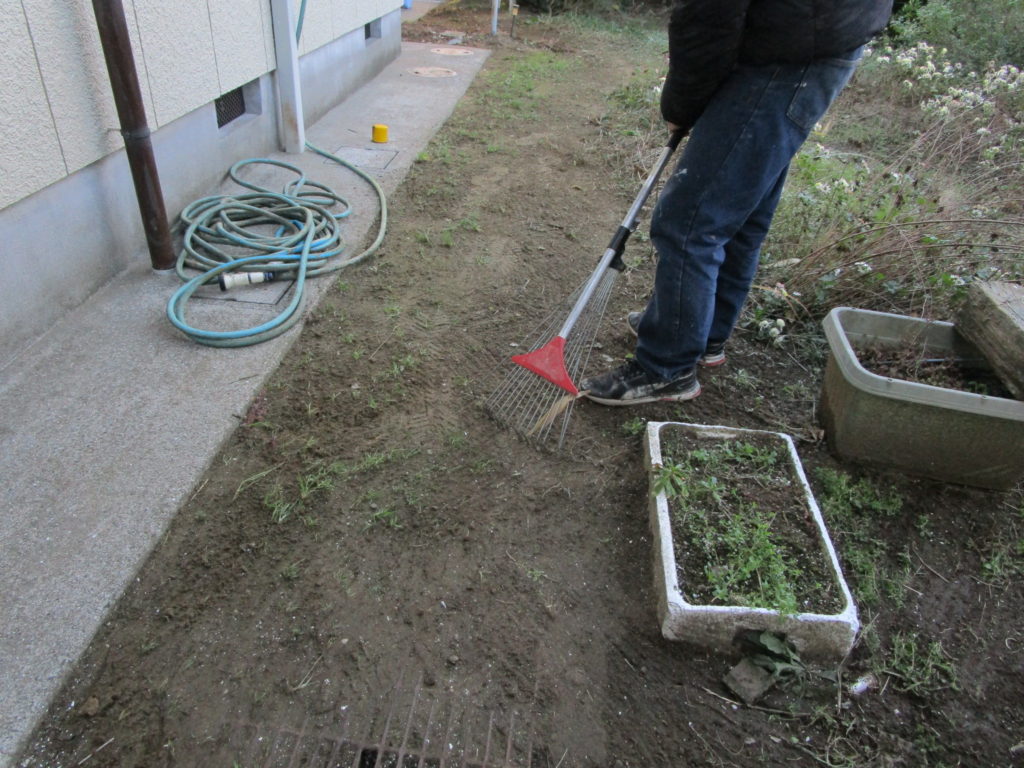
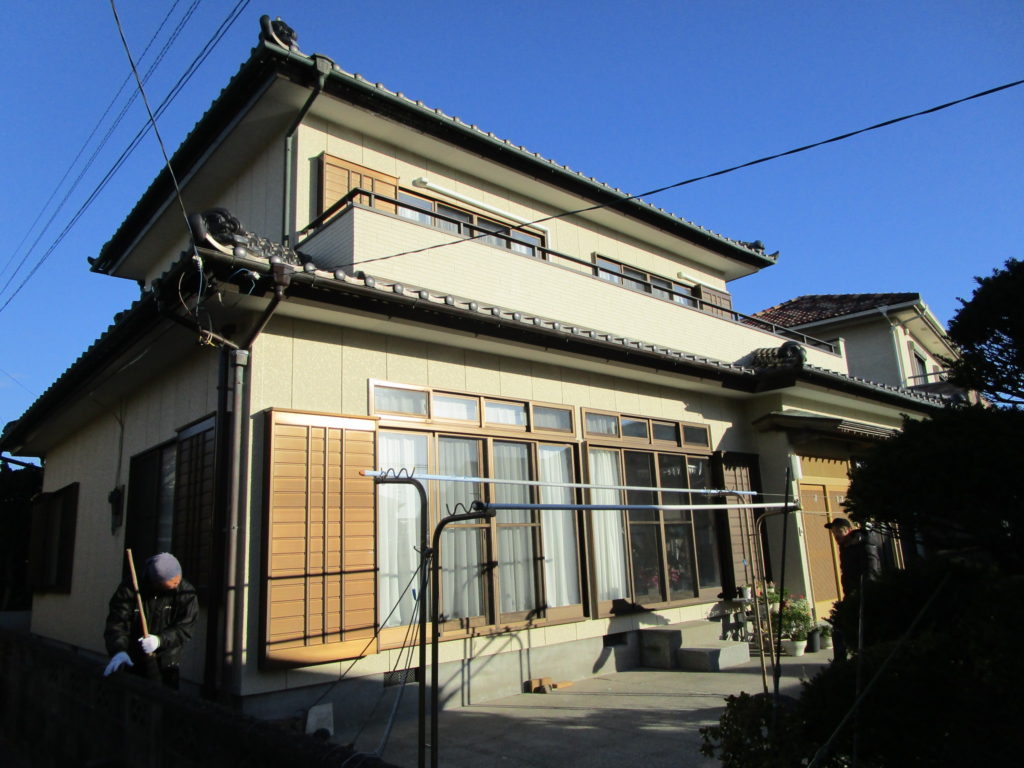
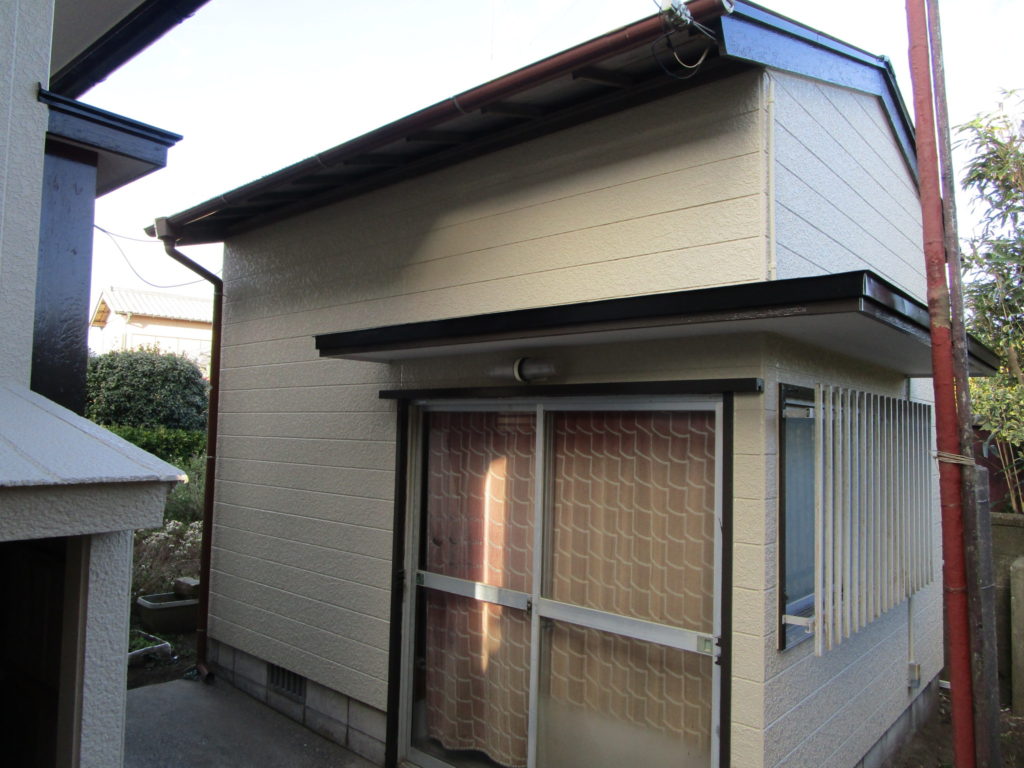
<完成>

使用材料などの詳細説明は次の投稿までお待ちください!